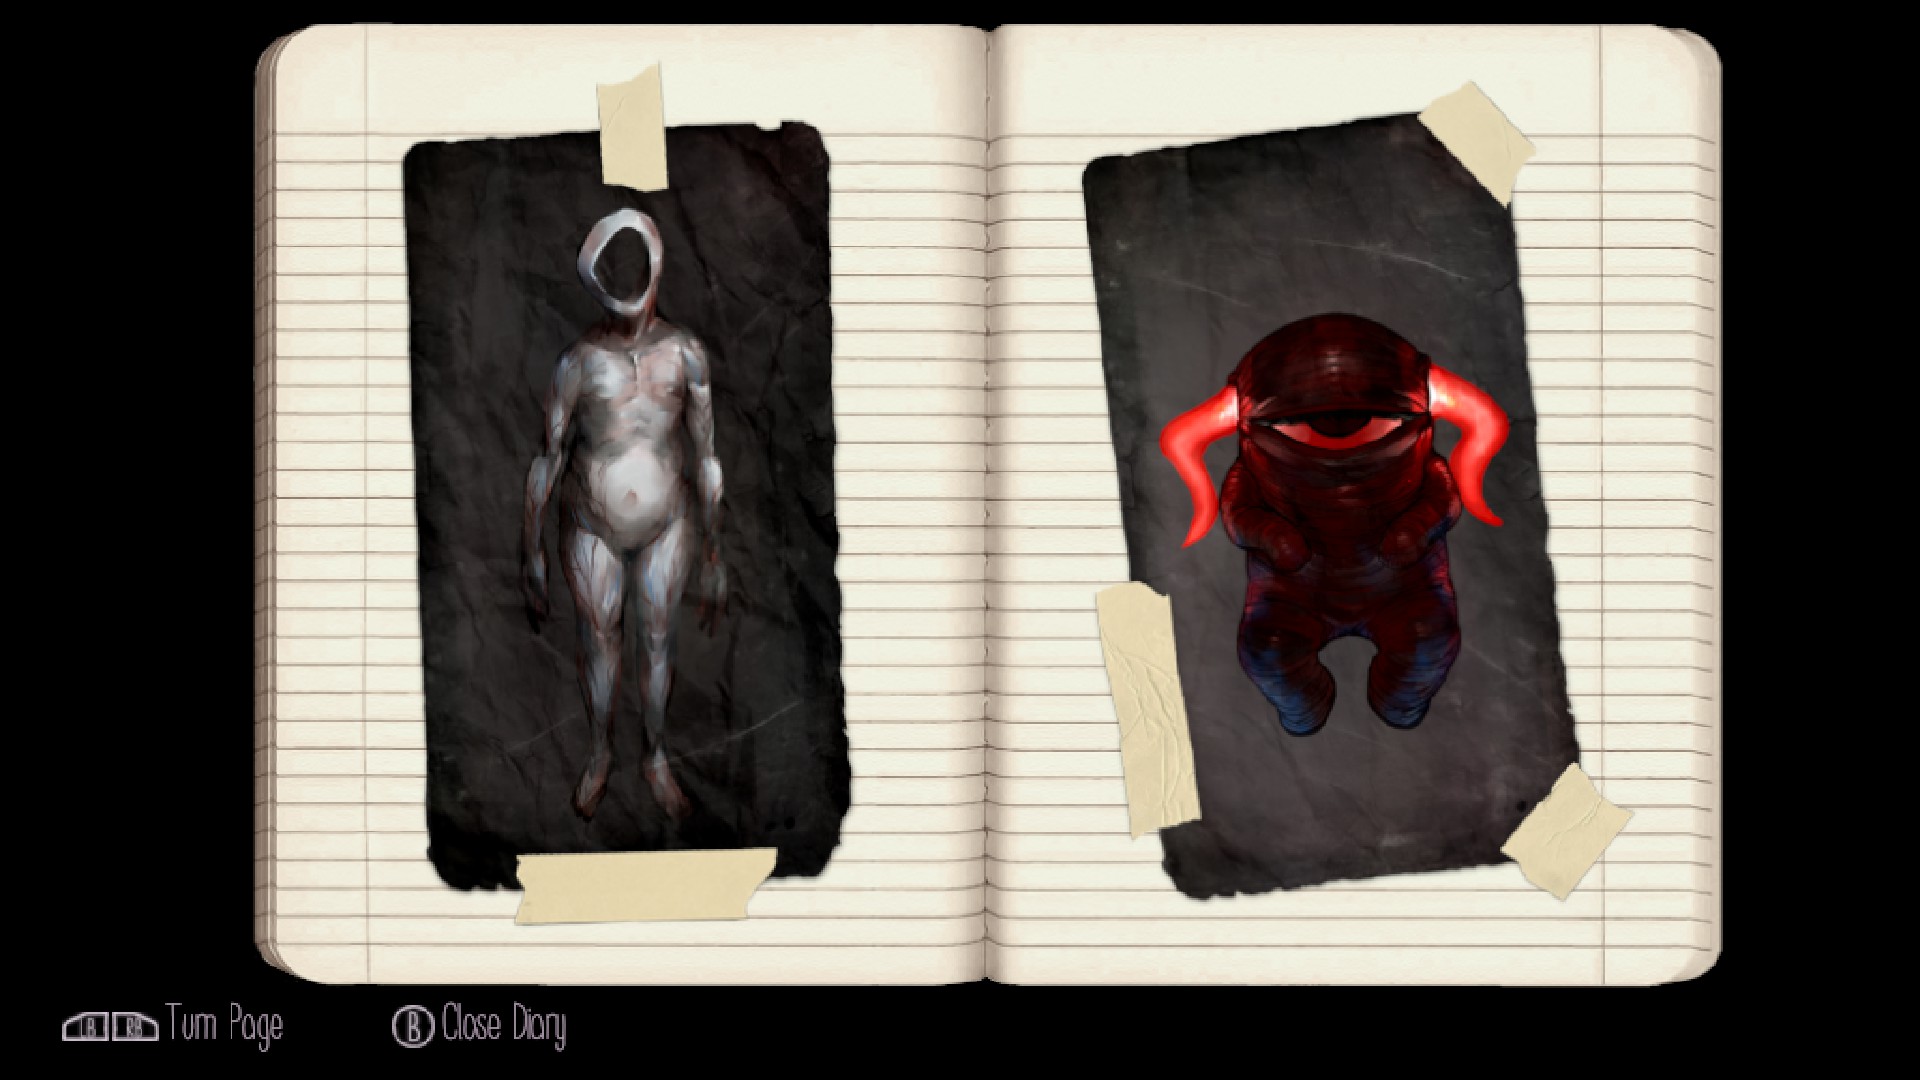
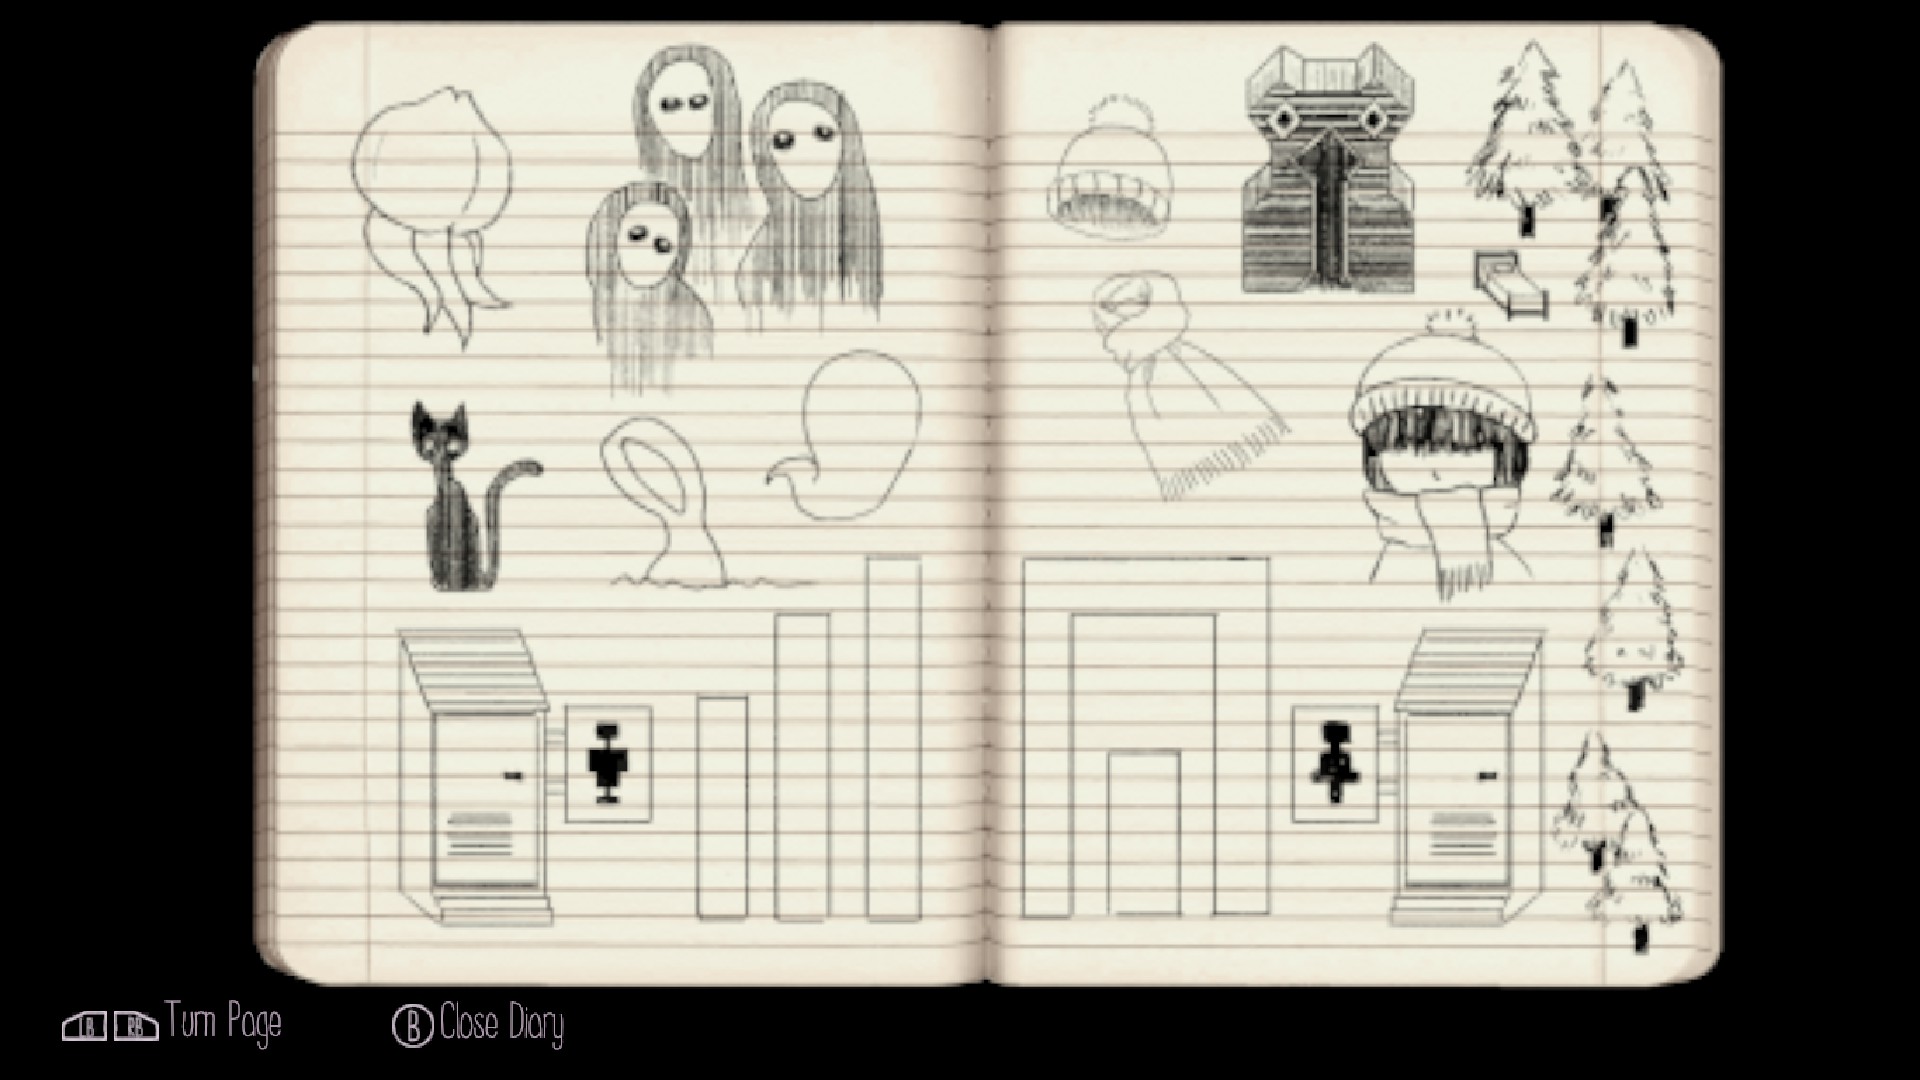
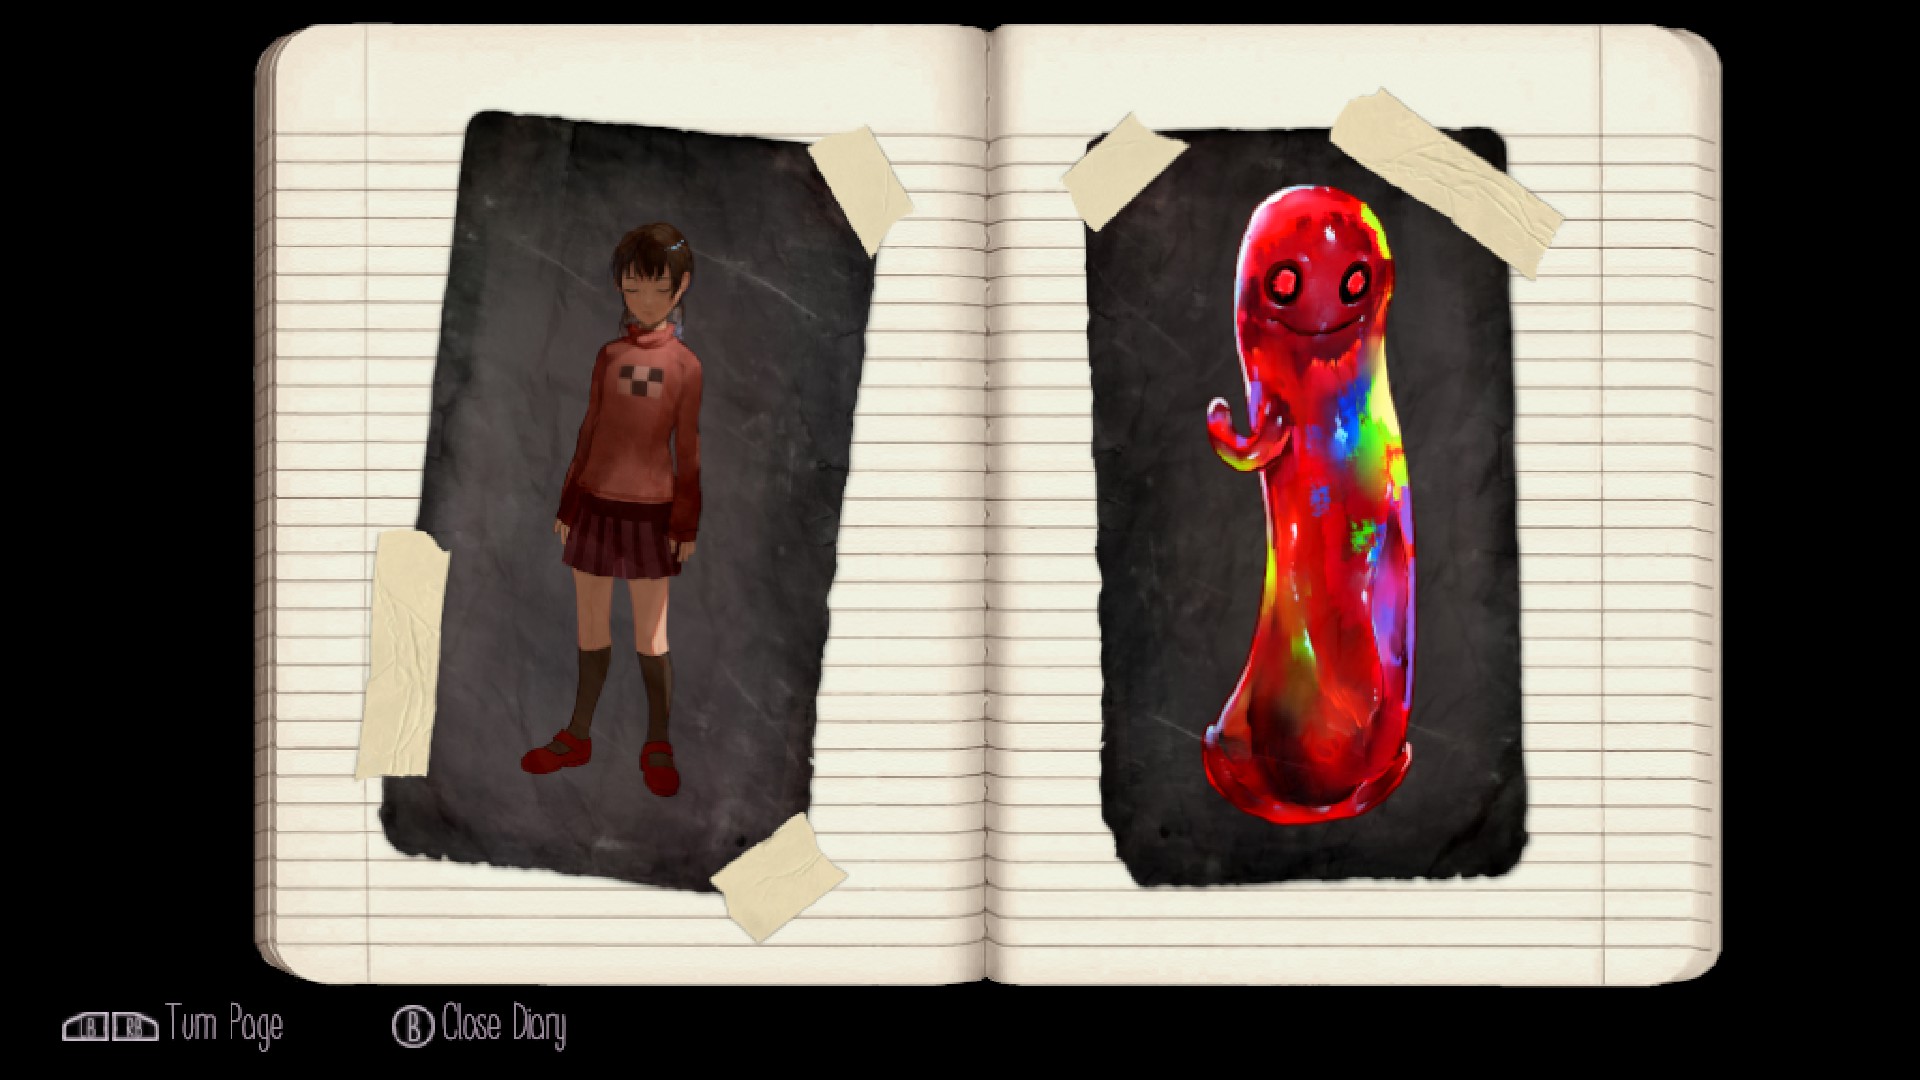
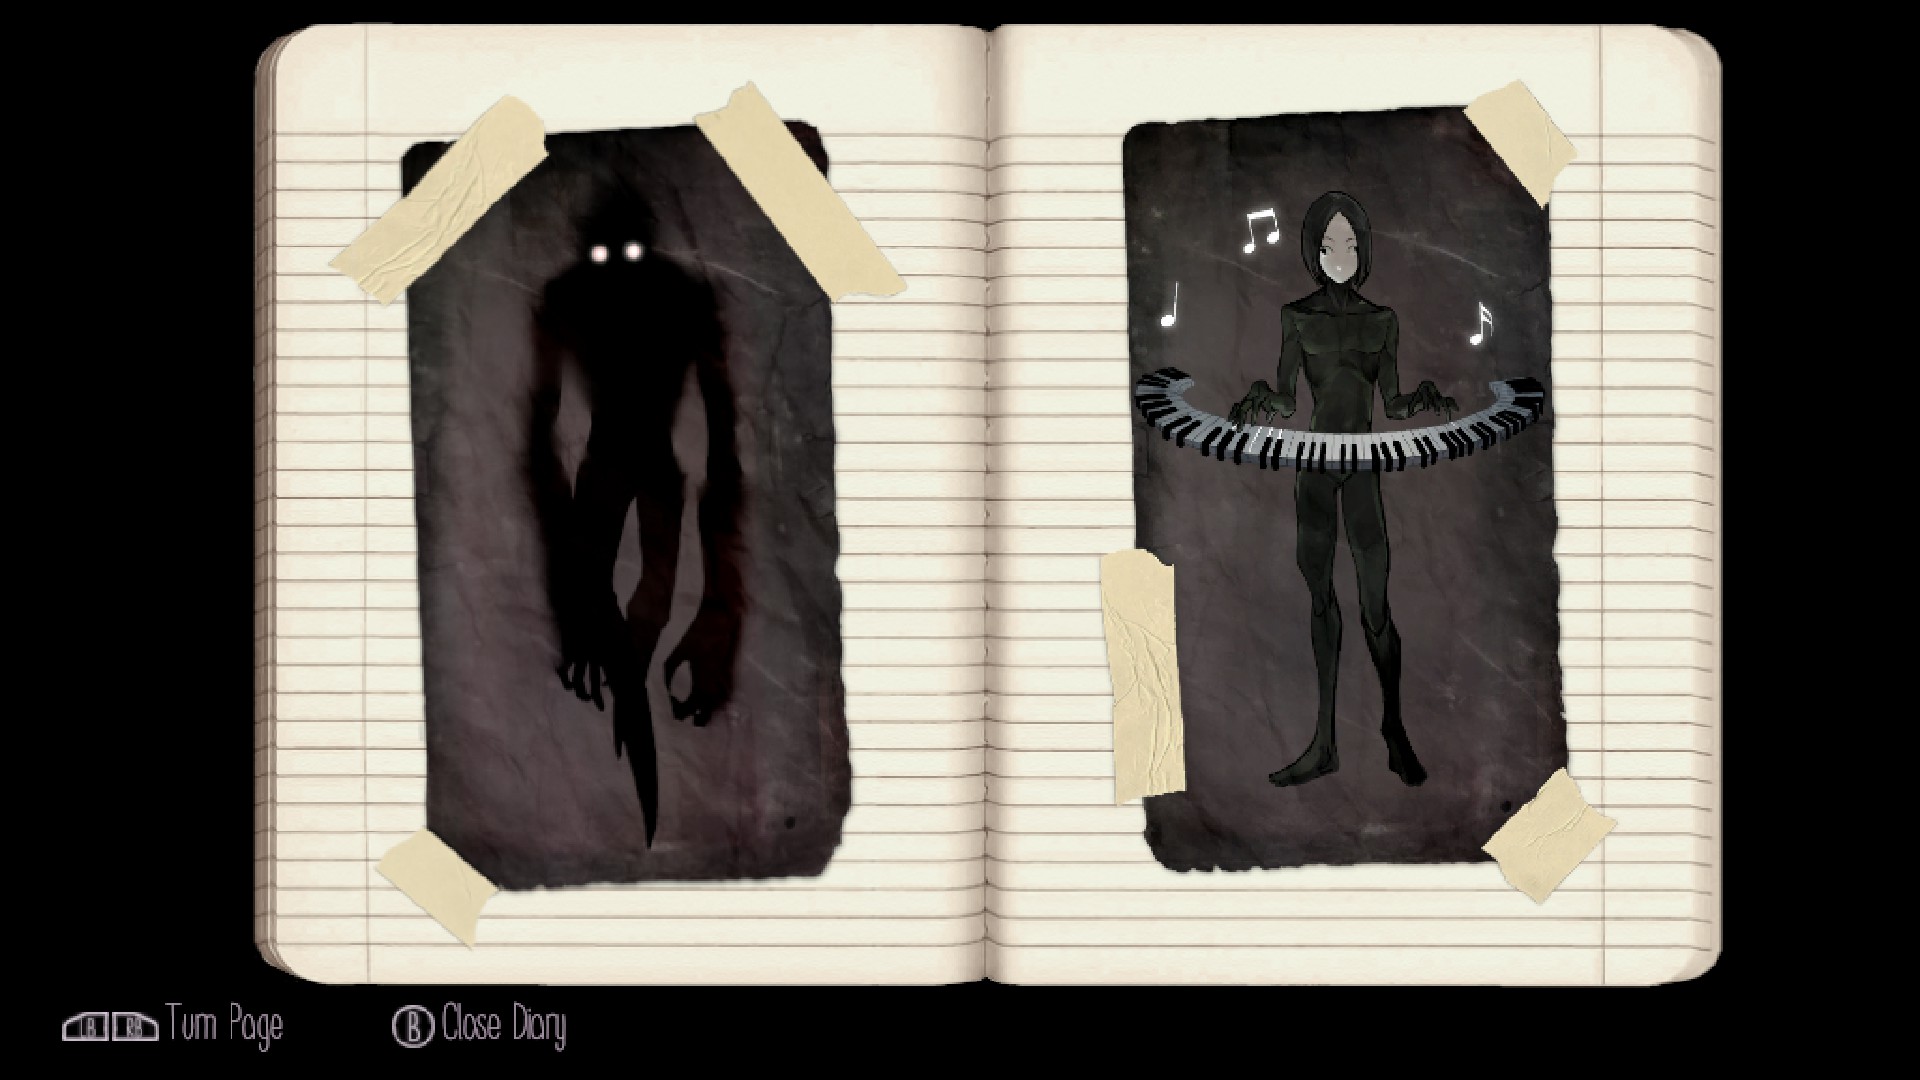
Yume Nikki Dream Diary Hat and Scarf Concept Art

YUMENIKKI -DREAM DIARY-
由于违反《Steam 社区及内容指引》,该物品已被移除。该物品仅对您可见。如果您认为自己的物品被误删了,请联系 Steam 客服。
此物品与 YUMENIKKI -DREAM DIARY- 不兼容。想知道为什么此物品不能在 YUMENIKKI -DREAM DIARY- 中使用,请查看指导页面。
当前可见性: 隐藏
该物品仅对您、管理员和被标记为创作者的用户可见。
当前可见性: 仅限好友
该物品仅对您、您的好友和管理员可见。

98 个评分

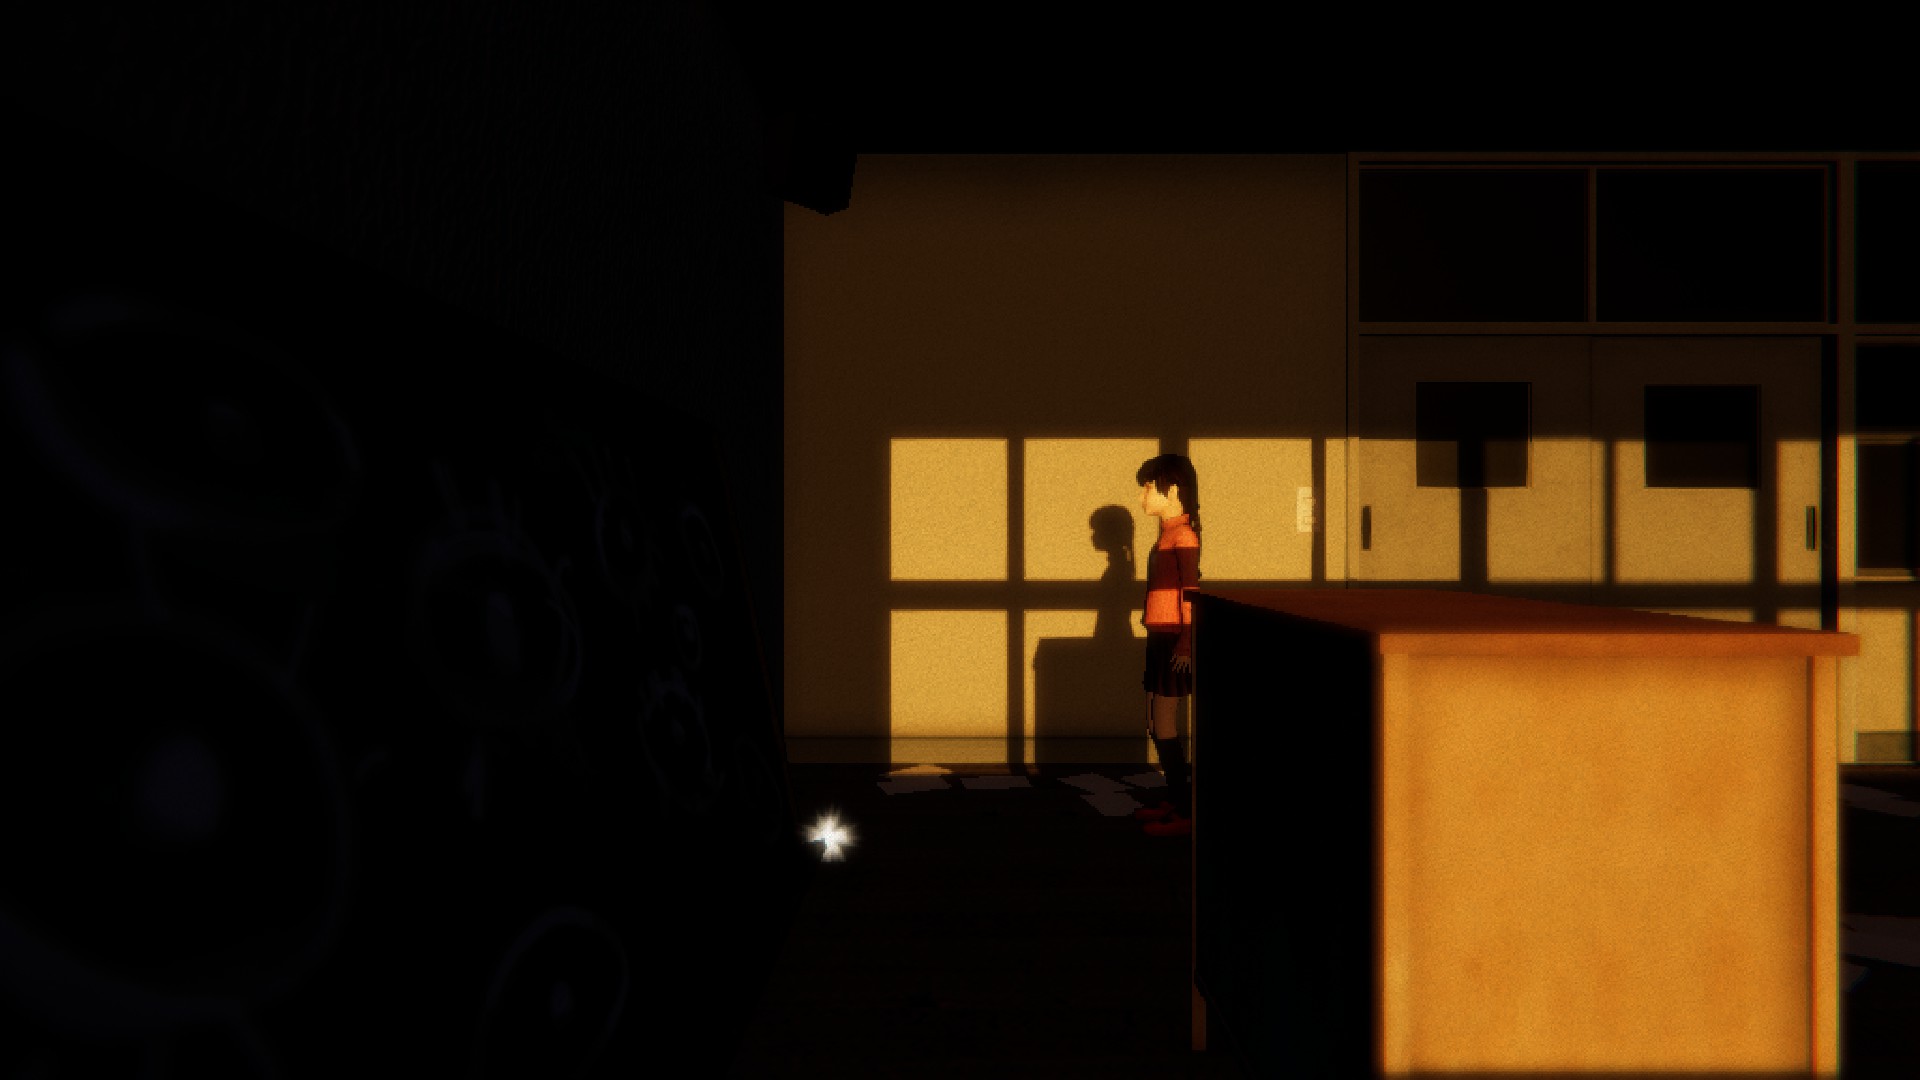
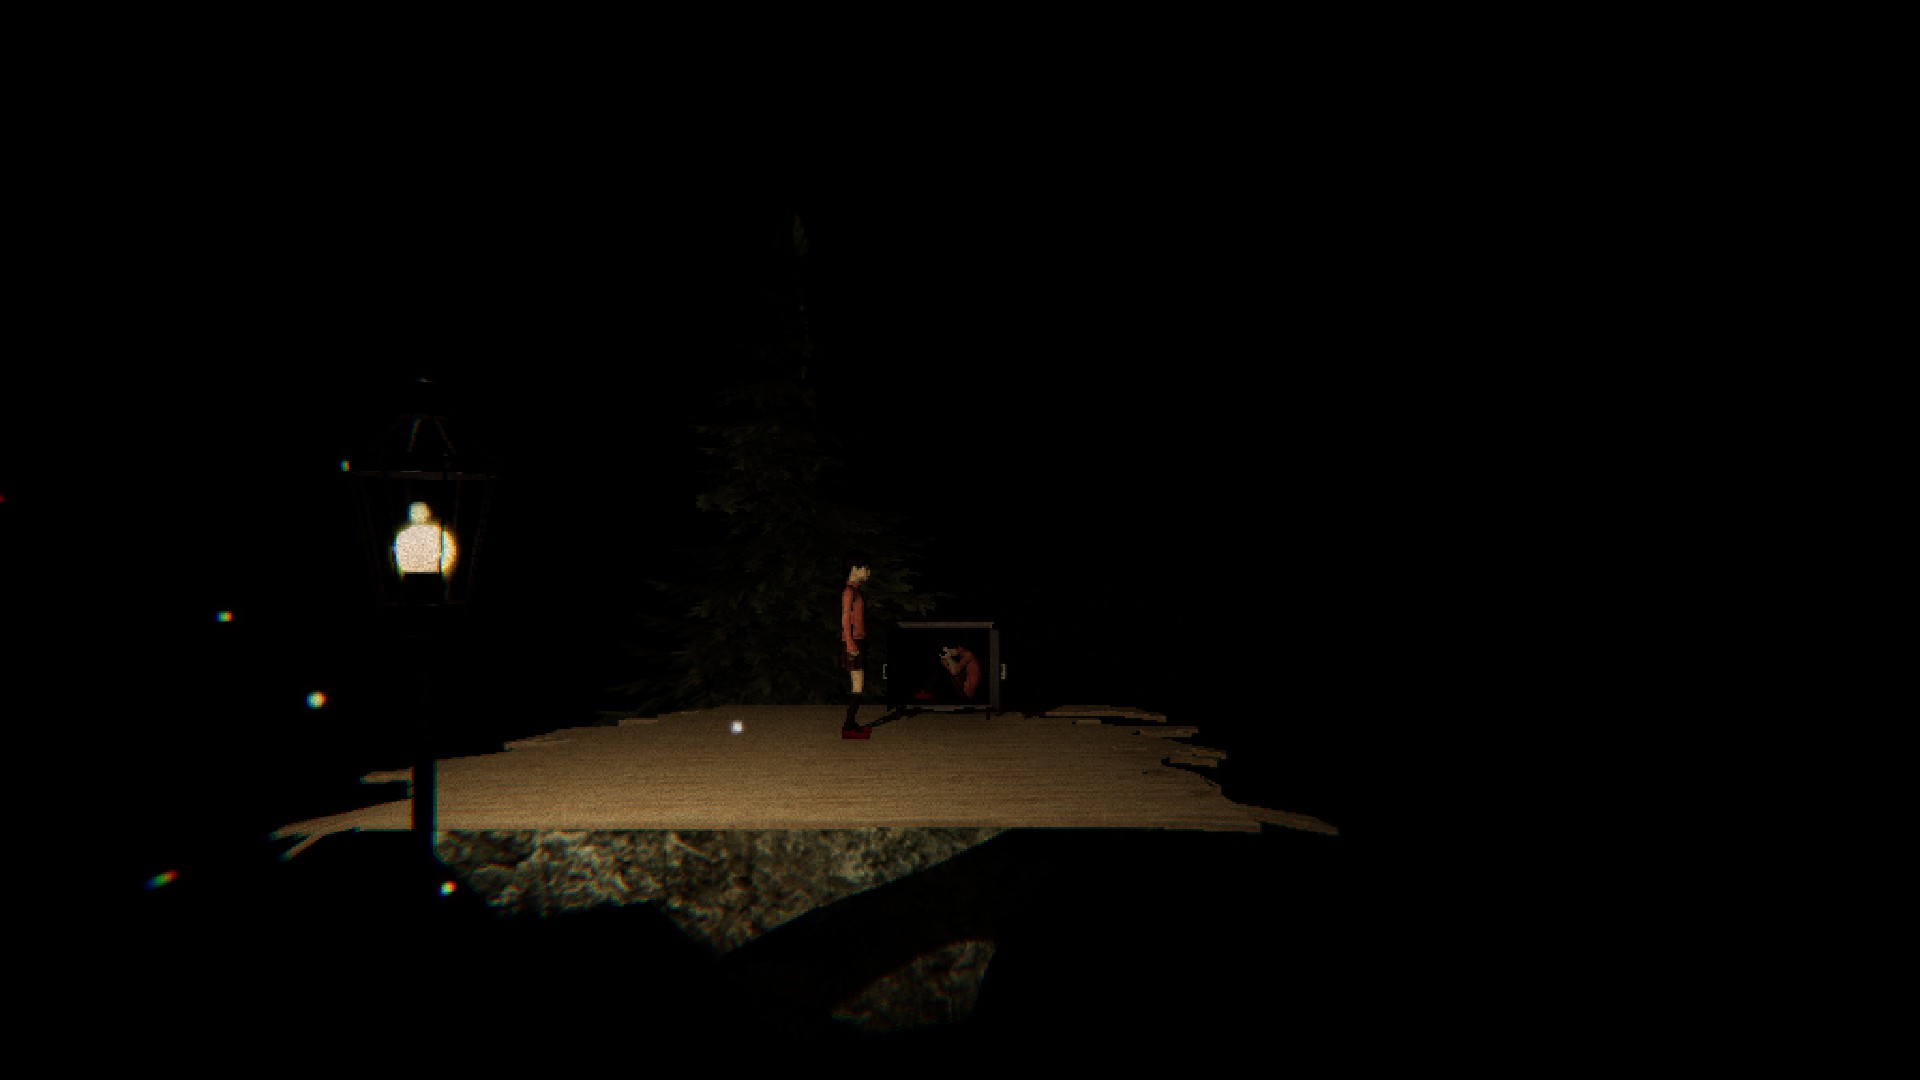
Completing the Dream Diary [ALL CONCEPT Art COLLECTIBLES]
Having problem finding all of the Concept Art? Working towards the Lucid Dreams achievement? So this guide is for yous!
Preface
Every bit of Version 2.0, those who had 100% completion in the original game will now show these new statistics for their save files:
- Furnishings: 71%
- Collectibles: 93%
- Dreams: 85%
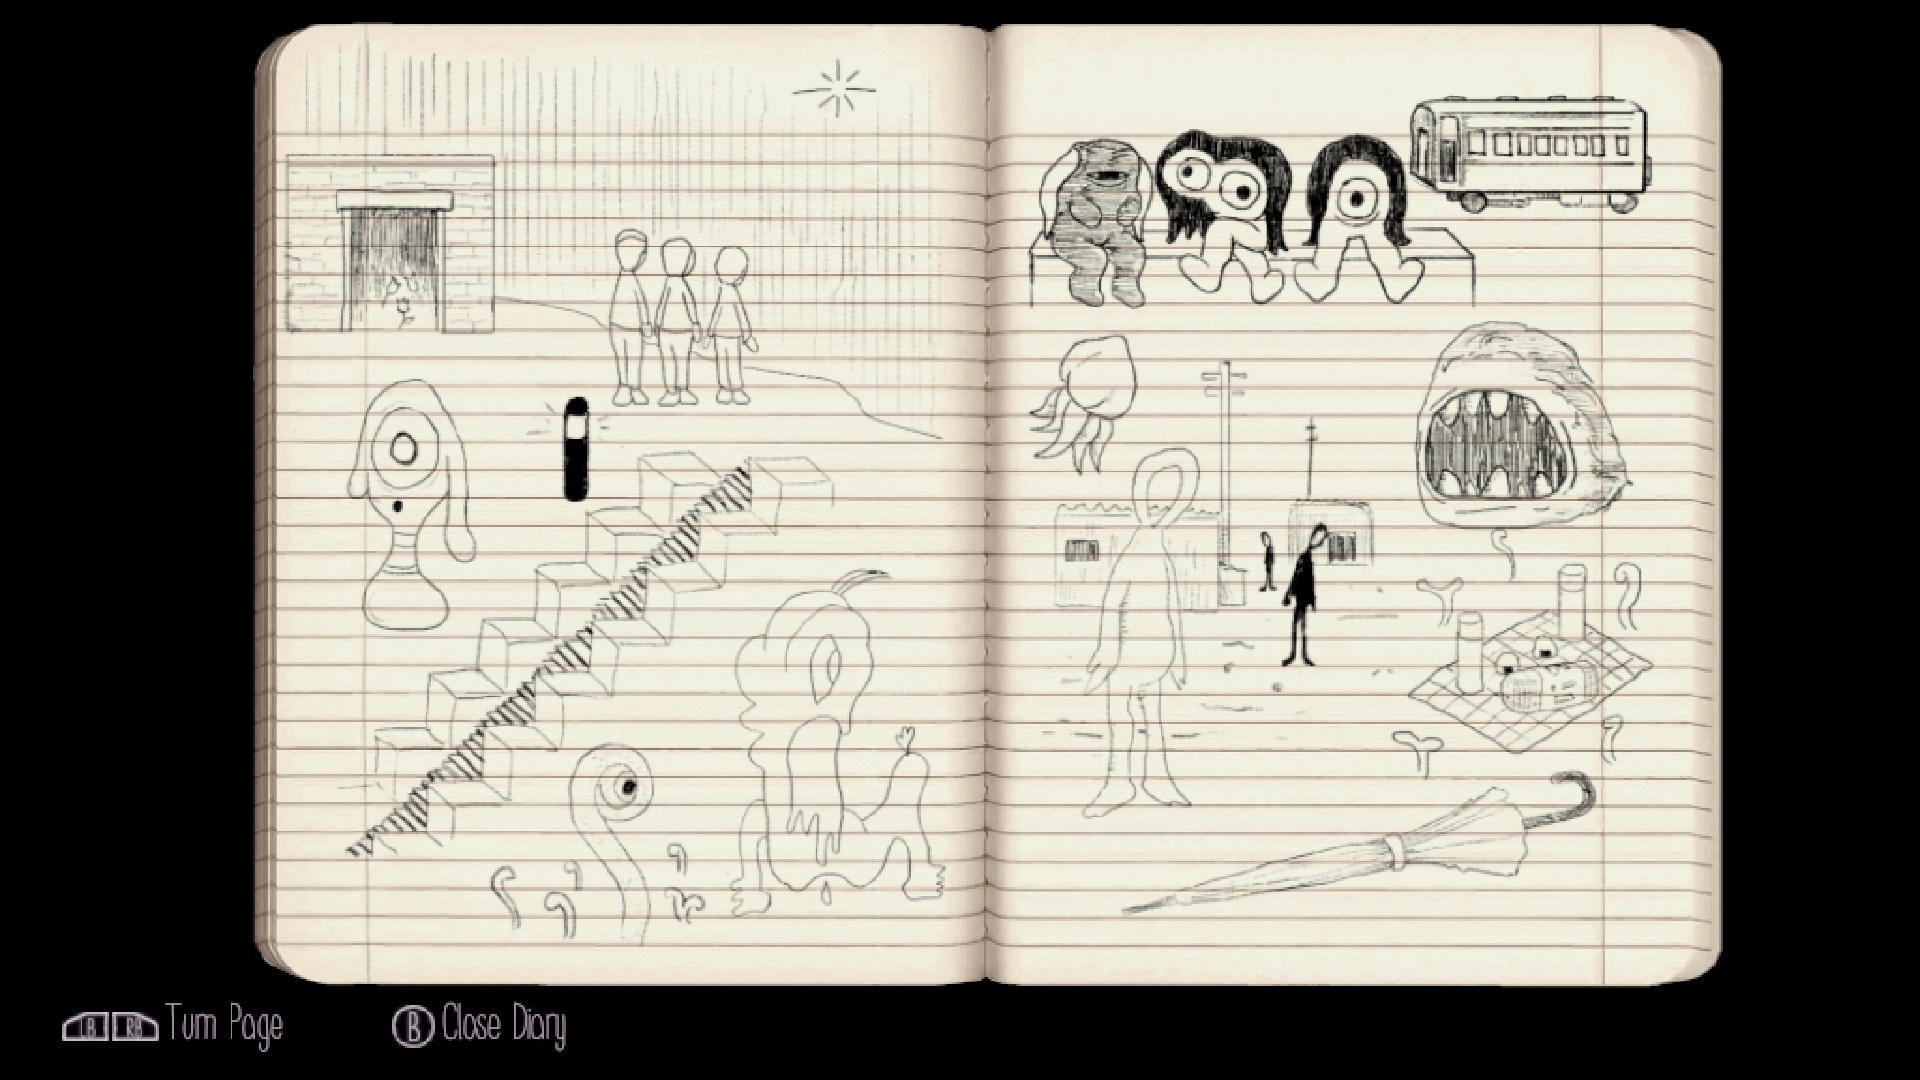
There are at present four new Concept Art collectibles and two sketch pages.
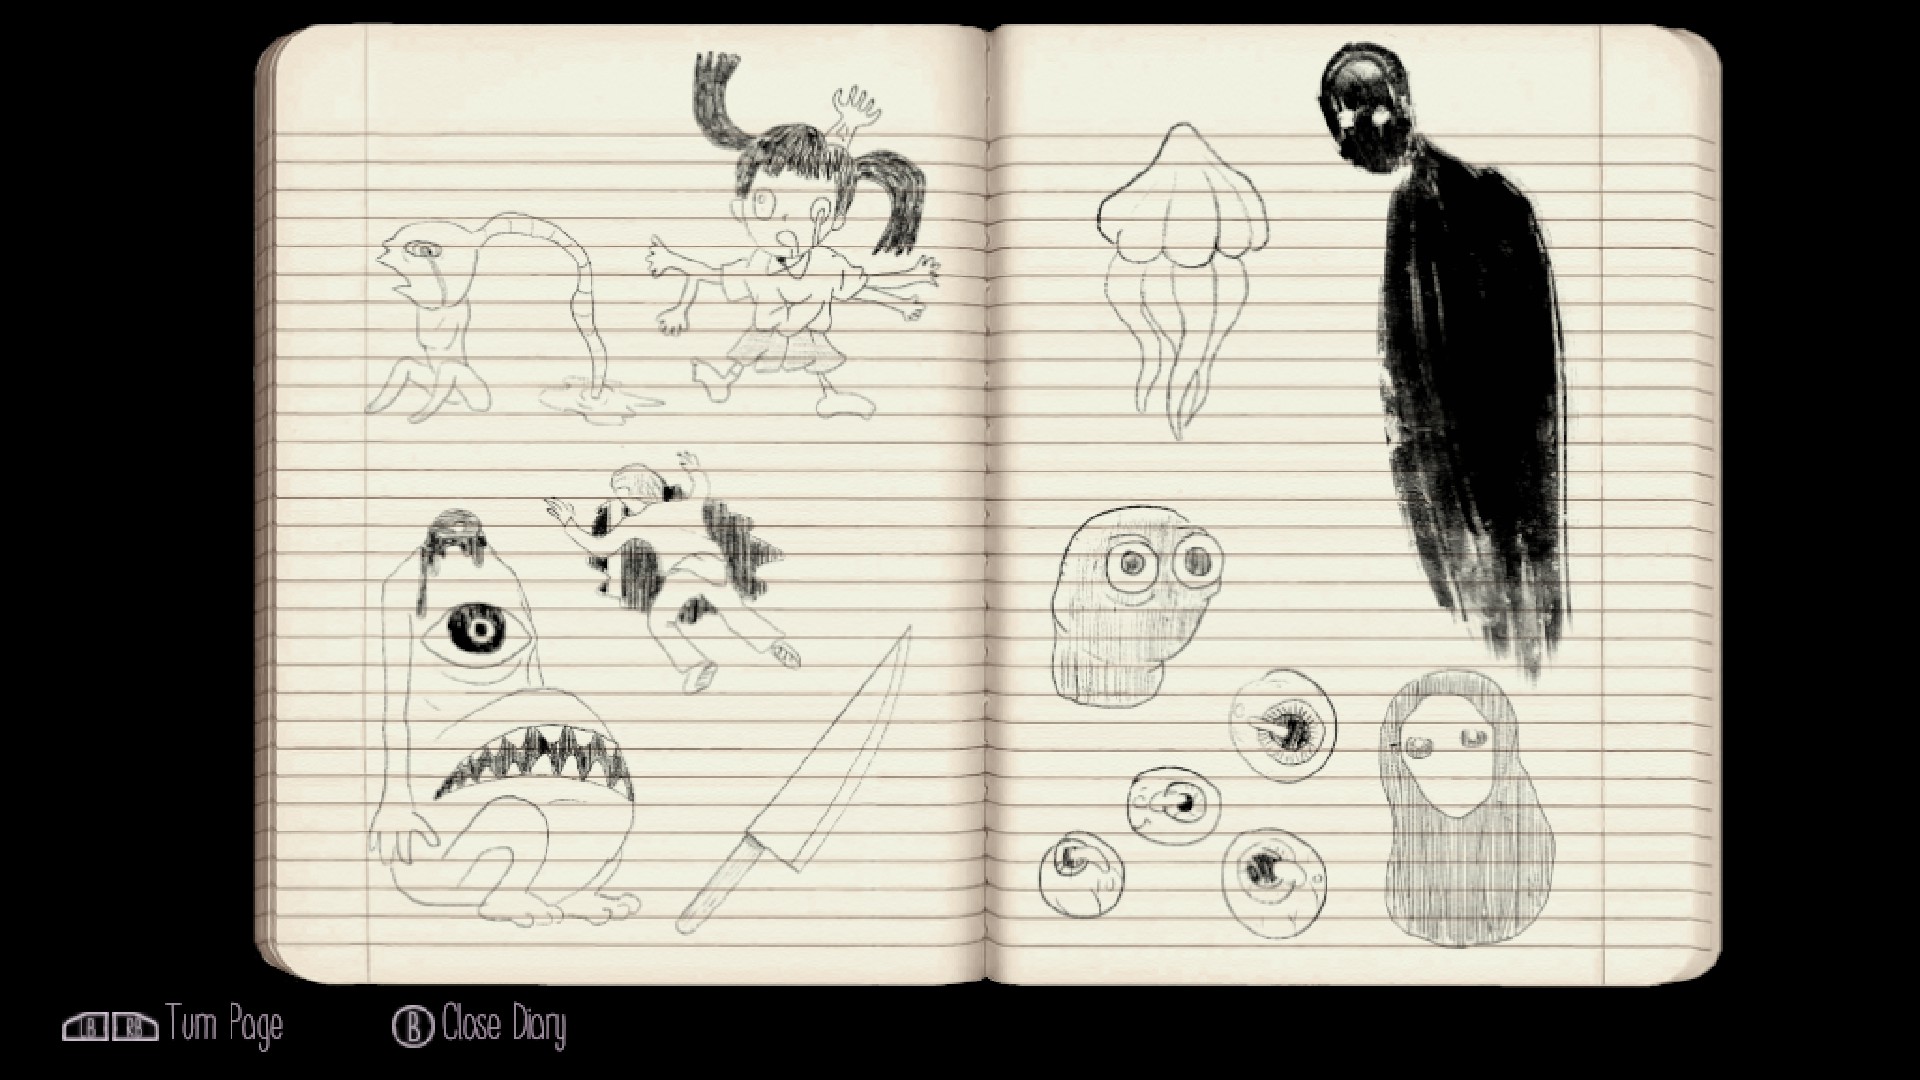
Overview
This guide will help you lot find all of the Concept Art, ane of the collectible types of Yumenikki -Dream Diary-. Completing your Dream Diary is one of the requirements to go a 100% completion and the Lucid Dreams accomplishment.
Every Concept Fine art has a detailed walkthrough with direct images of the locations. Naturally, this means this guide volition be Total OF SPOILERS . You lot accept been warned.
There is too a chance that the actual
order of the pagesin your Dream Diary might be unlike from mine. I'm non exactly sure why this happens, merely I guess it's determined past which places you visit kickoff.
For the purpose of recognition, I will refer to most NPCs by their fan-given names on the Yume Nikki wikia[yumenikki.wikia.com].In that location is a total of 44 pages
50 pagesin the Dream Diary. If you lot have less than that number, you lot're probable missing more Concept Art. A few of the pages will incorporate sketches. Fortunately, sketch pages will fill themselves upward as y'all explore each world, encounter more NPCs and witness more events, so you don't have to worry nigh them besides much.
Delight experience free to brand suggestions to this guide. If something isn't articulate plenty, please speak up.
For the locations of the Jellyfish, check this: http://steamcommunity.com/sharedfiles/filedetails/?id=1311110216
For the locations of the quest items, check this: http://steamcommunity.com/sharedfiles/filedetails/?id=1314541560
Pages 1 & two

Folio 1
Description: "Yume Nikki" in Japanese hiragana
Location: obtained by default
Folio 2
Clarification: Sketch of blood pool
Location: obtained by default
Pages 3 & 4

Folio 3
Description: Poniko & Uboa sketches
Location: explore the Pier, Nighttime Forest and Pinkish Sea.
Page 4
Description: Pier/Forest sketches
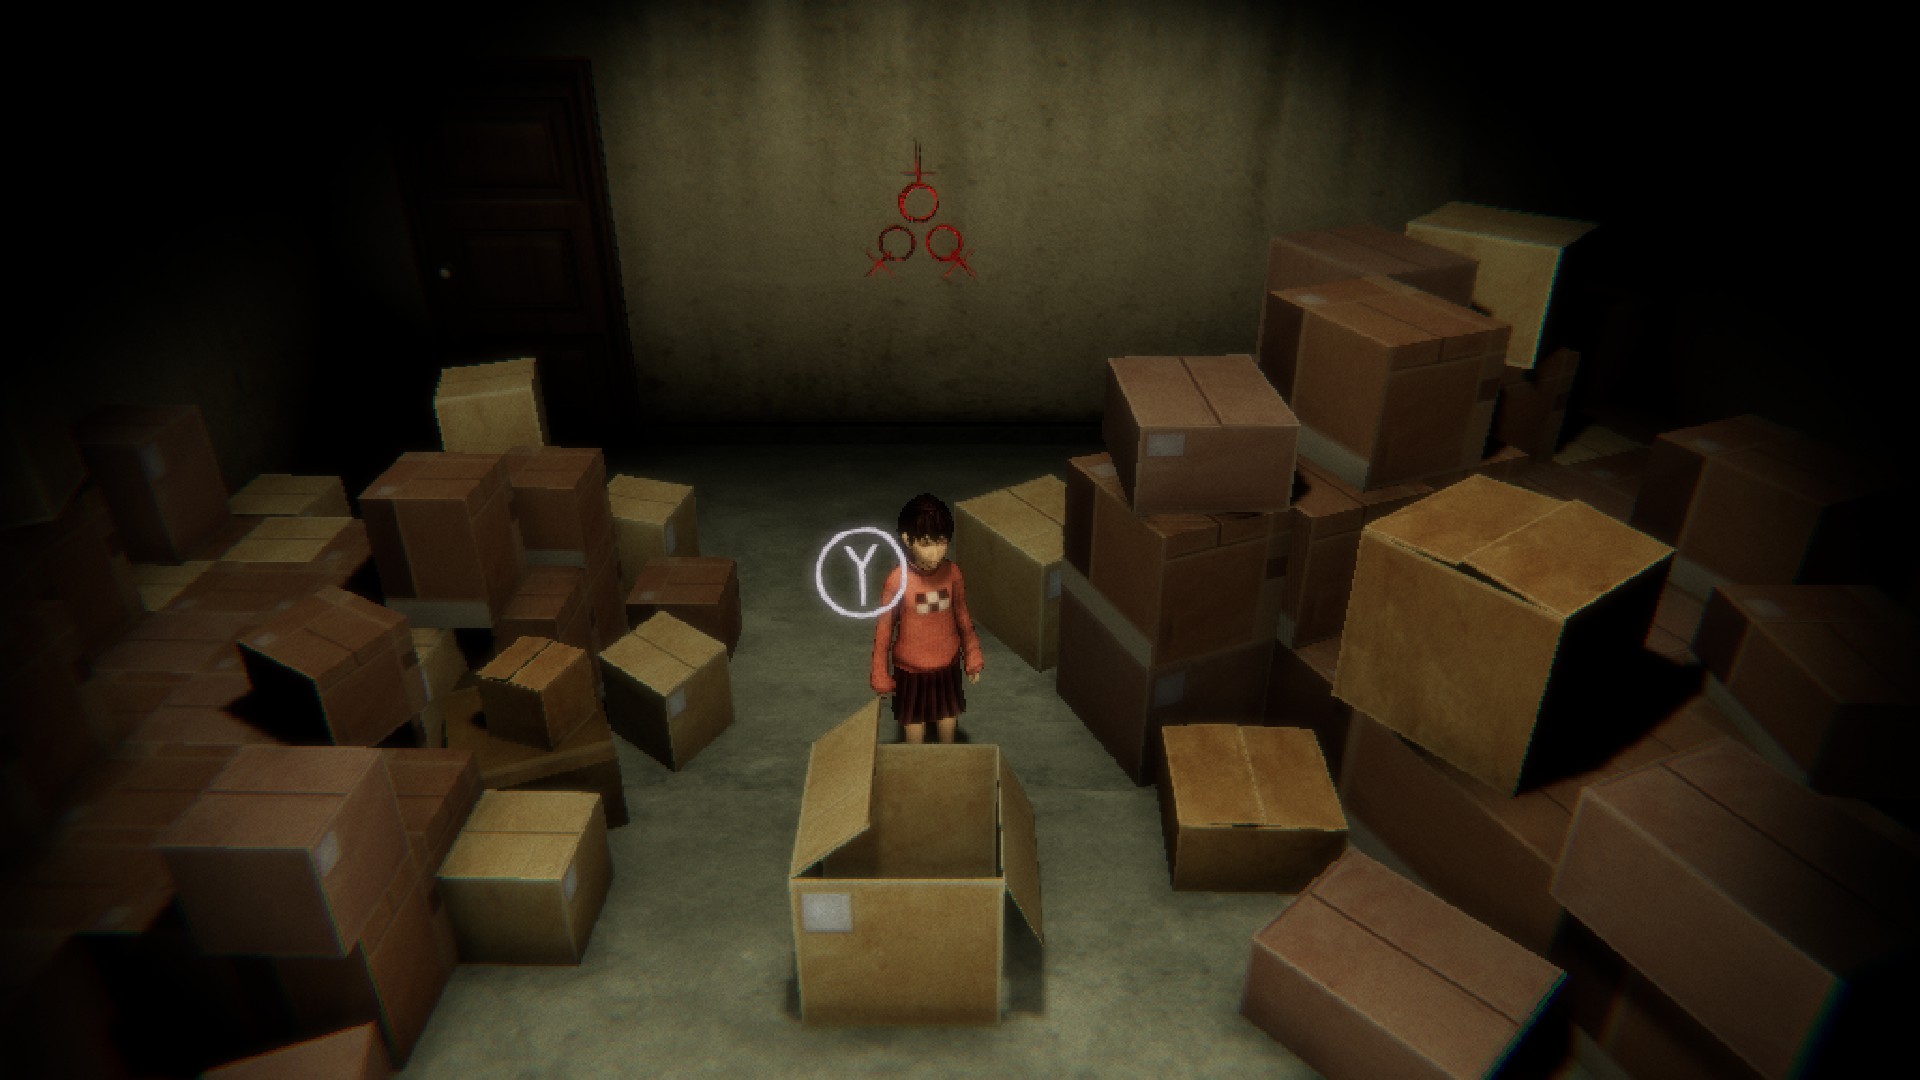
Location: aforementioned every bit higher up.
Annotation: The Yuki-onna sketch at the upper-correct corner is very easy to miss, as it only appears when you lot trigger a specific Easter egg. You don't need this sketch for the game to count your Dream Diary as 100% consummate. But if you lot really want information technology, I recommend getting the Umbrella Effect first.
To get the sketch, you need to consummate the lighthouse section of the Pier
as fast as possible in ane run. If you die one time, you need to wake upward and start the dream over. This is tricky, only doable. Y'all can safely accept cover behind the first 2 hiding spots y'all come beyond. But as soon equally the lighthouse's beacon touches the second hiding spot, outset moving immediately and try not to stop. If you manage to get to the next two hiding spots without stopping, you lot timed it correctly. Apply the Umbrella to easily skip the platforms. Also use the Umbrella at the last stretch of the lighthouse section (the shallow water before you reach the Woods). Don't worry, the lighthouse's beacon won't impale you lot here. Continue through the Forest until you reach the igloo. Whatever you do, do Not enter the Hamsa door side by side to Kimajo (tree monster) . This will cause the Yuki-onna to despawn and you'll have to do the lighthouse section over again.When you lot accomplish the igloo, cheque the upper-correct part of the screen for a spotlight with a effigy continuing in it. While it'south hard to encounter due to being so far abroad (and it'southward snowing heavily...), that is the Yuki-onna. Seeing her volition give you the Yuki-onna sketch for folio 4.
Pages 5 & 6
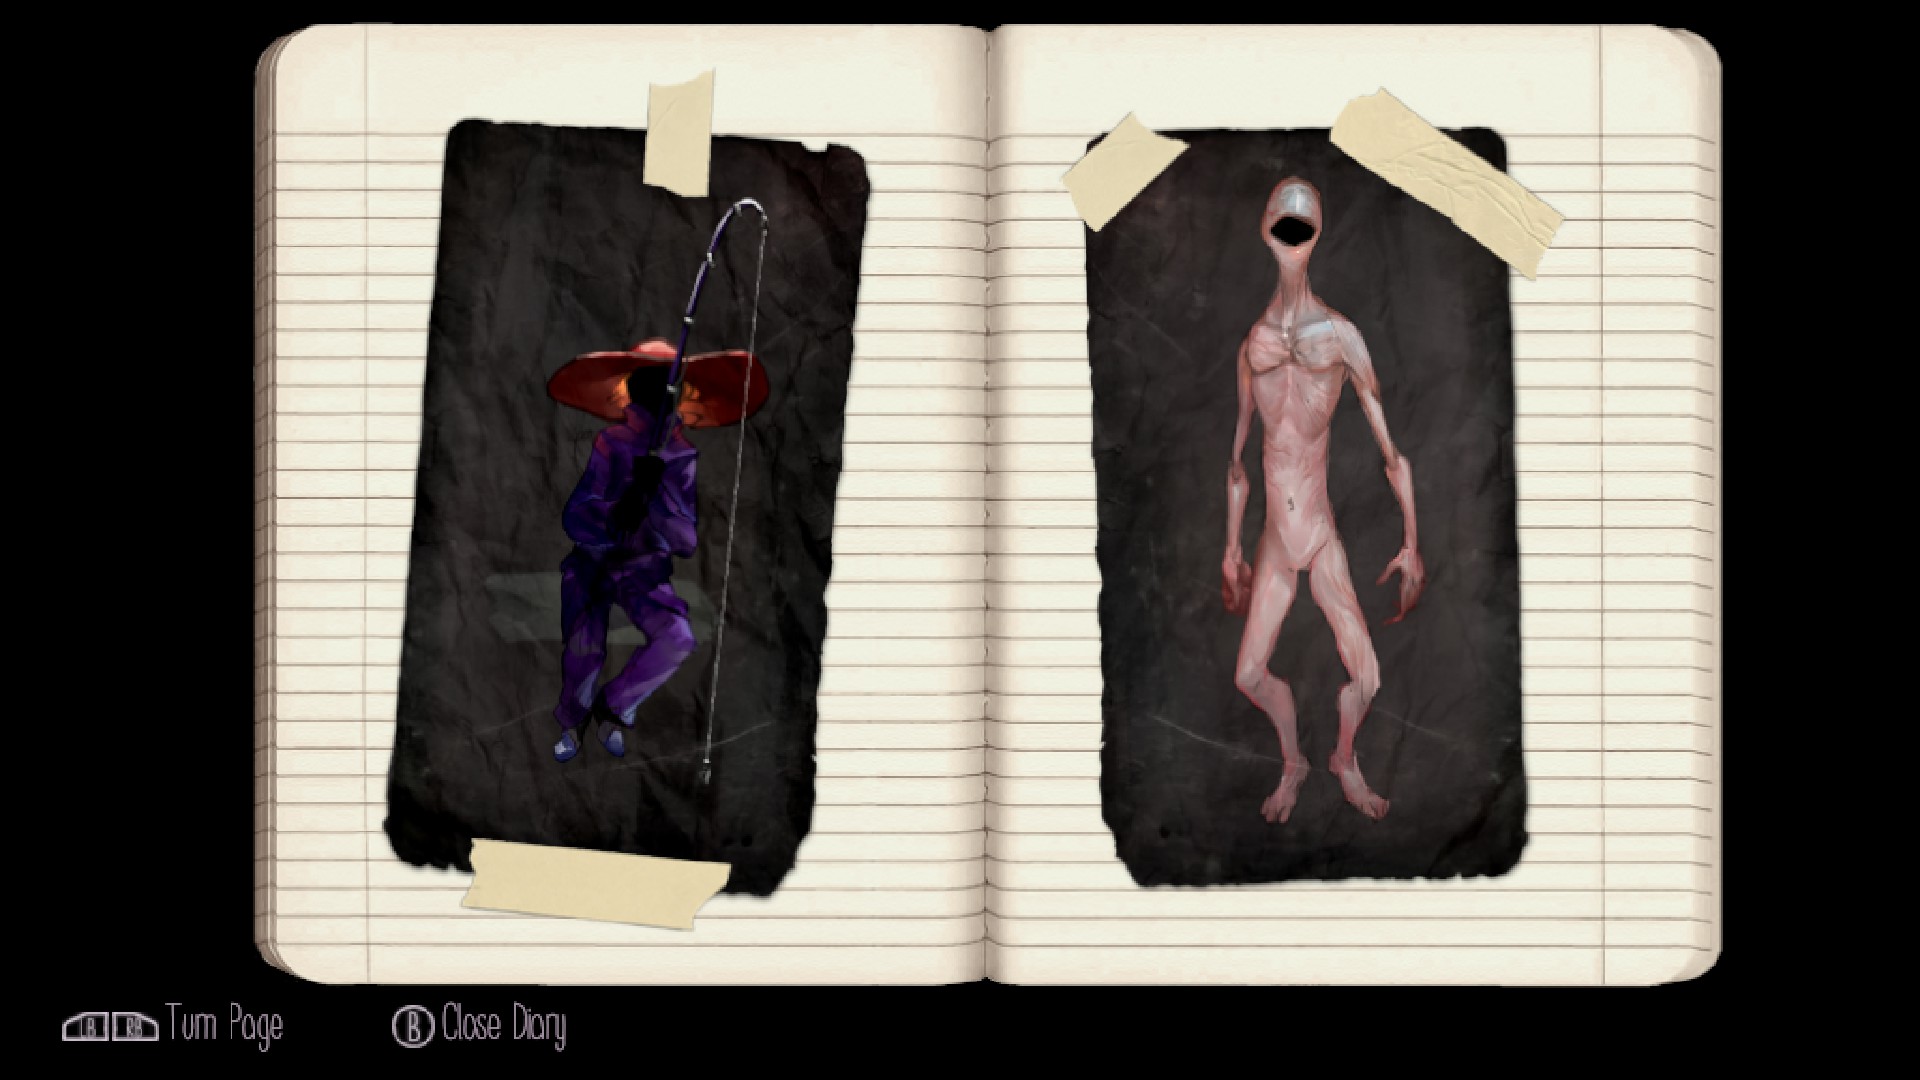
Page v

Description: The Fisherman
Location: Pier. Go to the screen with the Strober NPC, where you obtained the Forest Plank and the Hamsa upshot. Employ the Hamsa effect here.
Page vi
Description: Strober
Location: Pier. Give Strober the Distressing Fish item. As he leaves, he will drop this collectible on the basis.
Pages 7 & 8
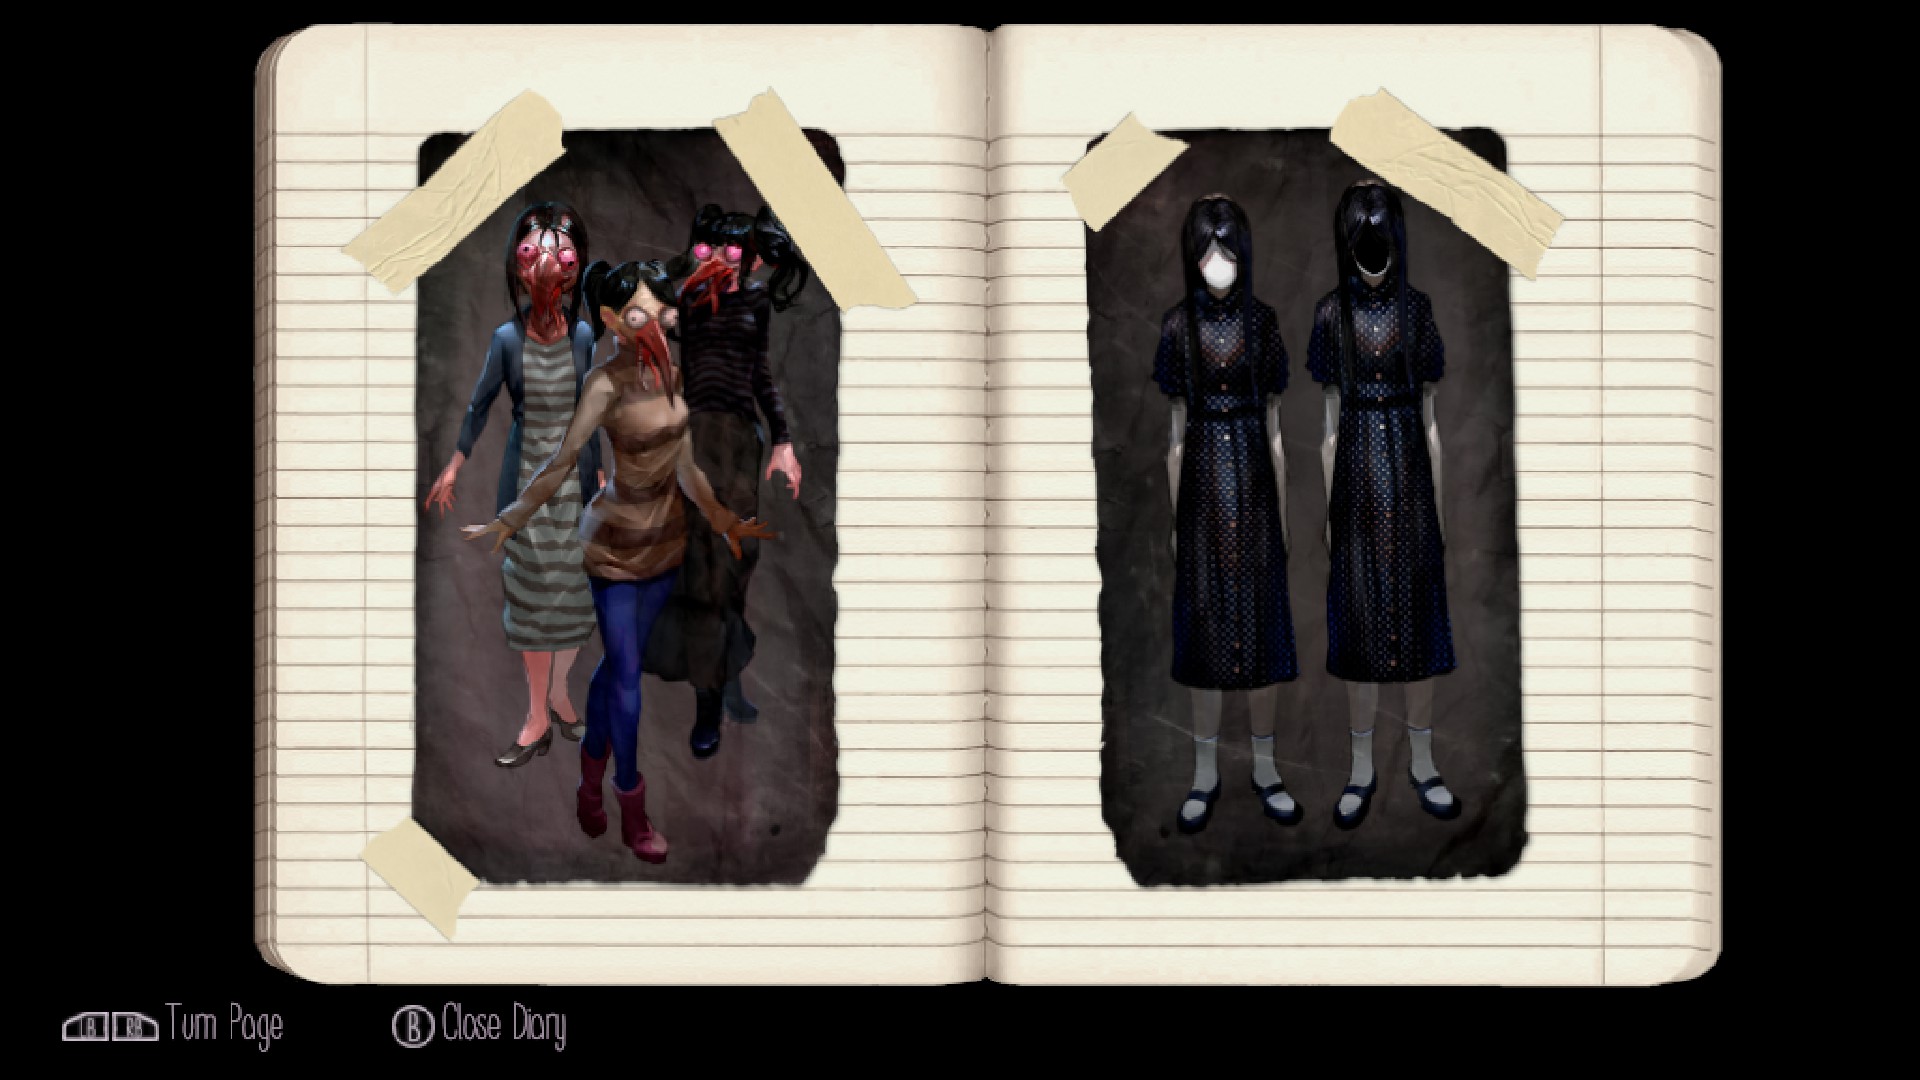
Folio vii
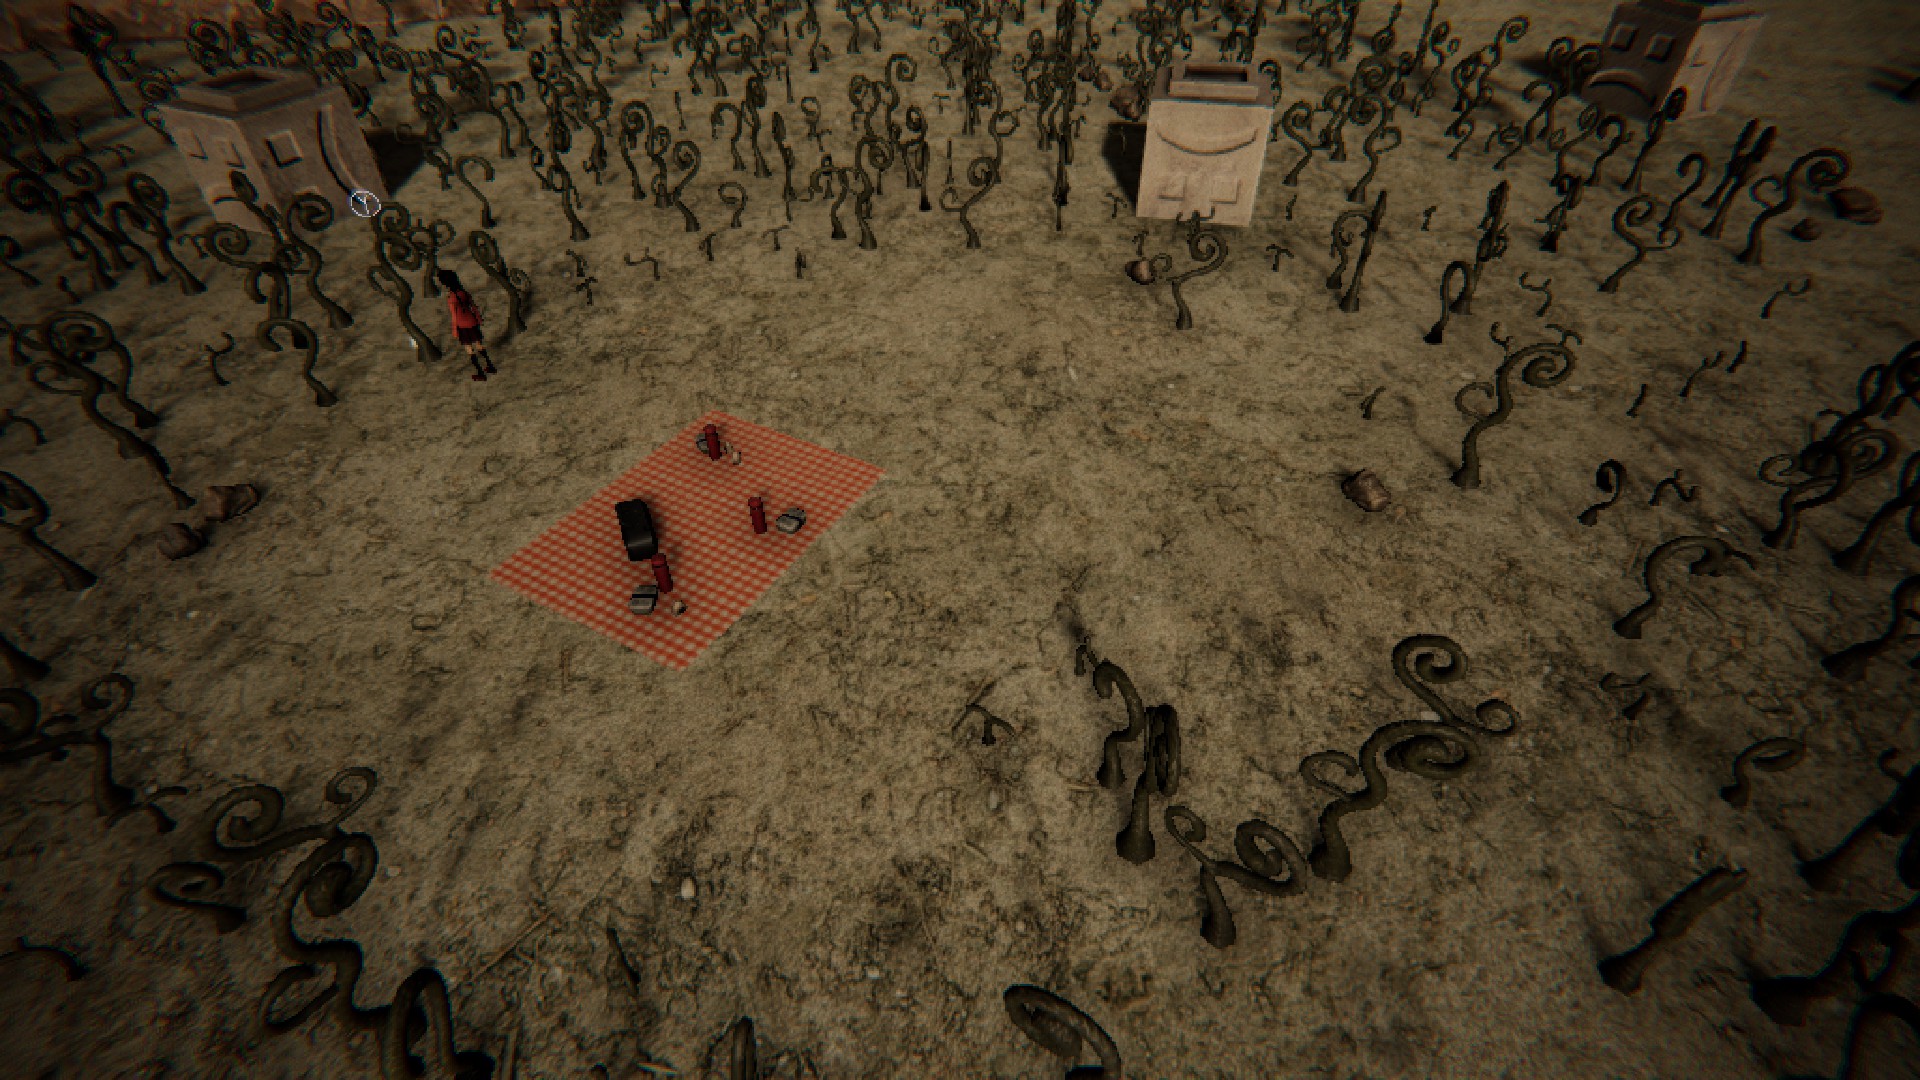
Description: Iii Toriningen
Location: Wilderness (same area as glyphs puzzle). Bank check the due west side of the map for a picnic setup. The collectible is hiding behind a constitute.
Page eight
Description: Nopperabou Witches
Location: Pier. Complete the lighthouse section and enter the nighttime forest. The collectible will exist hiding behind a tree in the foreground.
Pages nine & 10

Page 9
Description: Poniko
Location: Pinkish Sea (past the Pier and Nighttime Forest). At the first airship you come up across, motility southward to find a partially submerged island. There will be a white sparkle underwater.
Page 10
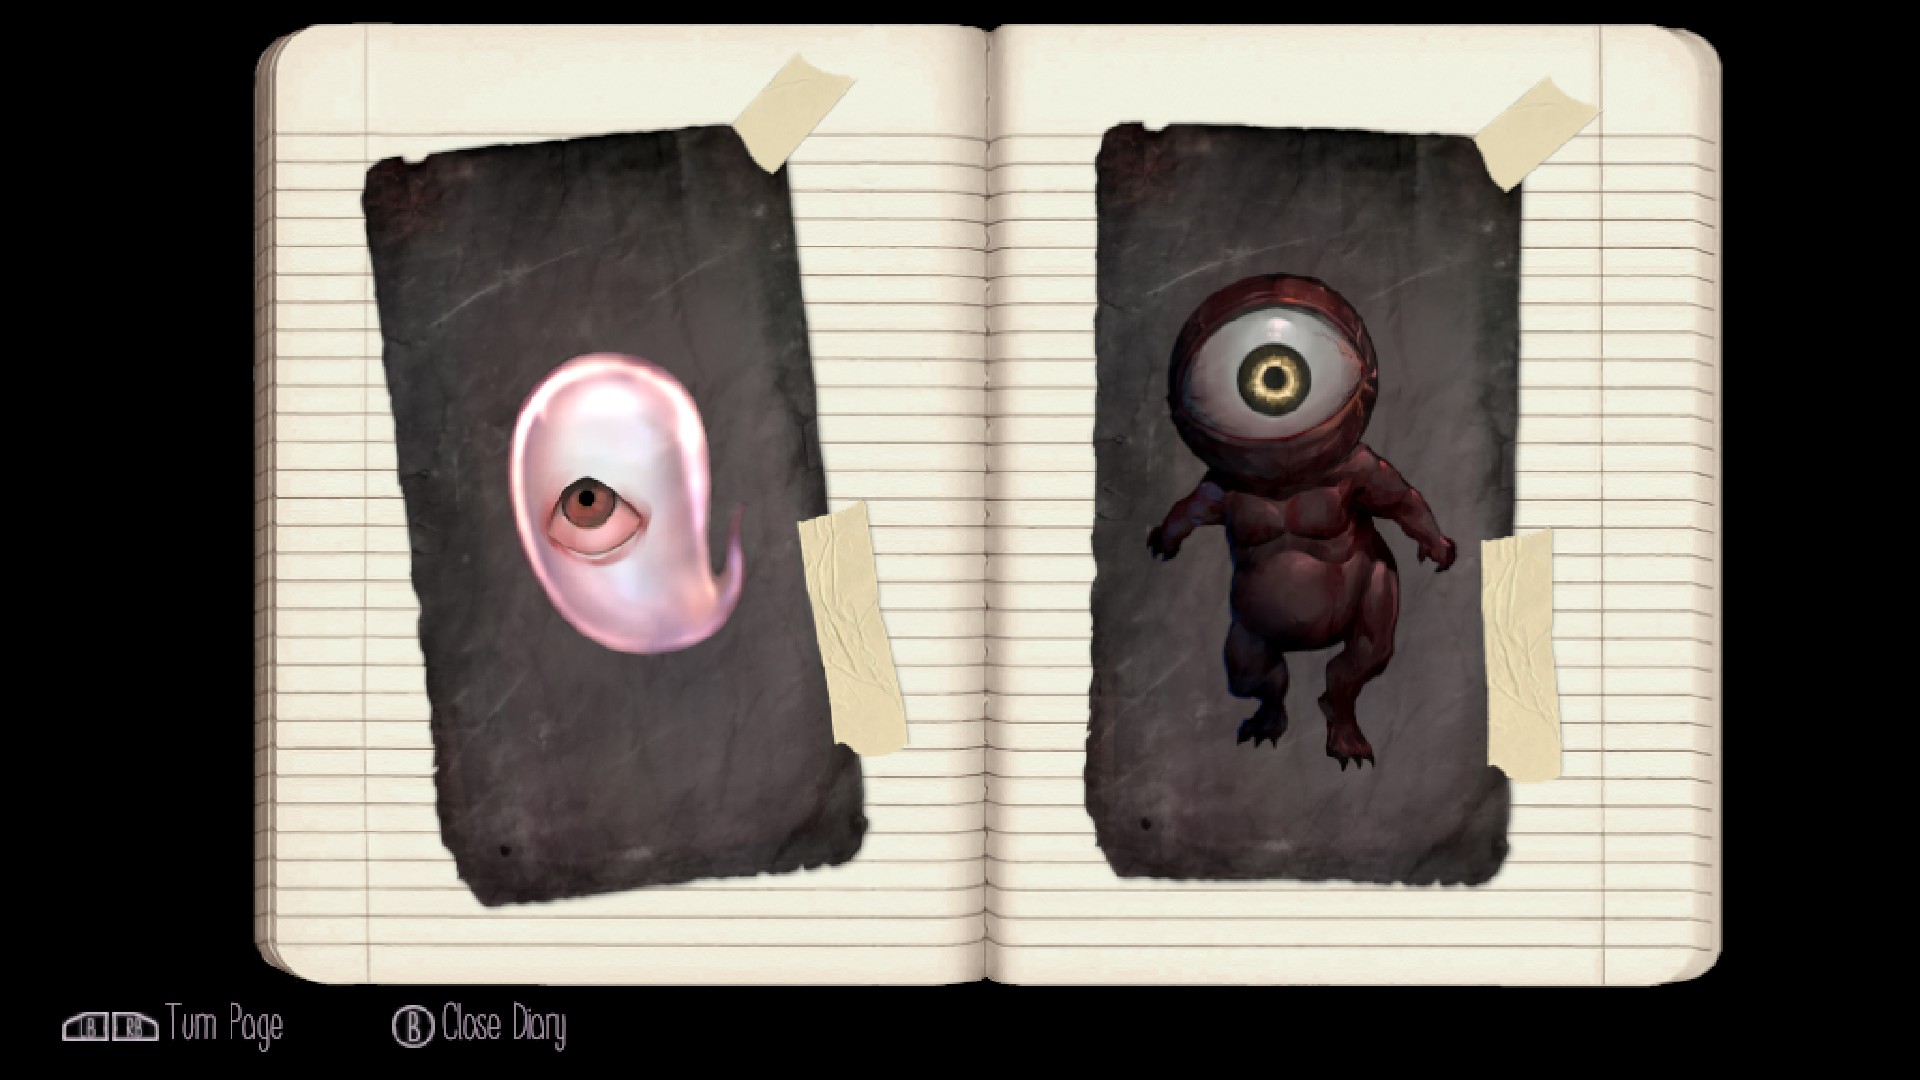
Description: Uboa
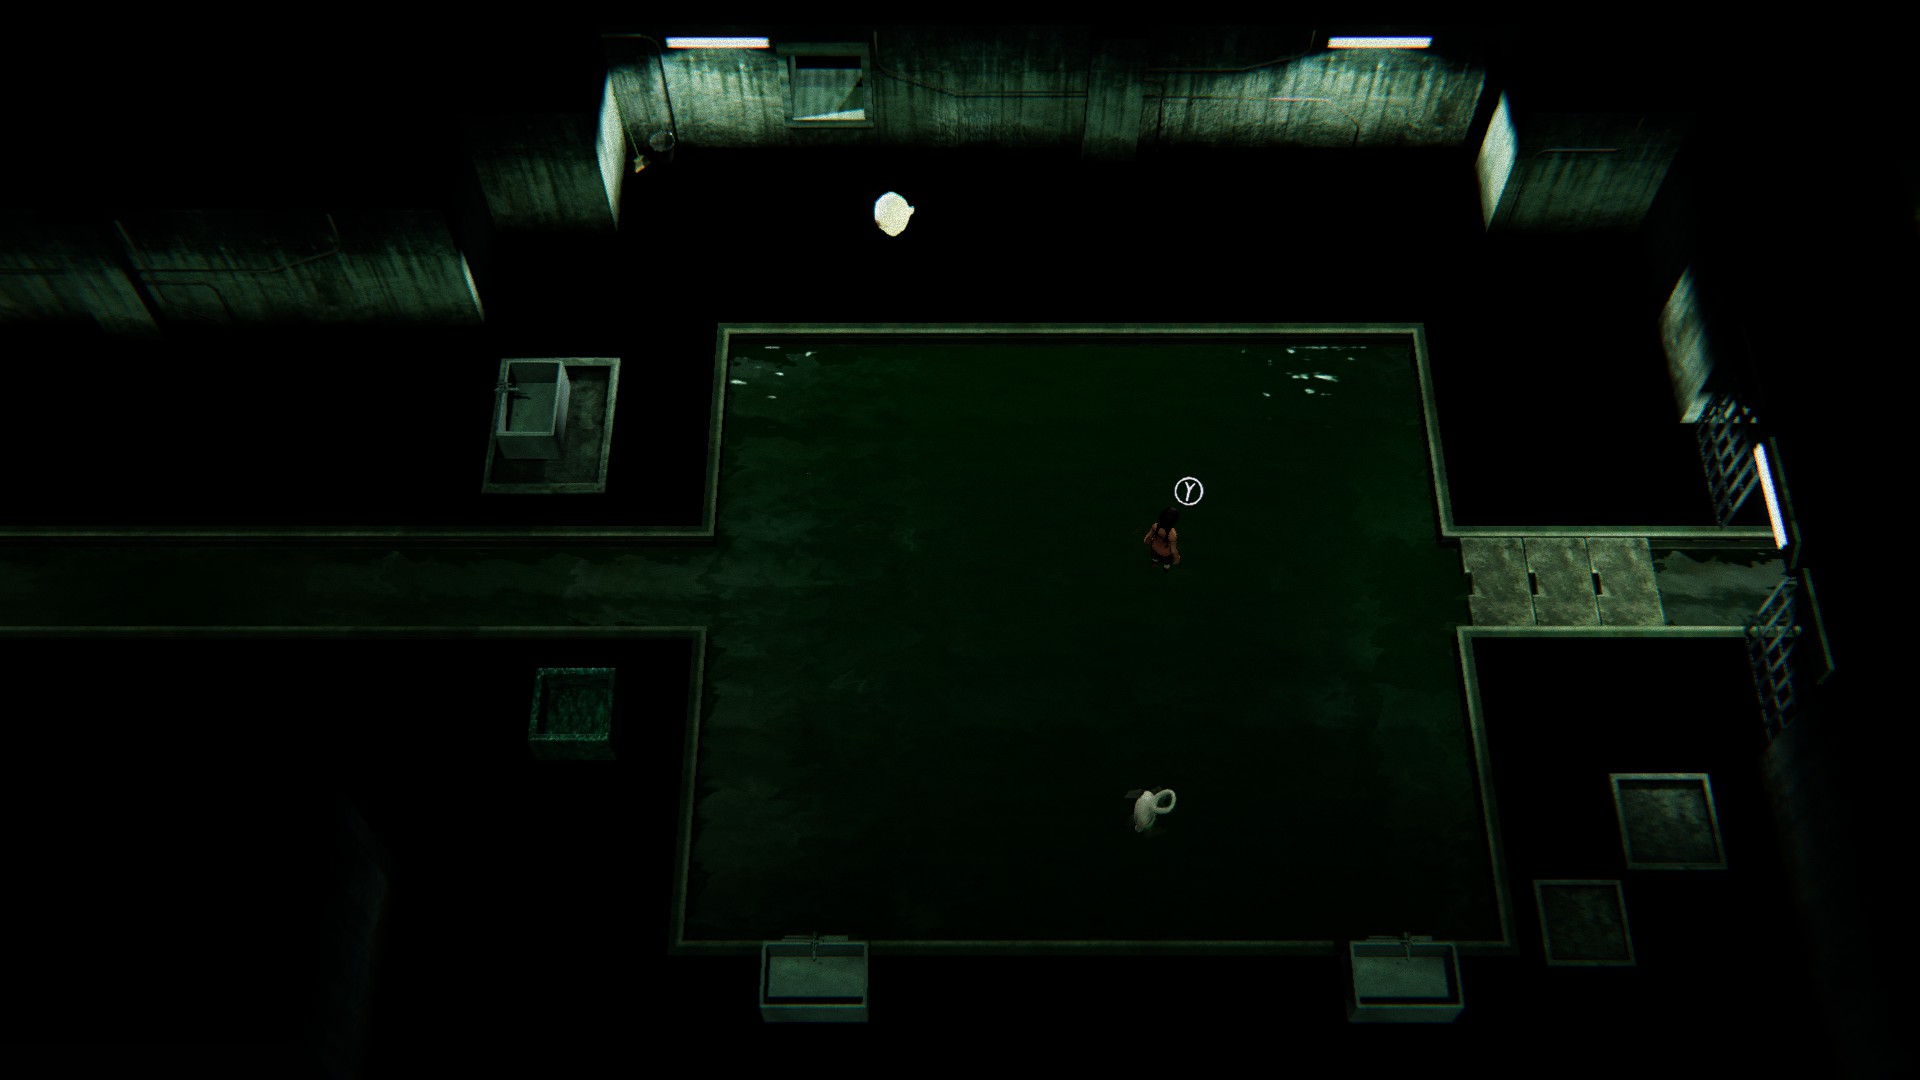
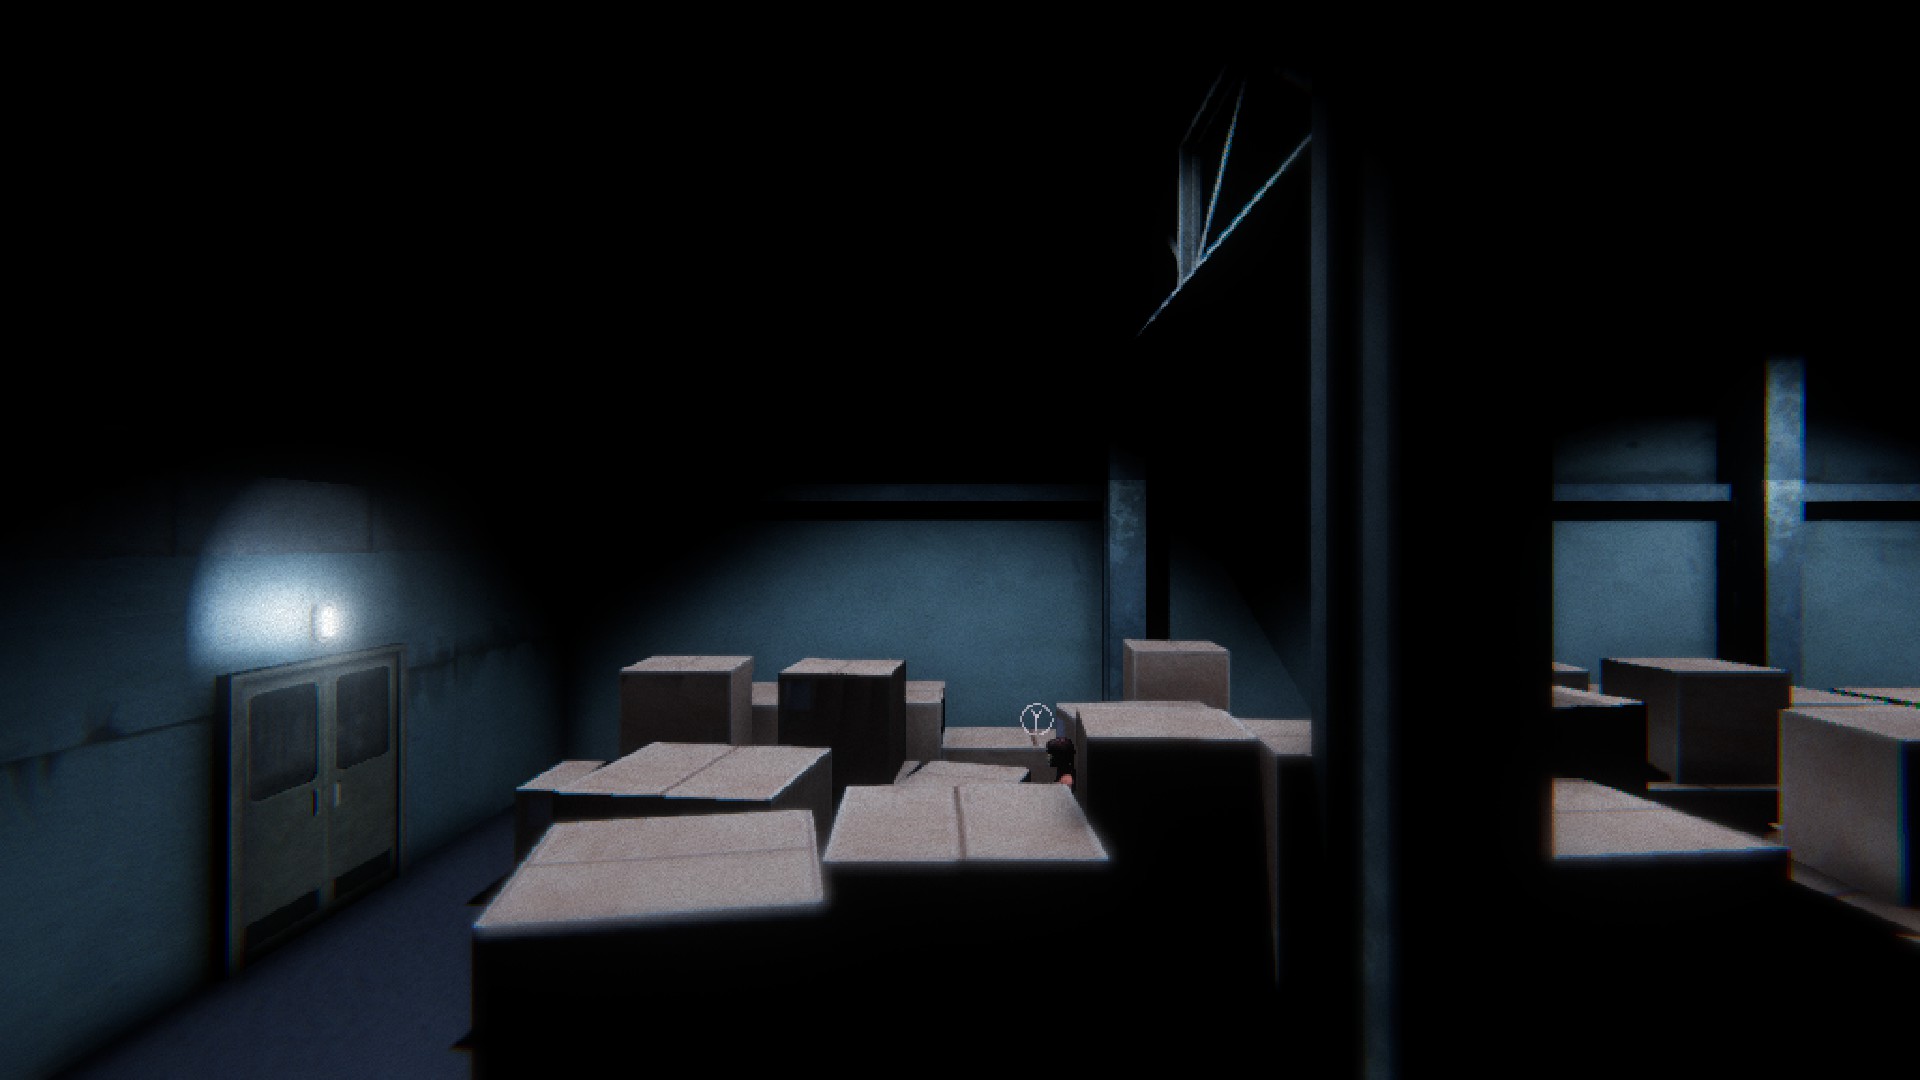
Location: Last Surface area, first floor. Enter the room to the far correct of the hallway (past the elevator). Search within the open cardboard box.
Pages eleven & 12
Page 11
Description: Heaven Garden sketches
Location: Complete the glyphs puzzle at the Wilderness and explore the Heaven Garden.
Page 12
Description: Wilderness sketches
Location: Explore both Wilderness areas and the train.
Pages thirteen & 14
Page 13

Description: Pirori
Location: Billet Settlement. Check the west side of town behind some boxes.
Page 14
Description: Train Passenger
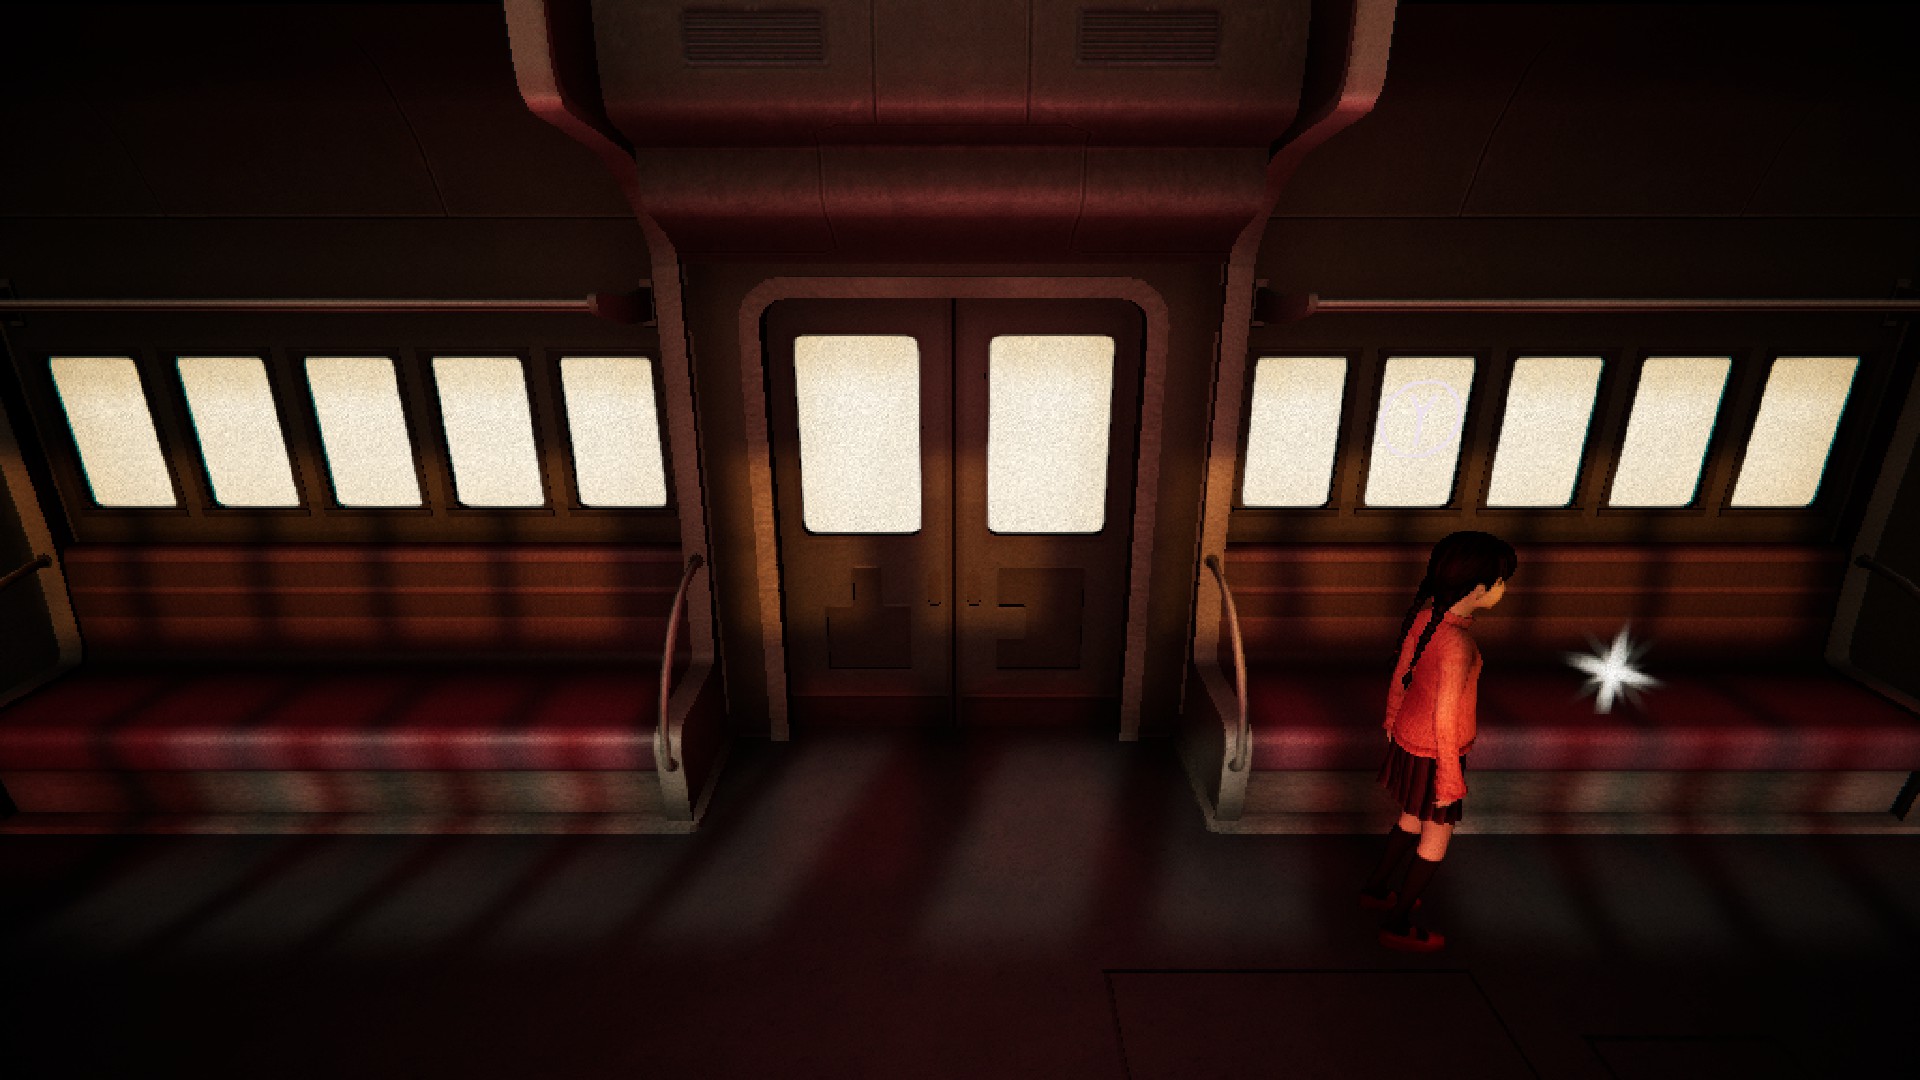
Location: Employ the Train at the Pier. In that location will be a white sparkle on one of the seats.
Pages xv & sixteen

Page 15
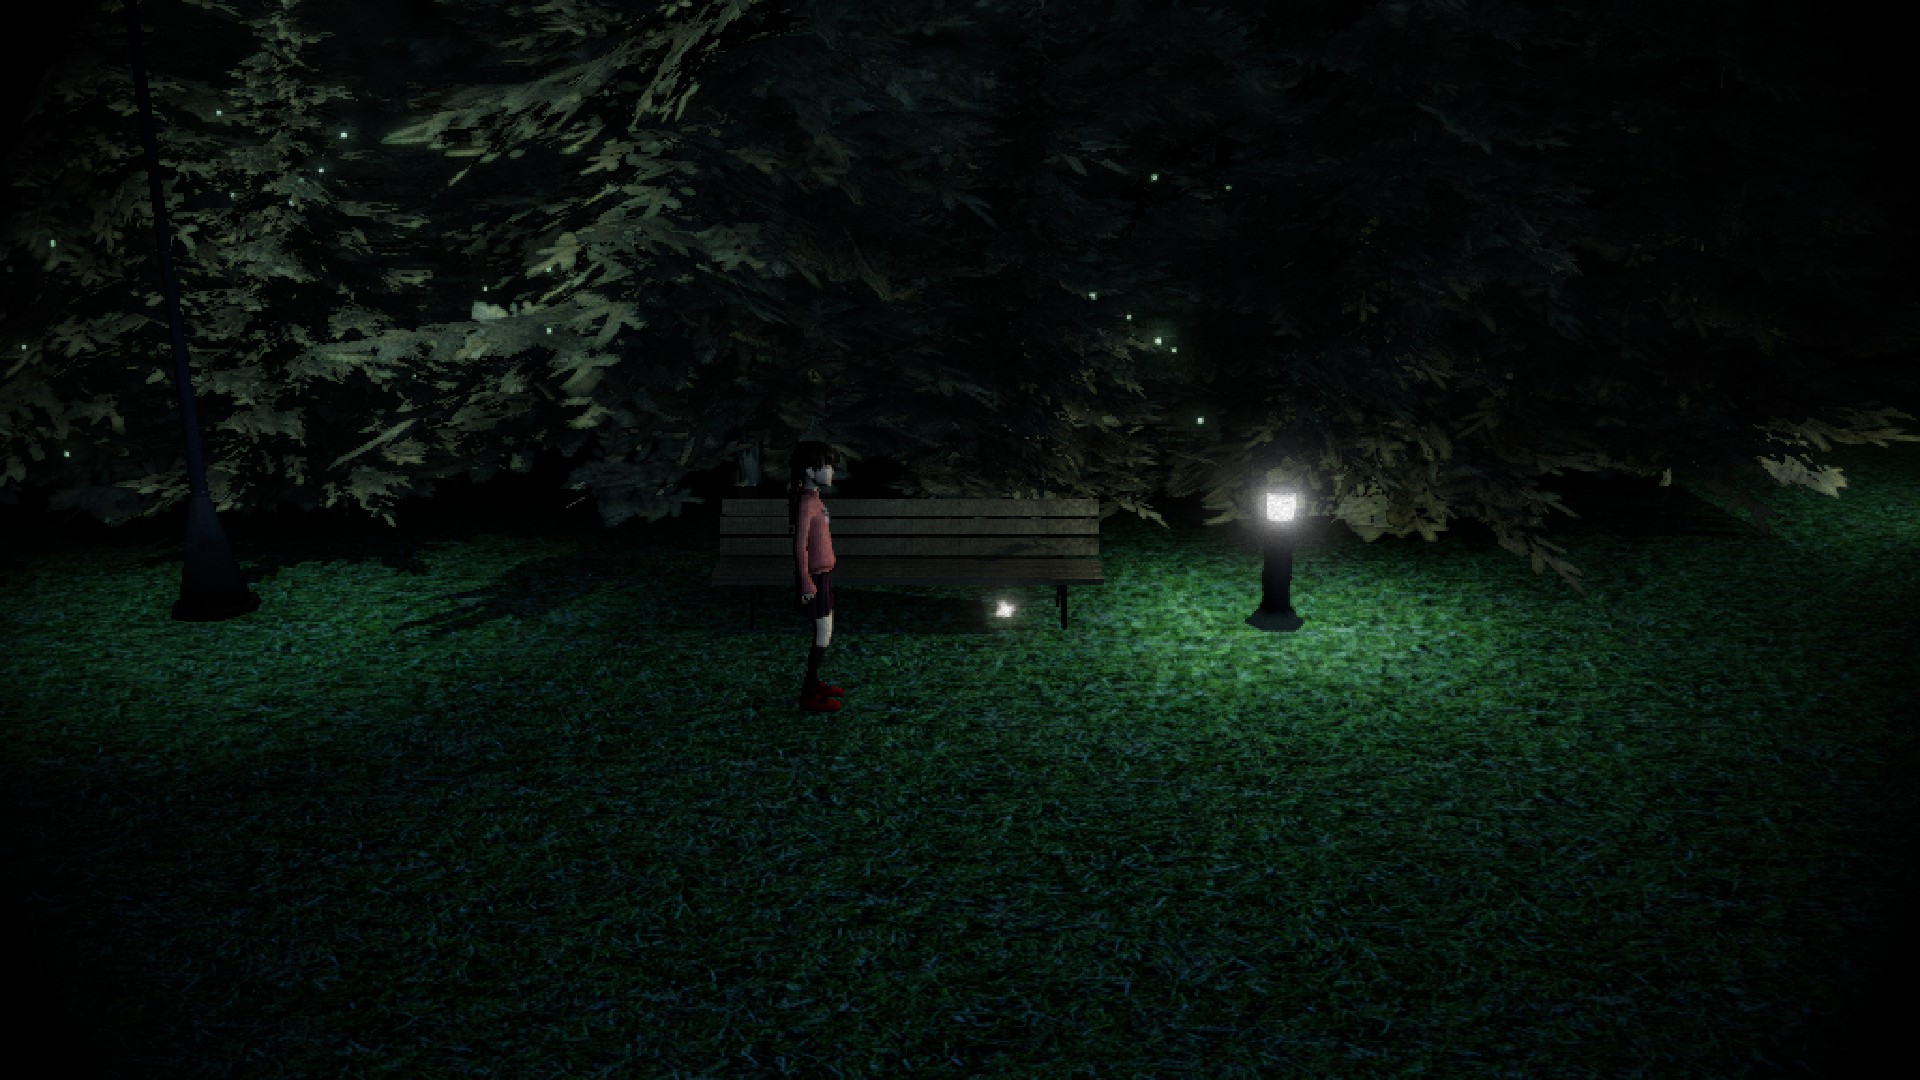
Description: Organoid
Location: Sky Garden. Consummate the glyphs puzzle at the Wilderness and enter the garden. The collectible will be hiding below ane of the benches.
Folio 16
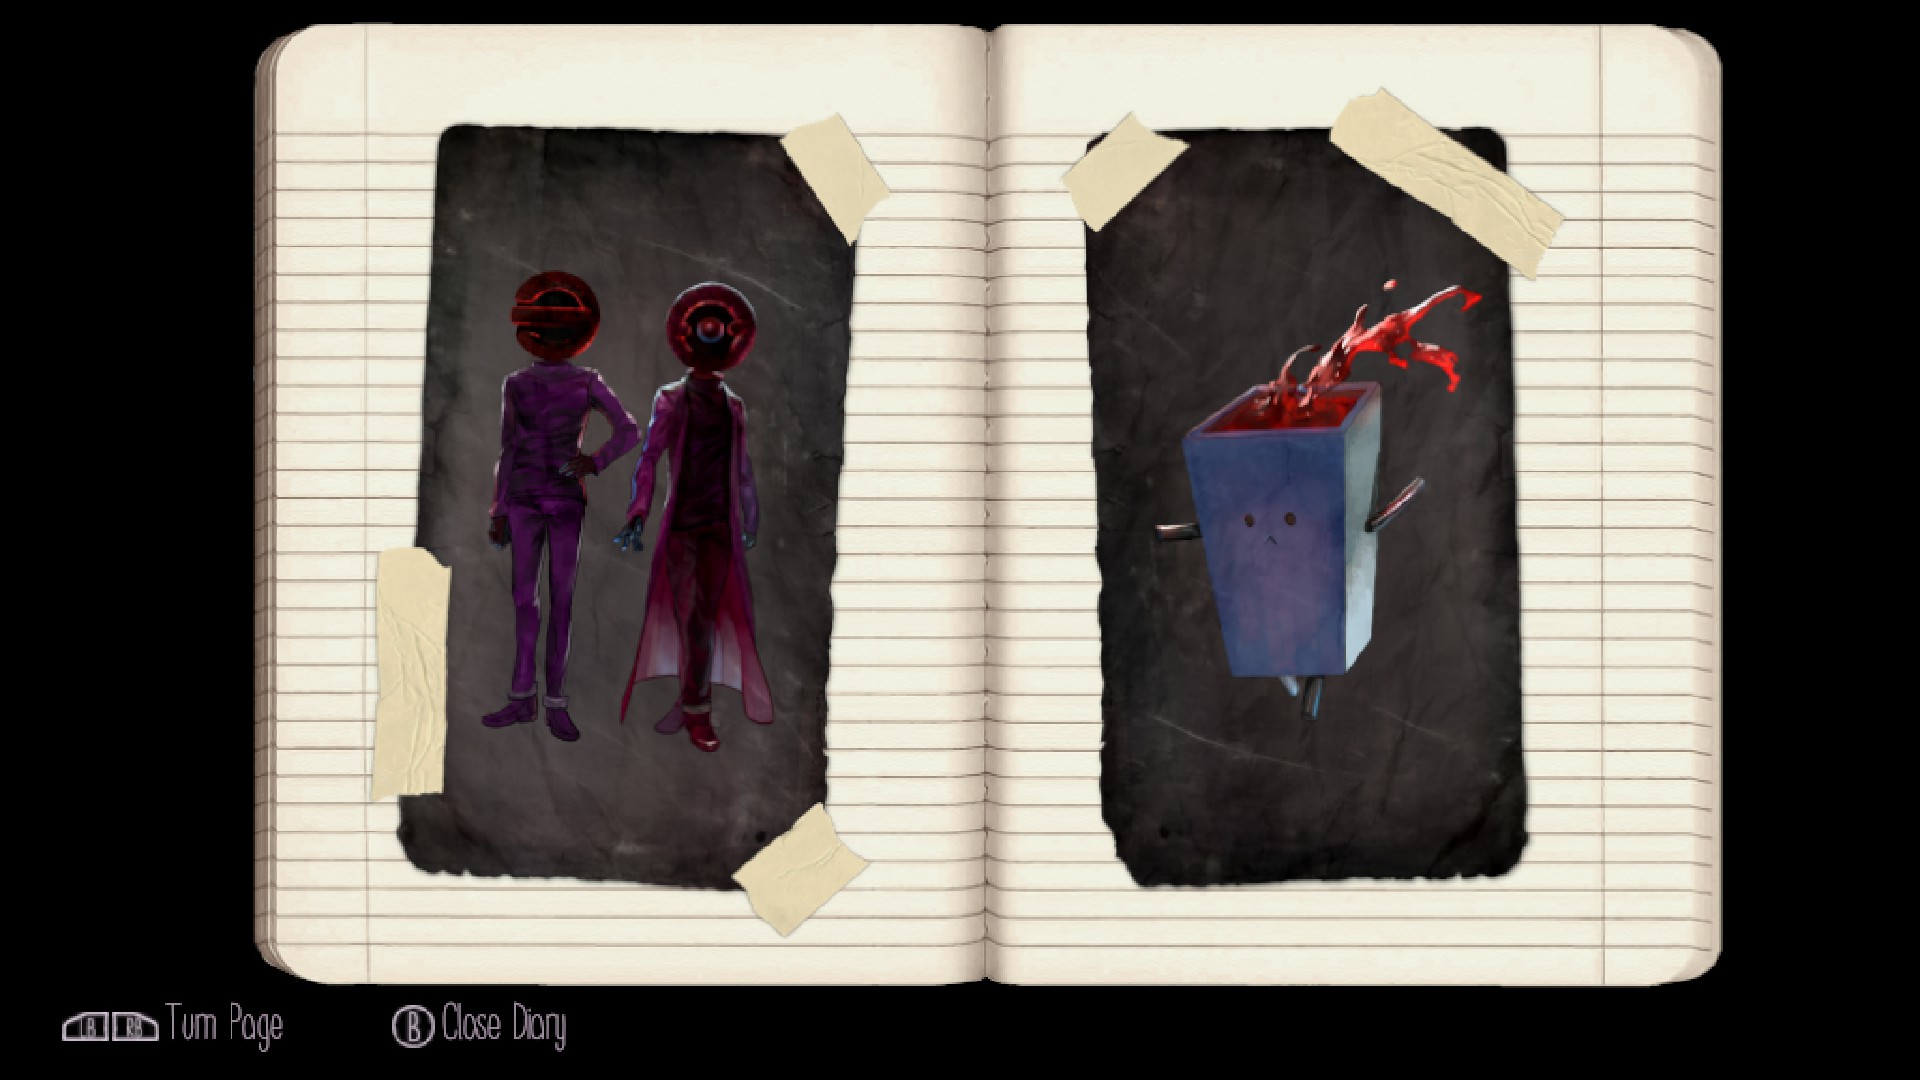
Clarification: Maussan Bros
Location: Sky Garden. Observe the Maussan Bros at the end and use the Hamsa effect.
Pages 17 & 18
Page 17
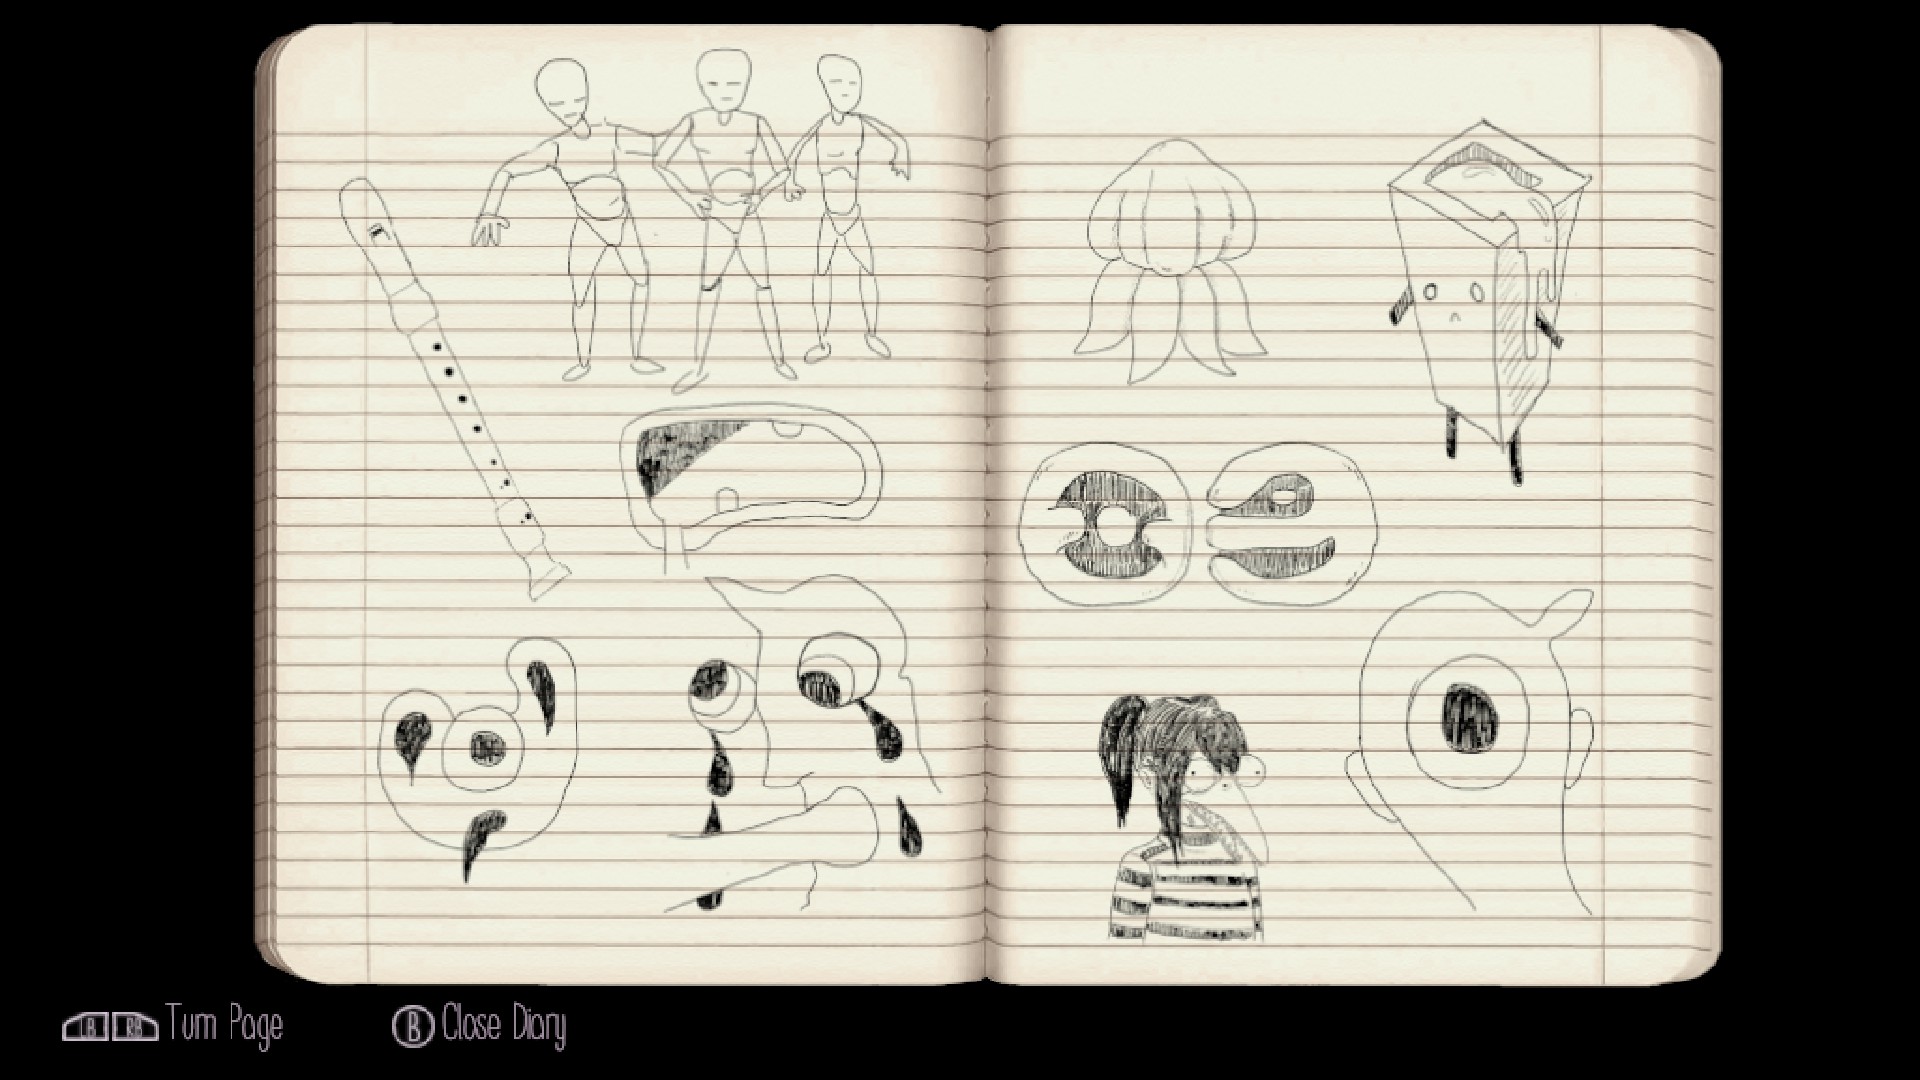
Clarification: Multiple sketches including Monoko, Onsen-san, ♥♥♥♥♥♥-san, Henkei ♥♥♥♥♥ and the Knife upshot.
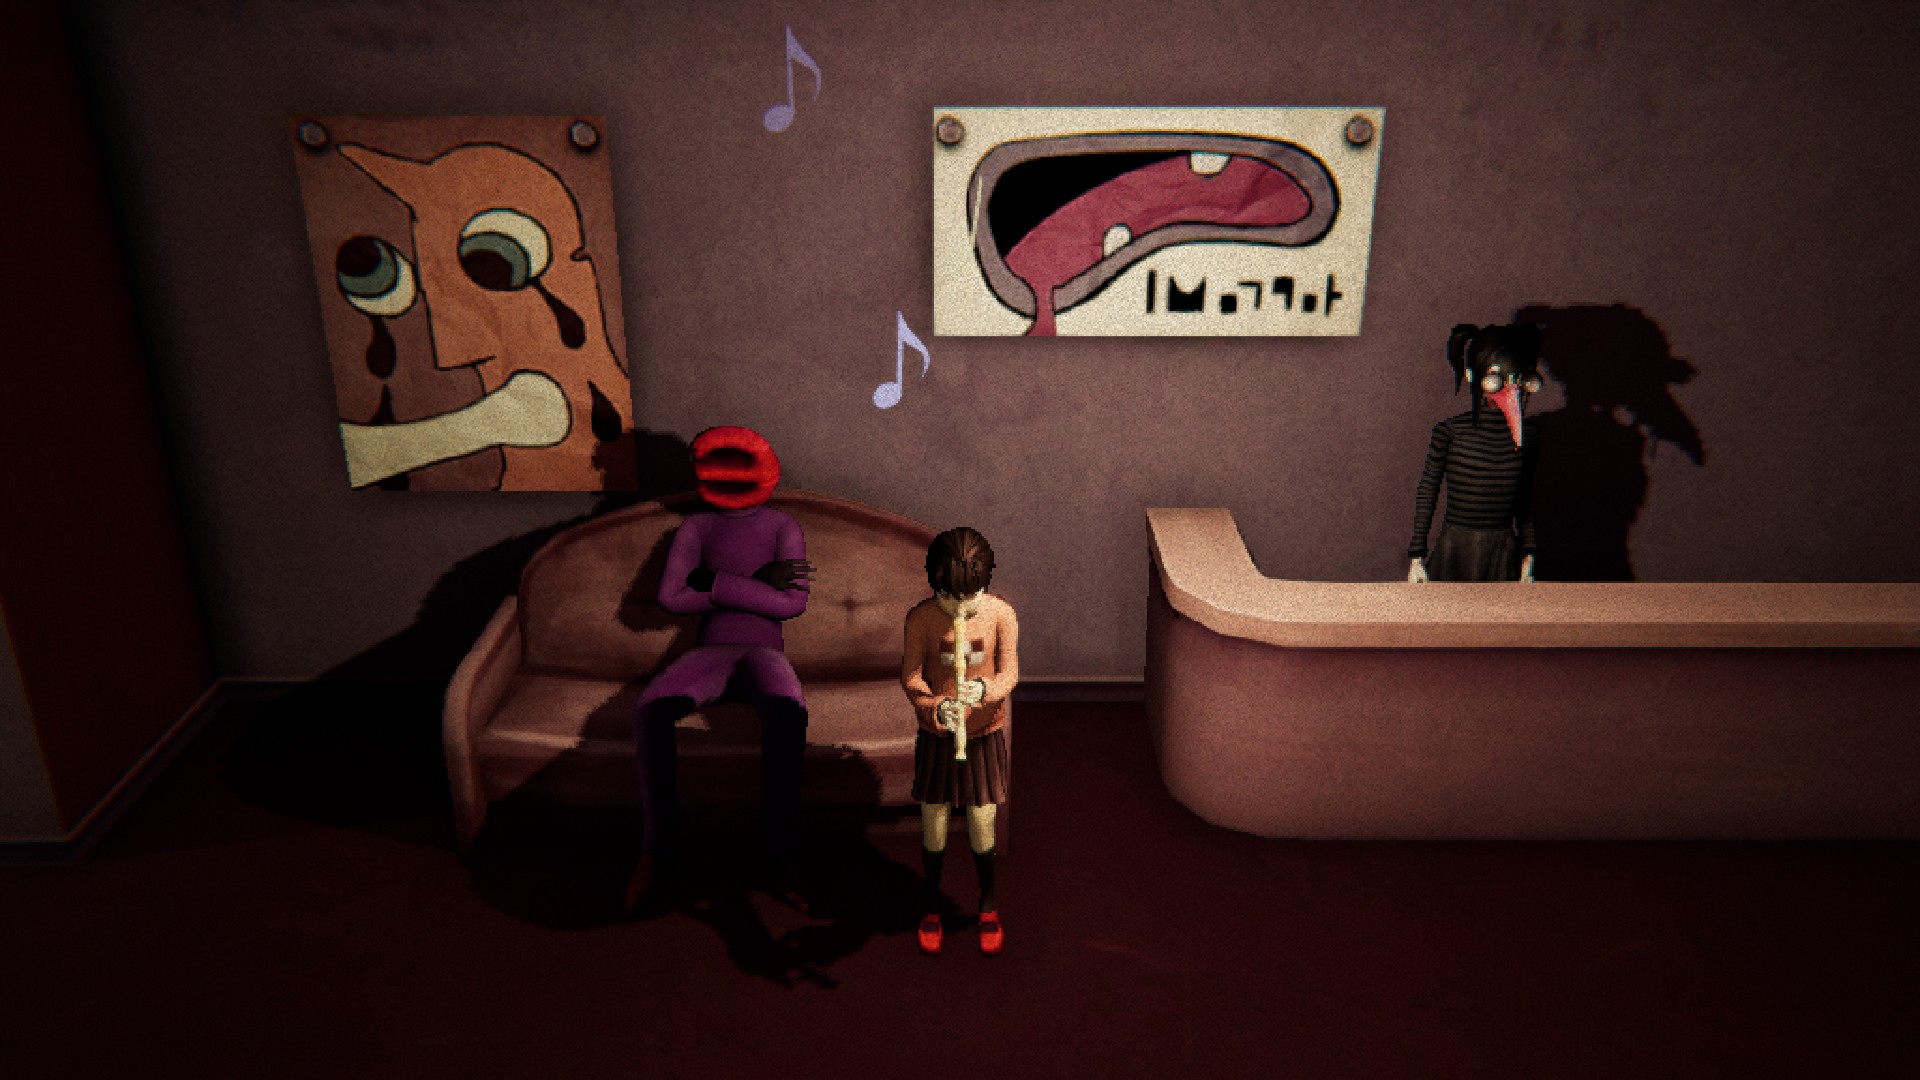
Location: Start from the Alley and complete the following sections until you lot encounter ♥♥♥♥♥♥-san. Complete the Alley a second fourth dimension to play through the Monoko event.
Page 18
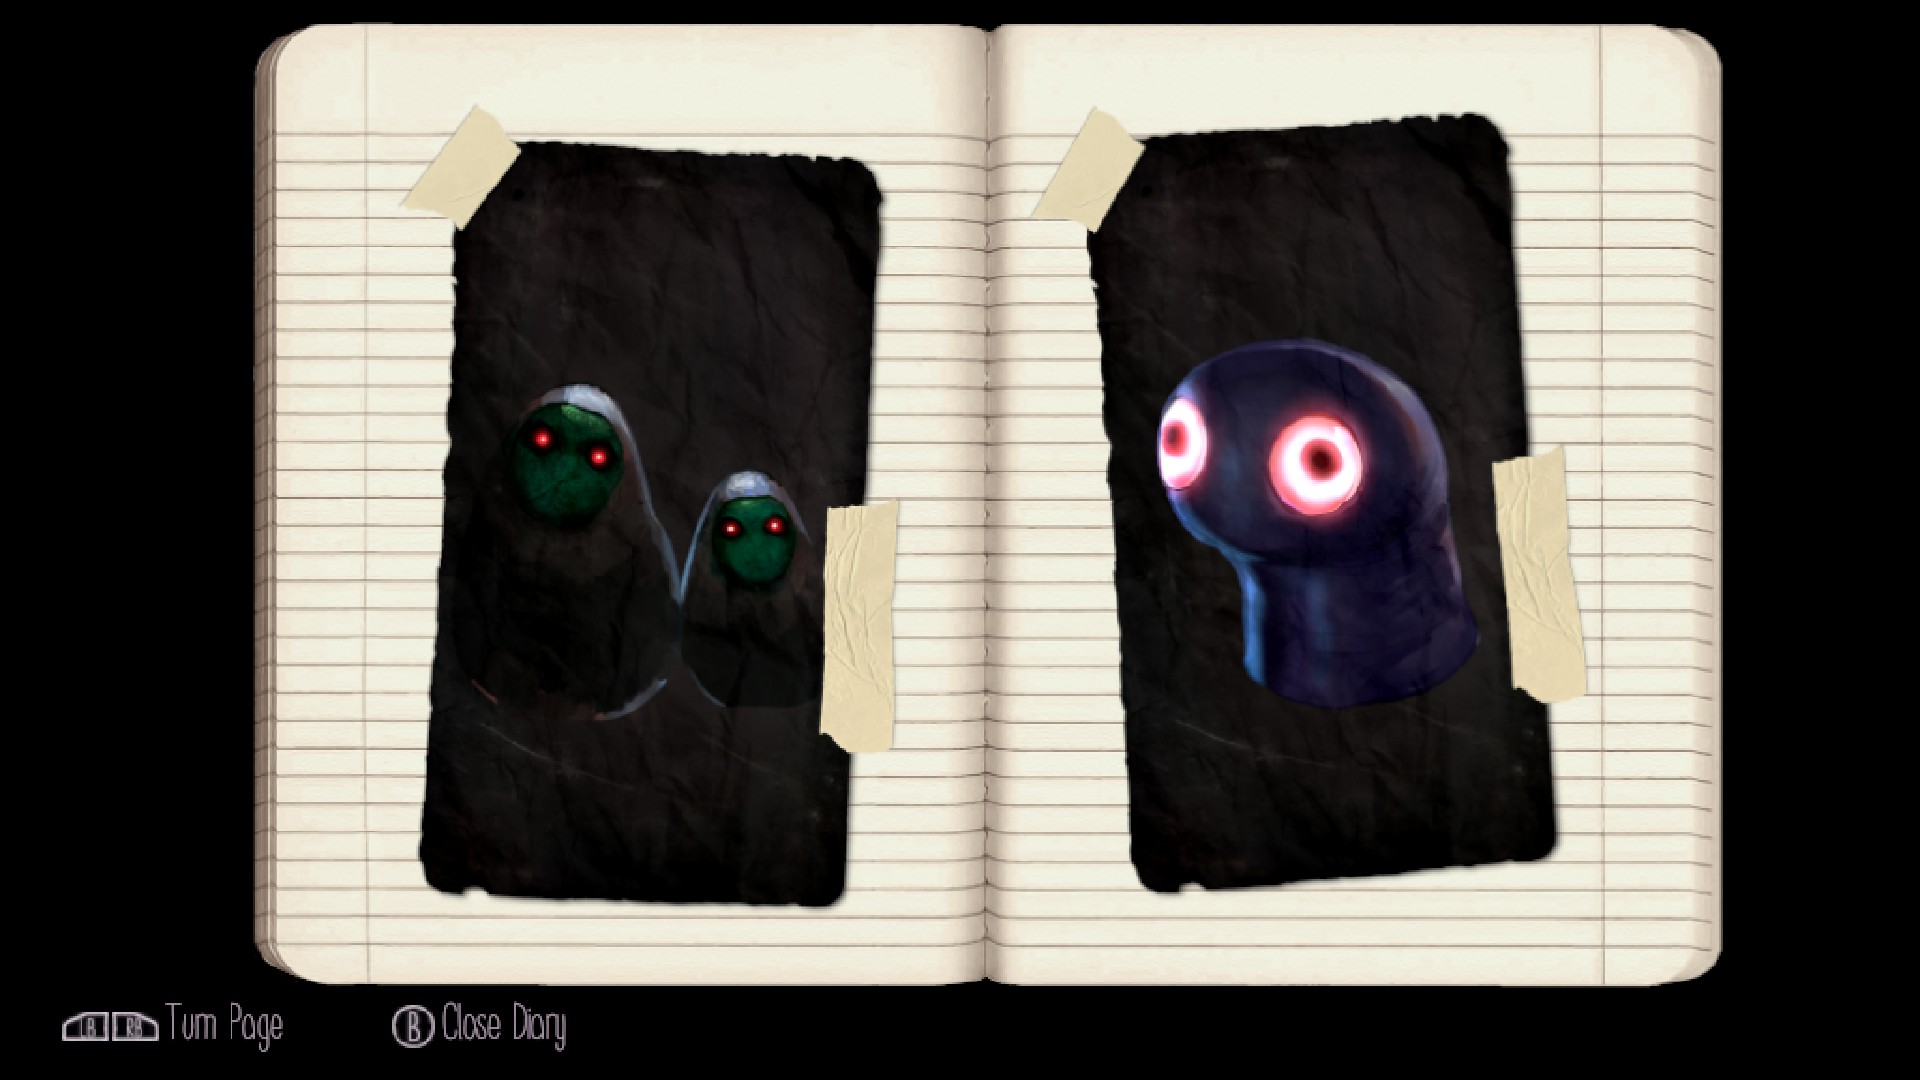
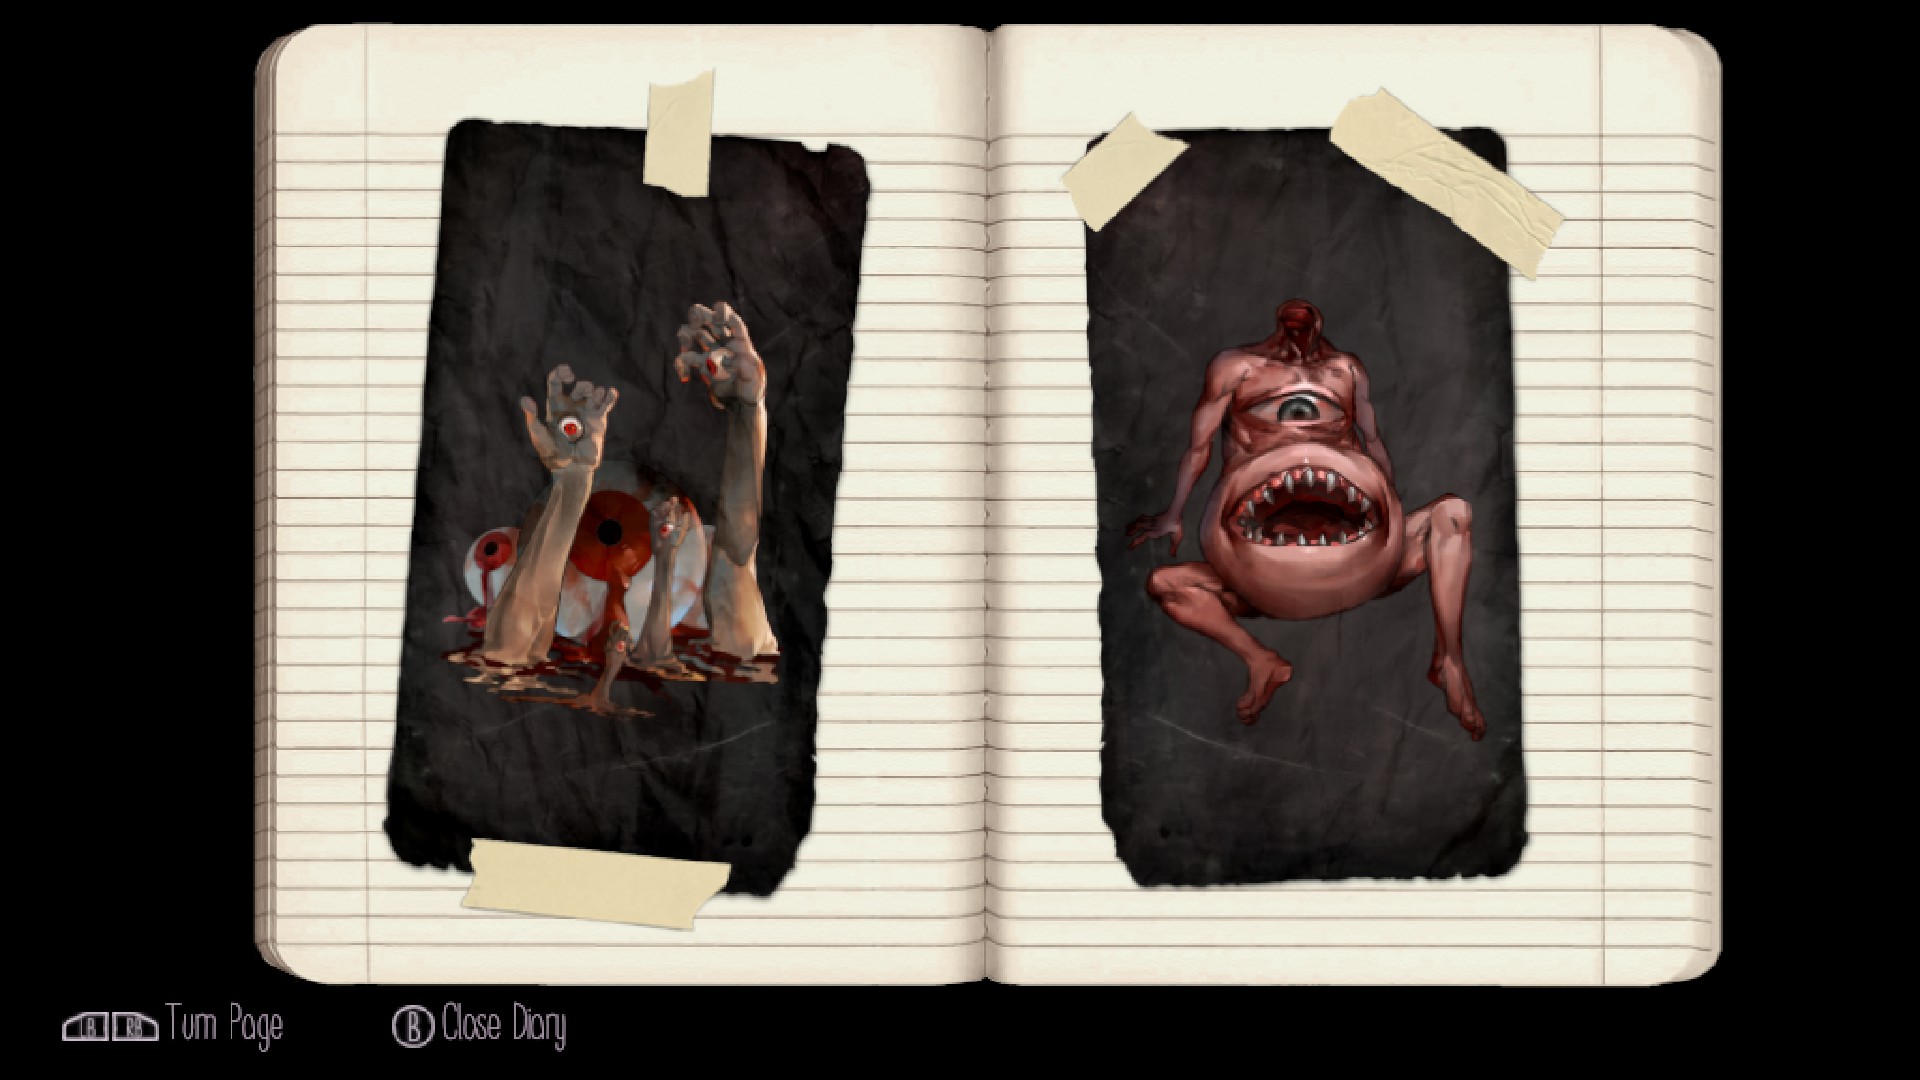
Clarification: Multiple sketches of Jellyfish, Eyeballs, Pissipissini, Alley Demon, and the Shadow Homo.
Location: same as above.
Pages 19 & 20
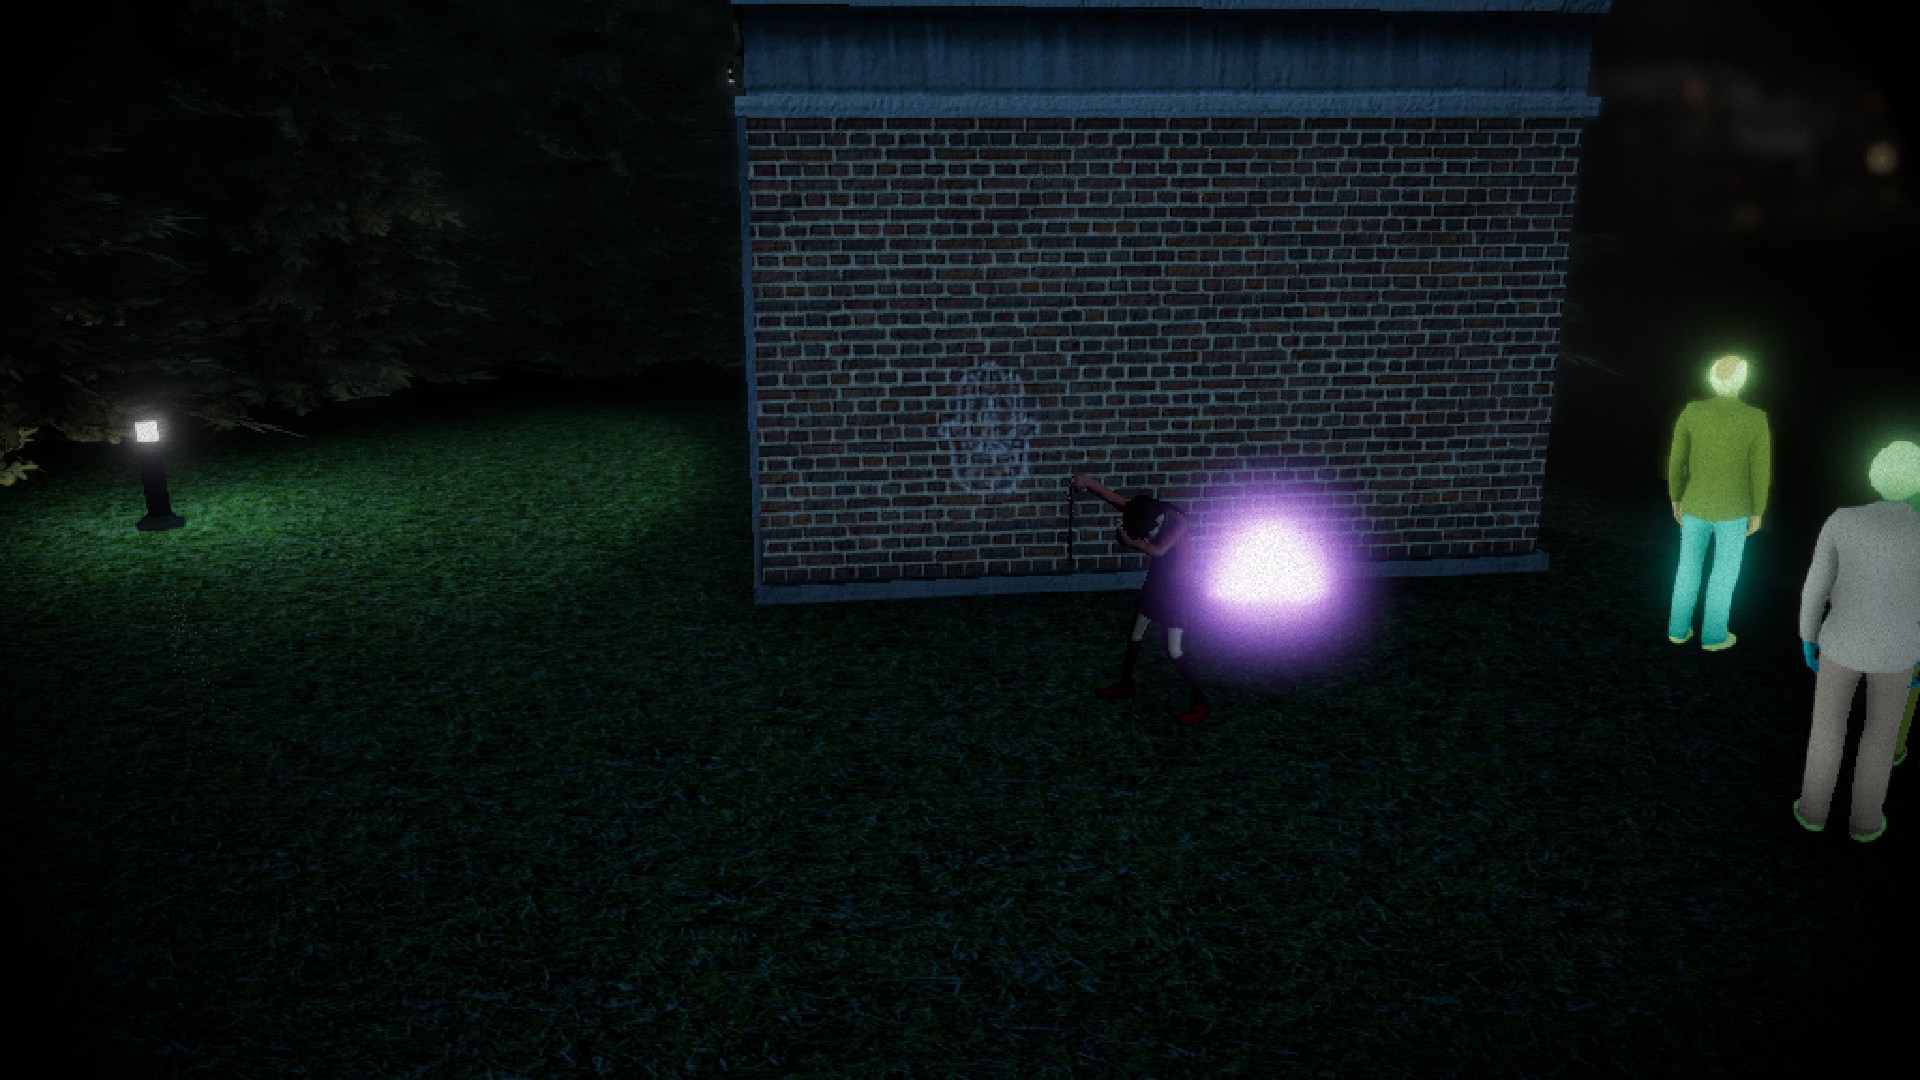
Page 19
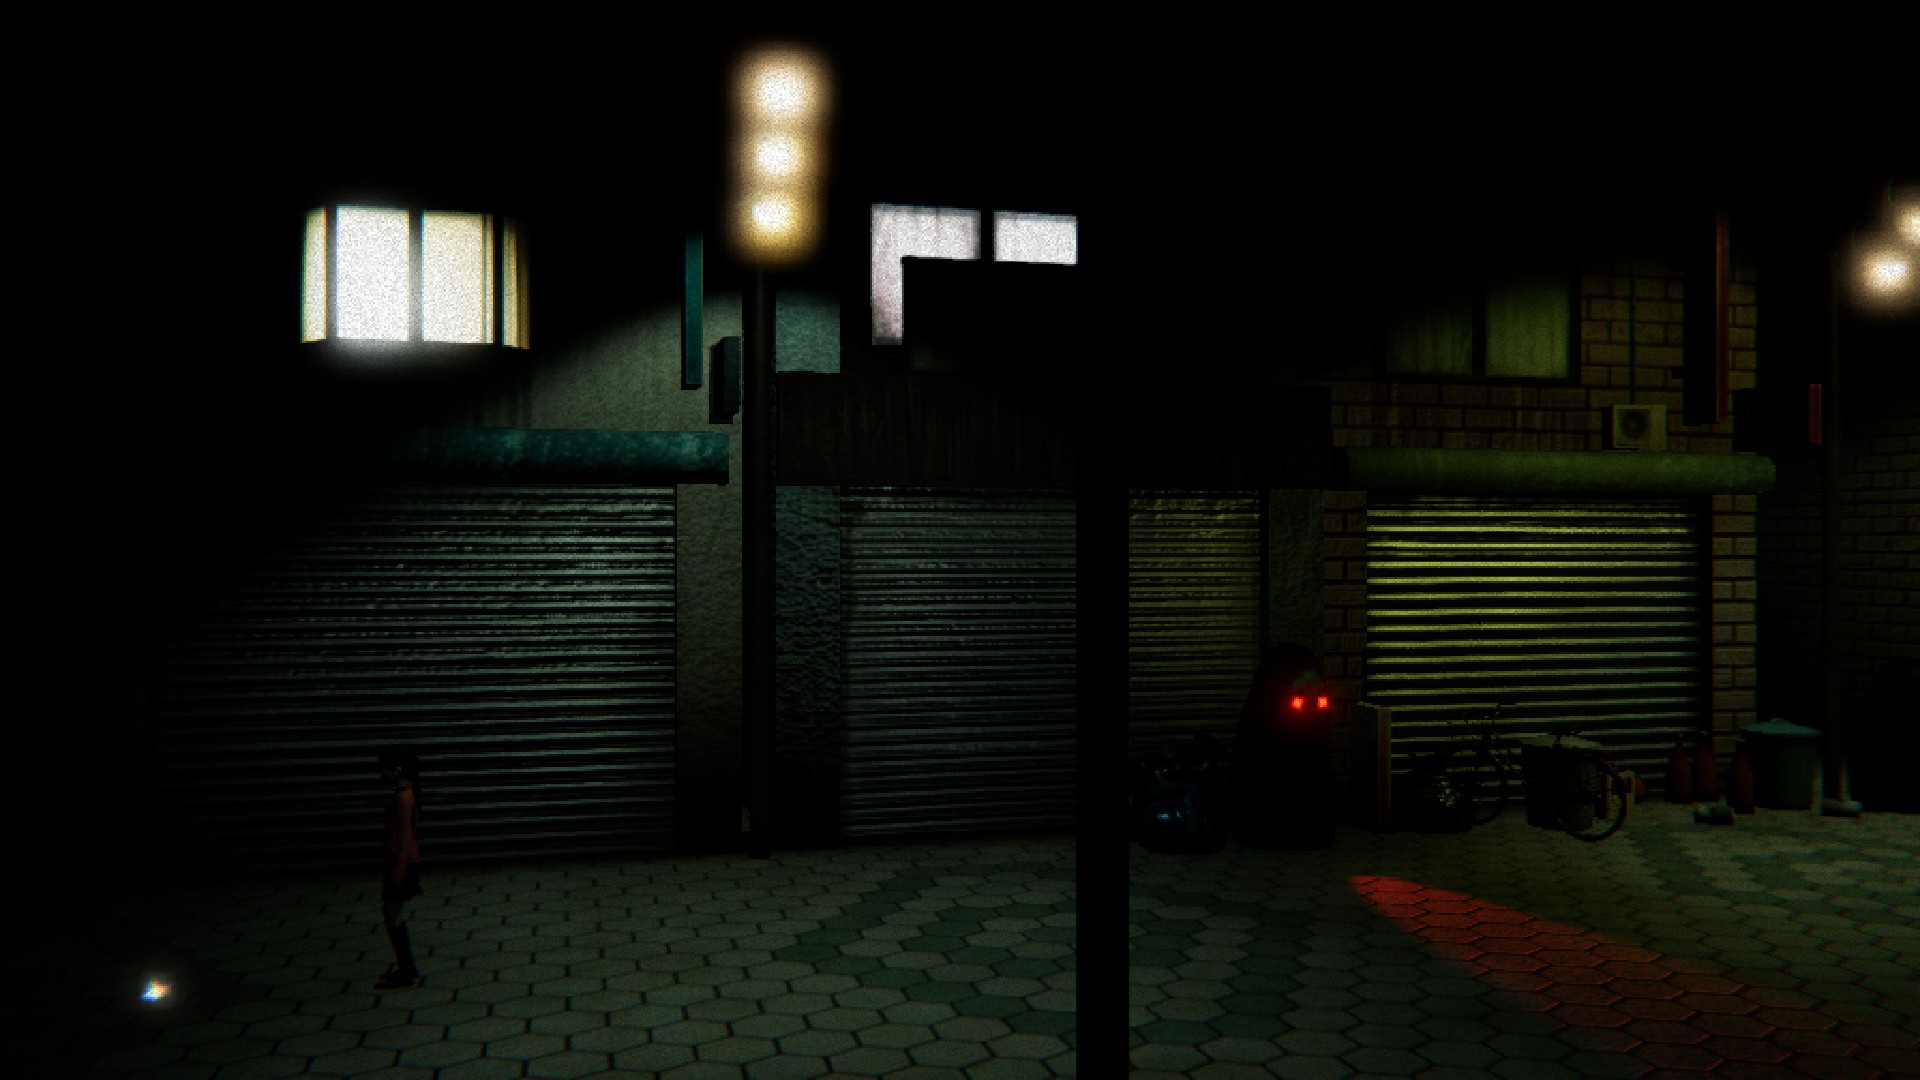
Description: Alley Demons
Location: Alley. Complete the Shadow Man chase sequence. Wake upwards and return to the same surface area where the Shadow Man first spawned. To the left of the map, in that location should be a white sparkle.
Page 20
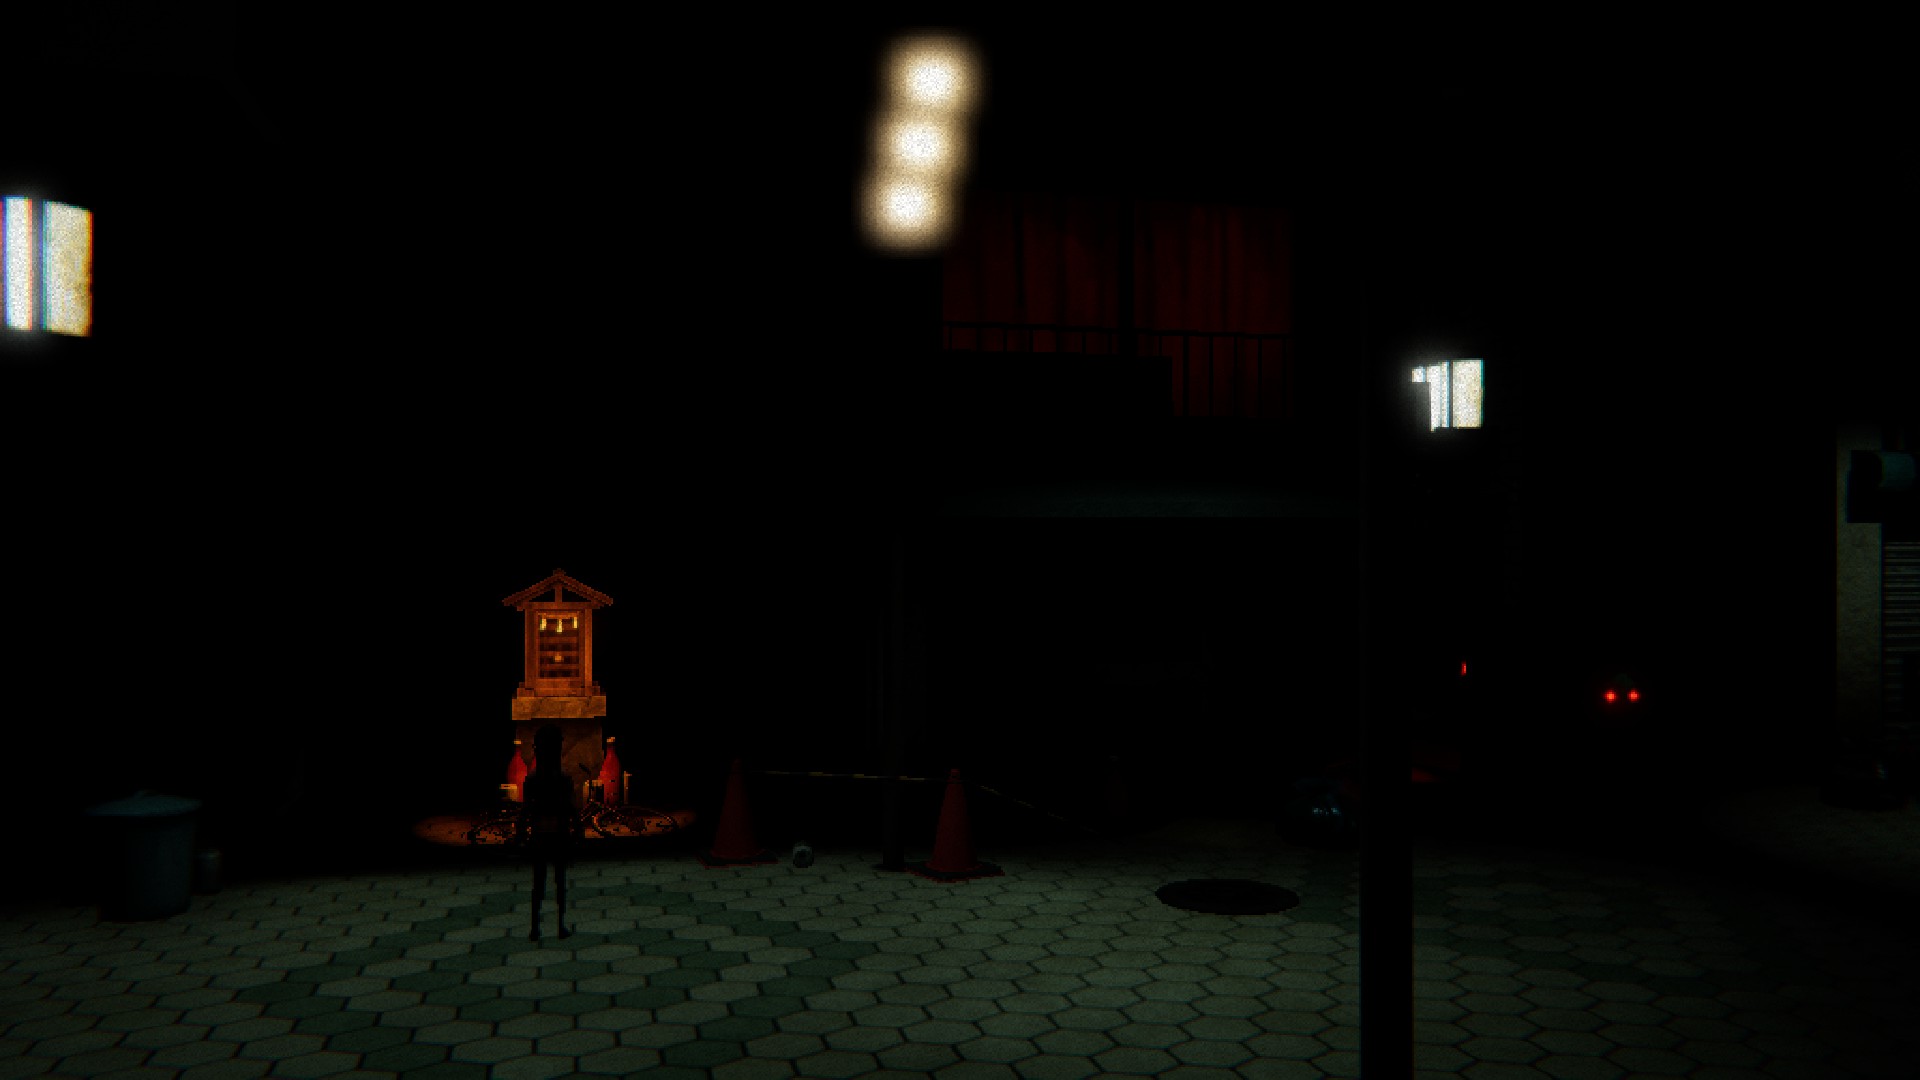
Description: Pissipissini
Location: Alley. Find the shrine with the bicycle and collaborate with it.
Pages 21 & 22
Page 21
Clarification: Medamaude
Location: Alley. During the Eyeball barrage sequence, lookout for a white sparkle on the footing.
Page 22
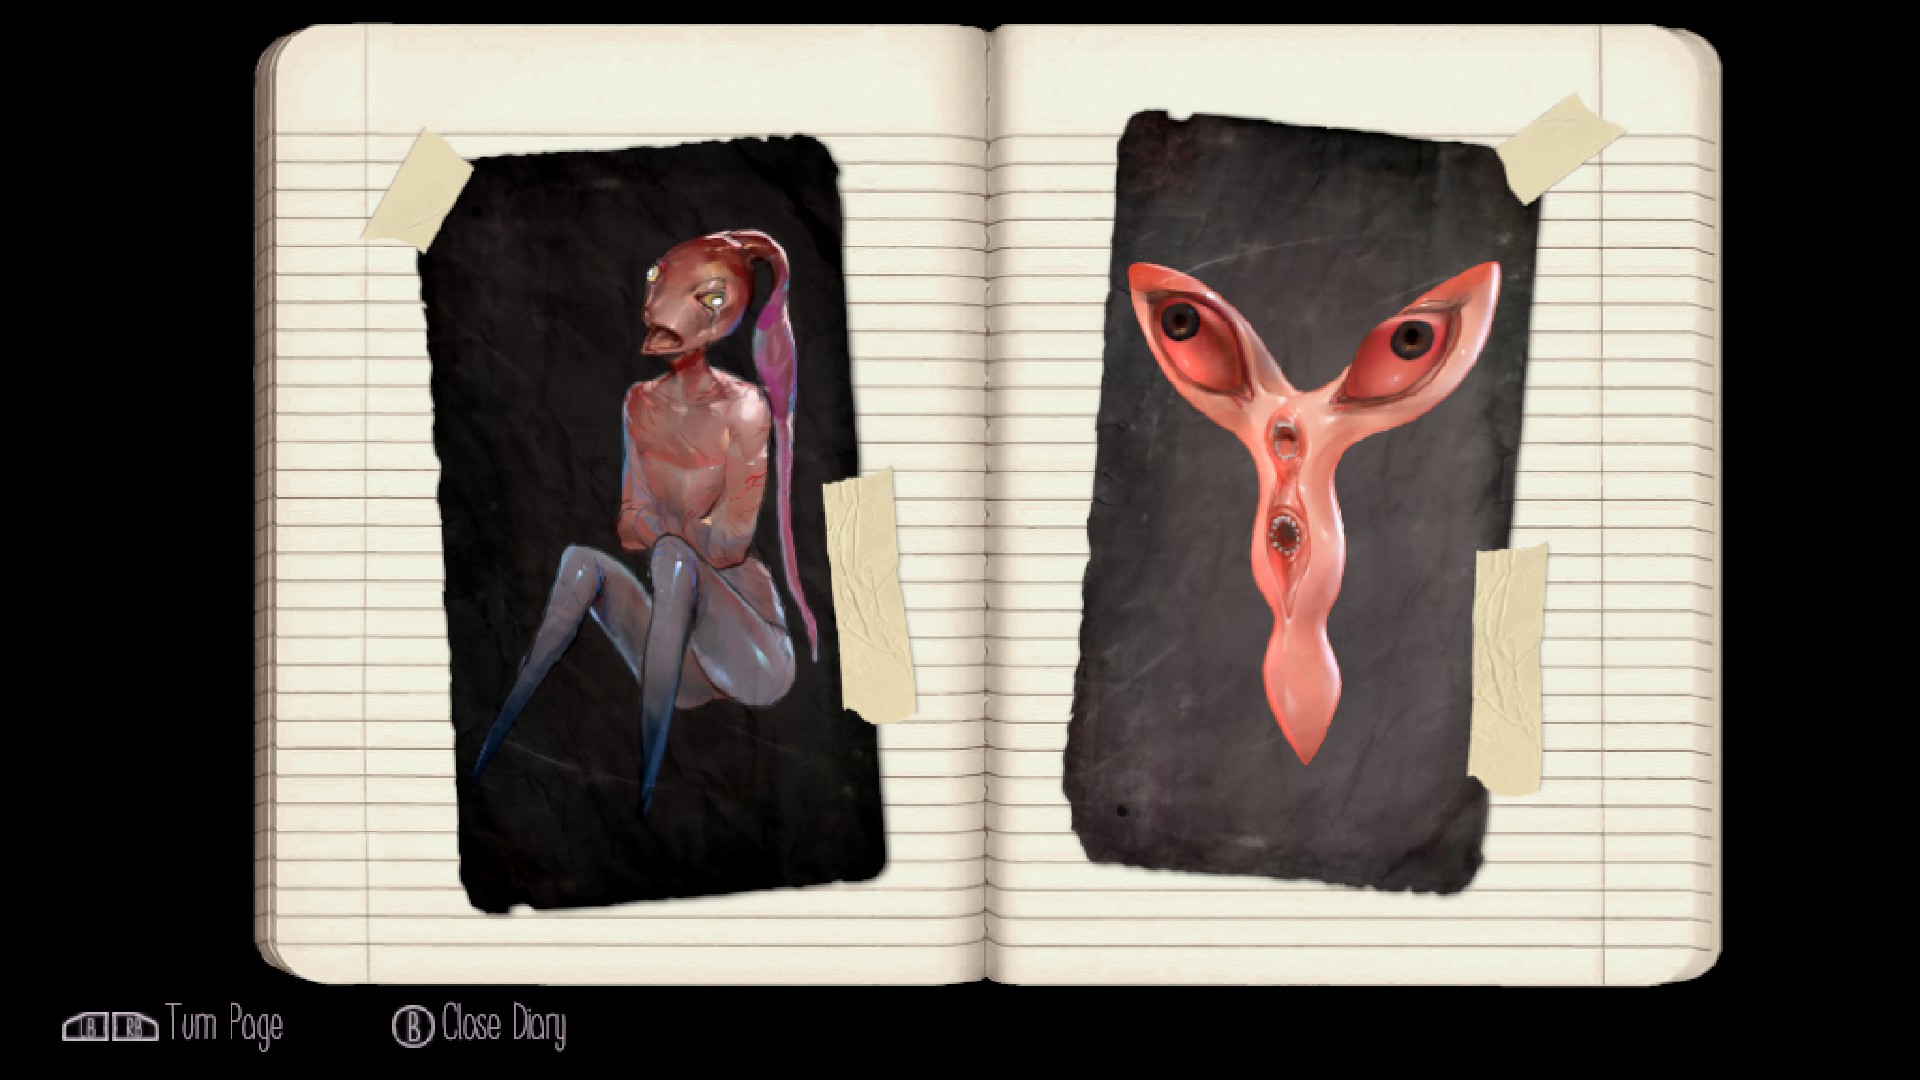
Description: Henkei ♥♥♥♥♥
Location: Cold Storage (past the Alley). In the initial room, utilise the Hamsa Event.
Pages 23 & 24
Page 23

Description: Onsen-san
Location: Bedroom. After completing the Aisle sections the get-go time, endeavour completing it again. Instead of a road at the terminate, you will detect a bedchamber in its place. Play hide-and-seek with Monoko until she transforms into a hideous state. Lure her to the n side of the bedroom and check 1 of the beds.
Page 24
Description: Floyag
Location: Ruined School. Bank check the third floor for a white sparkle.
Pages 25 & 26
Page 25

Description: ♥♥♥♥♥♥-san
Location: Final Surface area, first floor. Enter the first unlocked door in the hallway (left of lift). Check nether the solitary bed.
Page 26
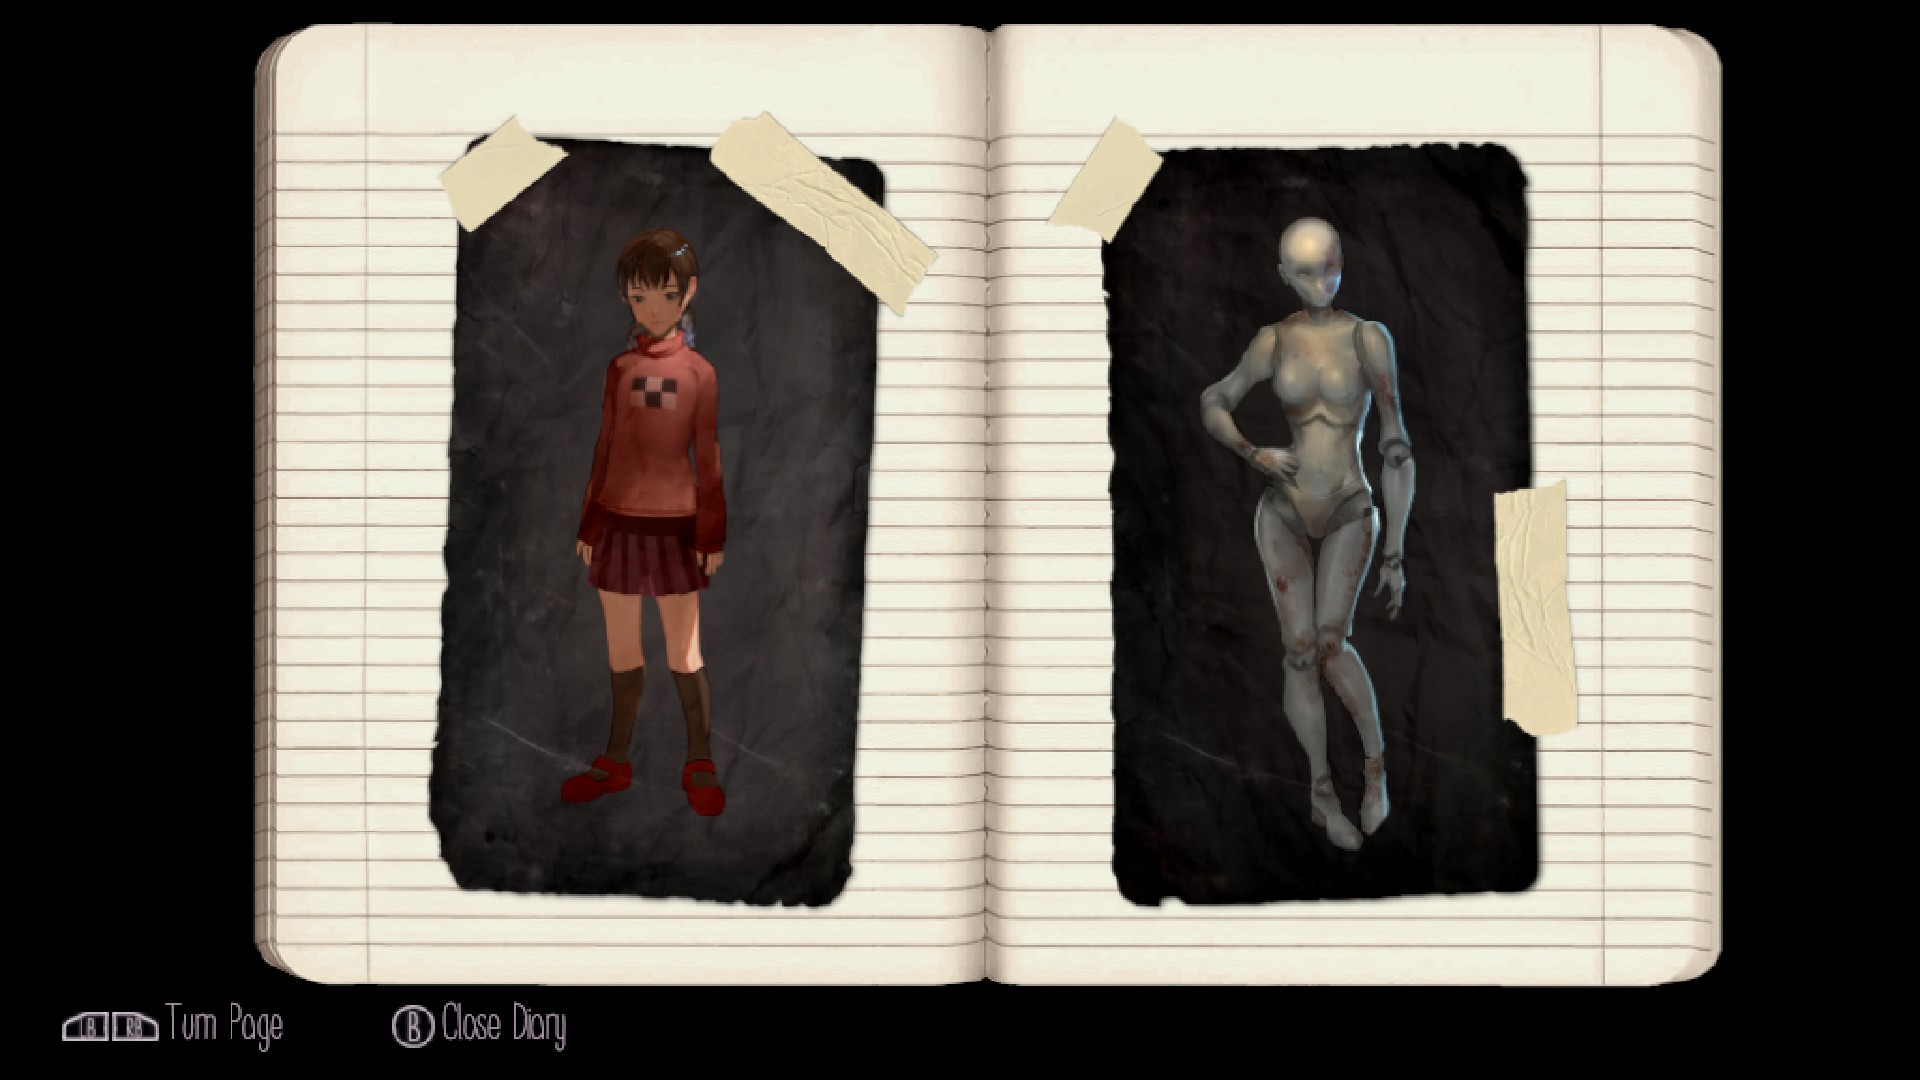
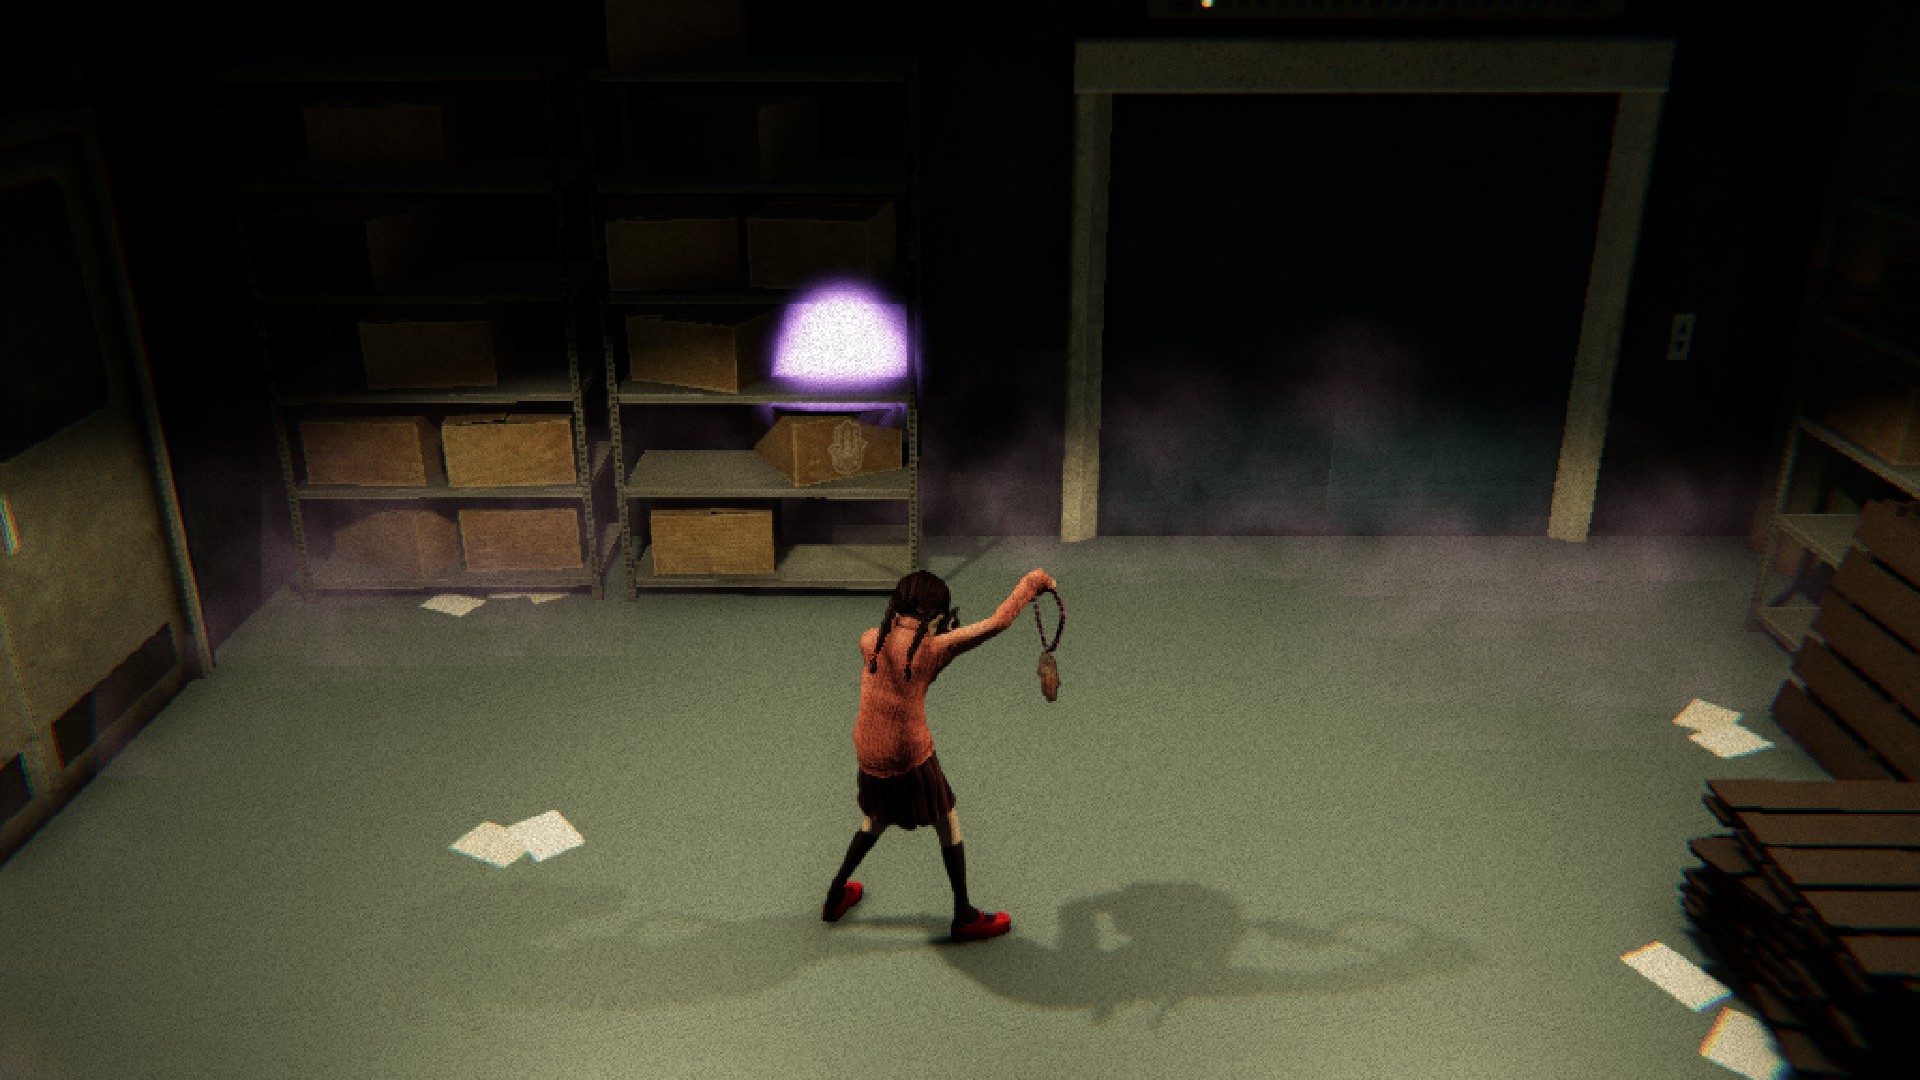
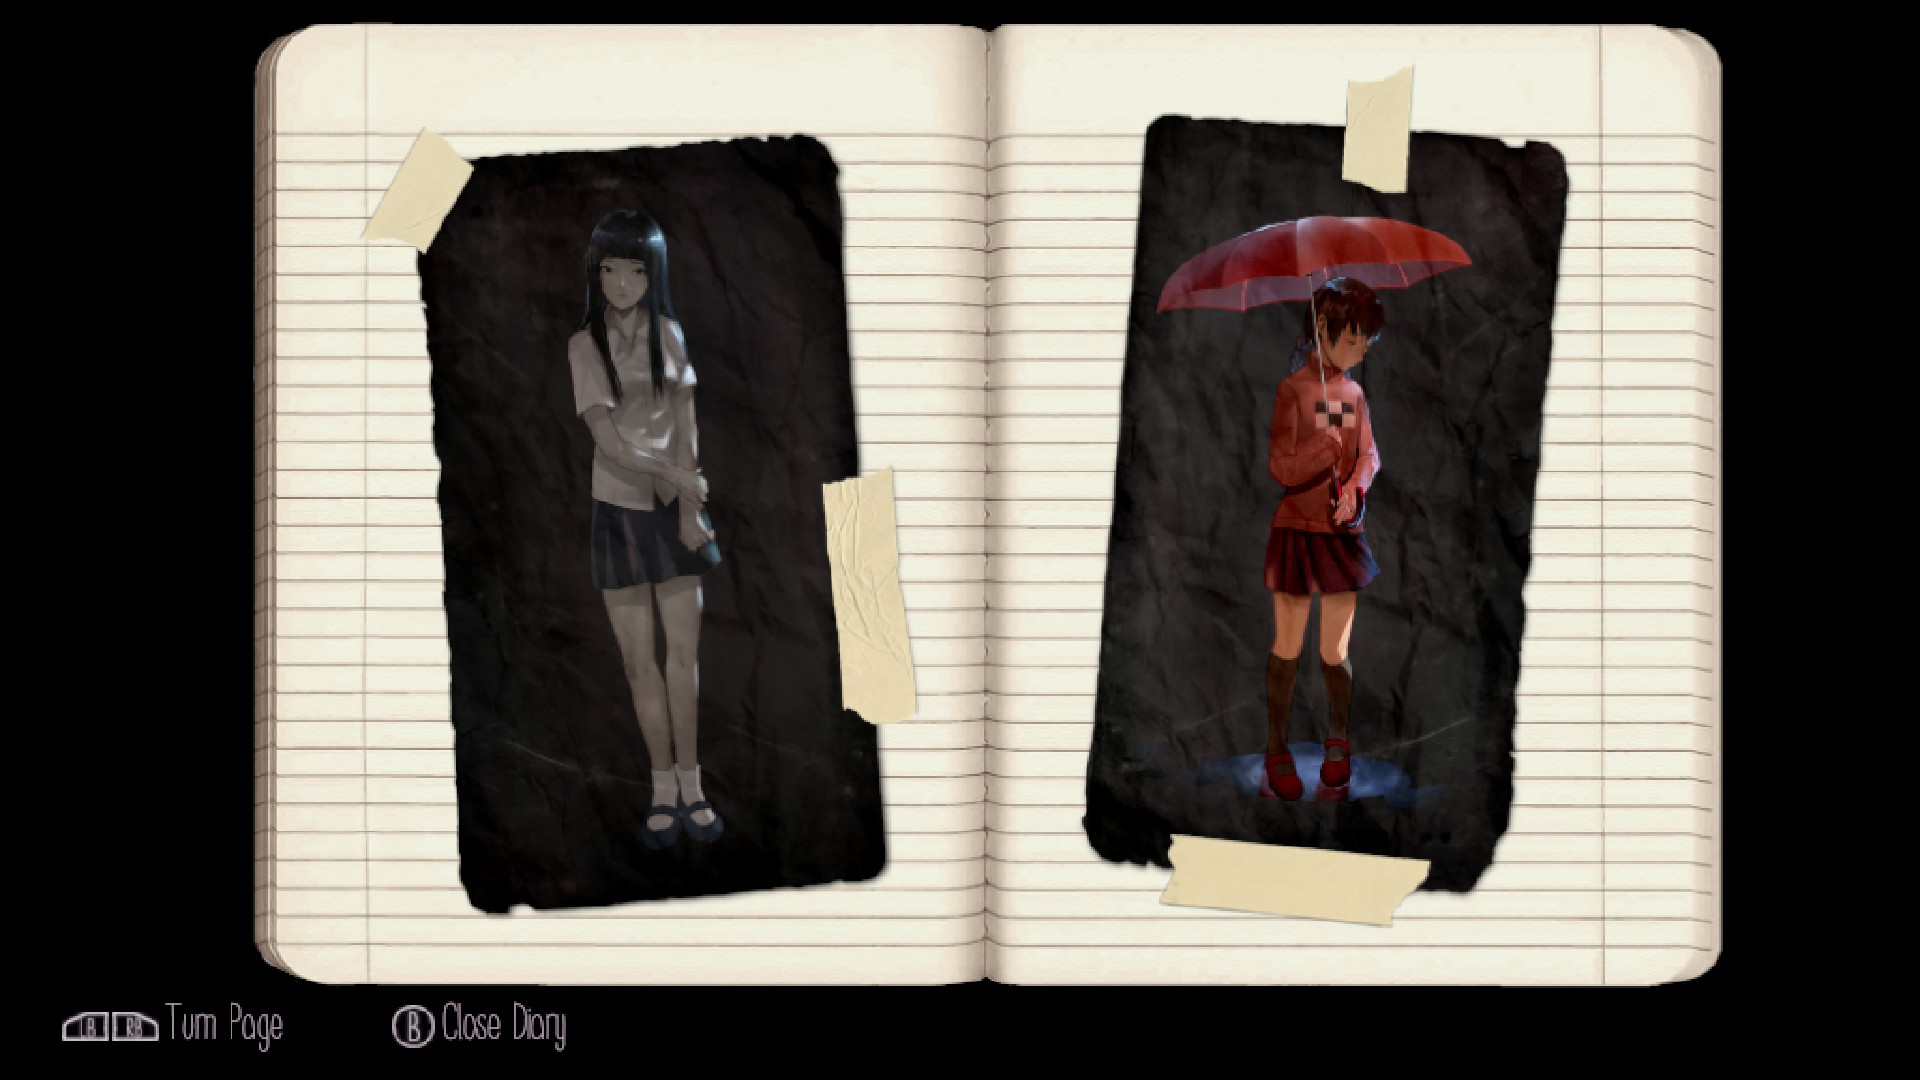
Description: Madotsuki wielding a knife
Location: Barracks Settlement. Lure the Oral fissure Monster into the cage. When the Pirori come out of their houses, go to the left side of boondocks and kill one of the green Pirori with the Knife result. He will drop the collectible.
Pages 27 & 28

Page 27
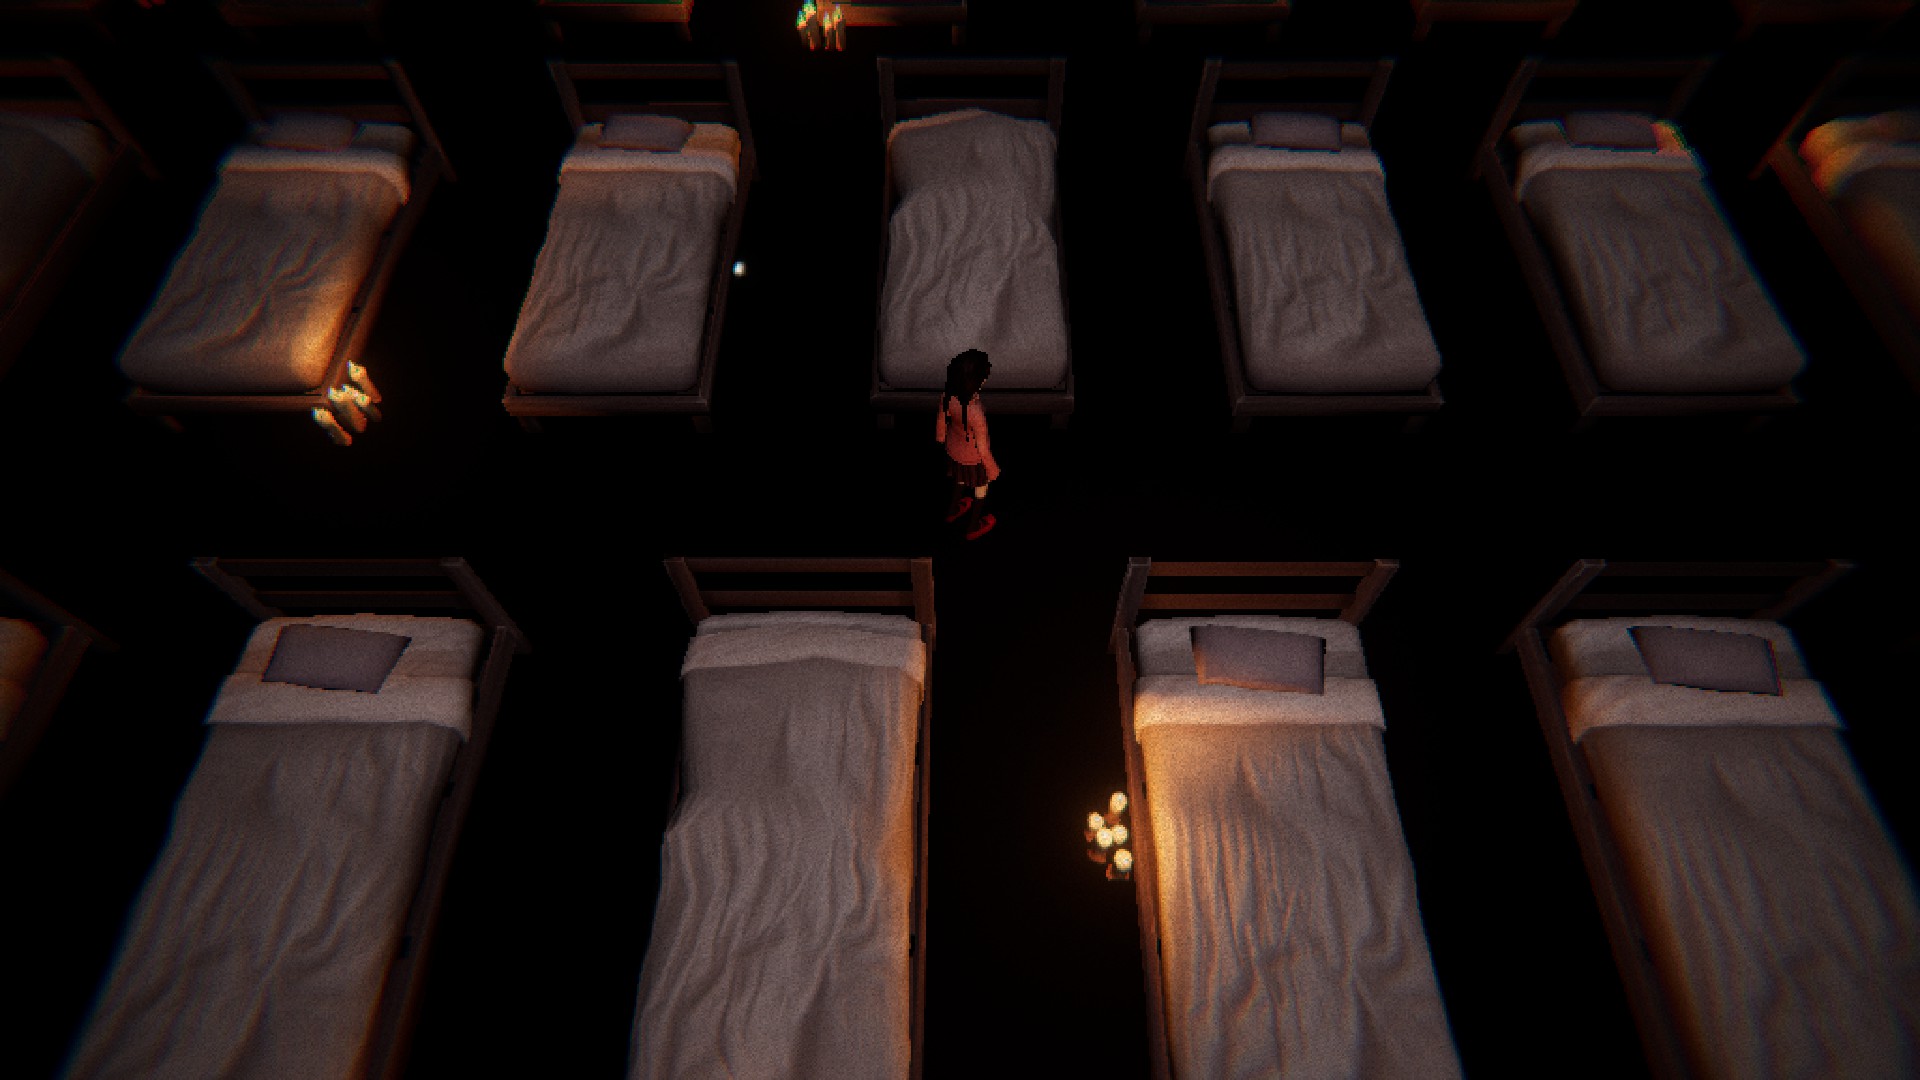
Description: Monoko
Location: Bedroom. From the entrance, move upwardly two rows of beds and motion right. There volition be a white sparkle under one of the beds.
Page 28
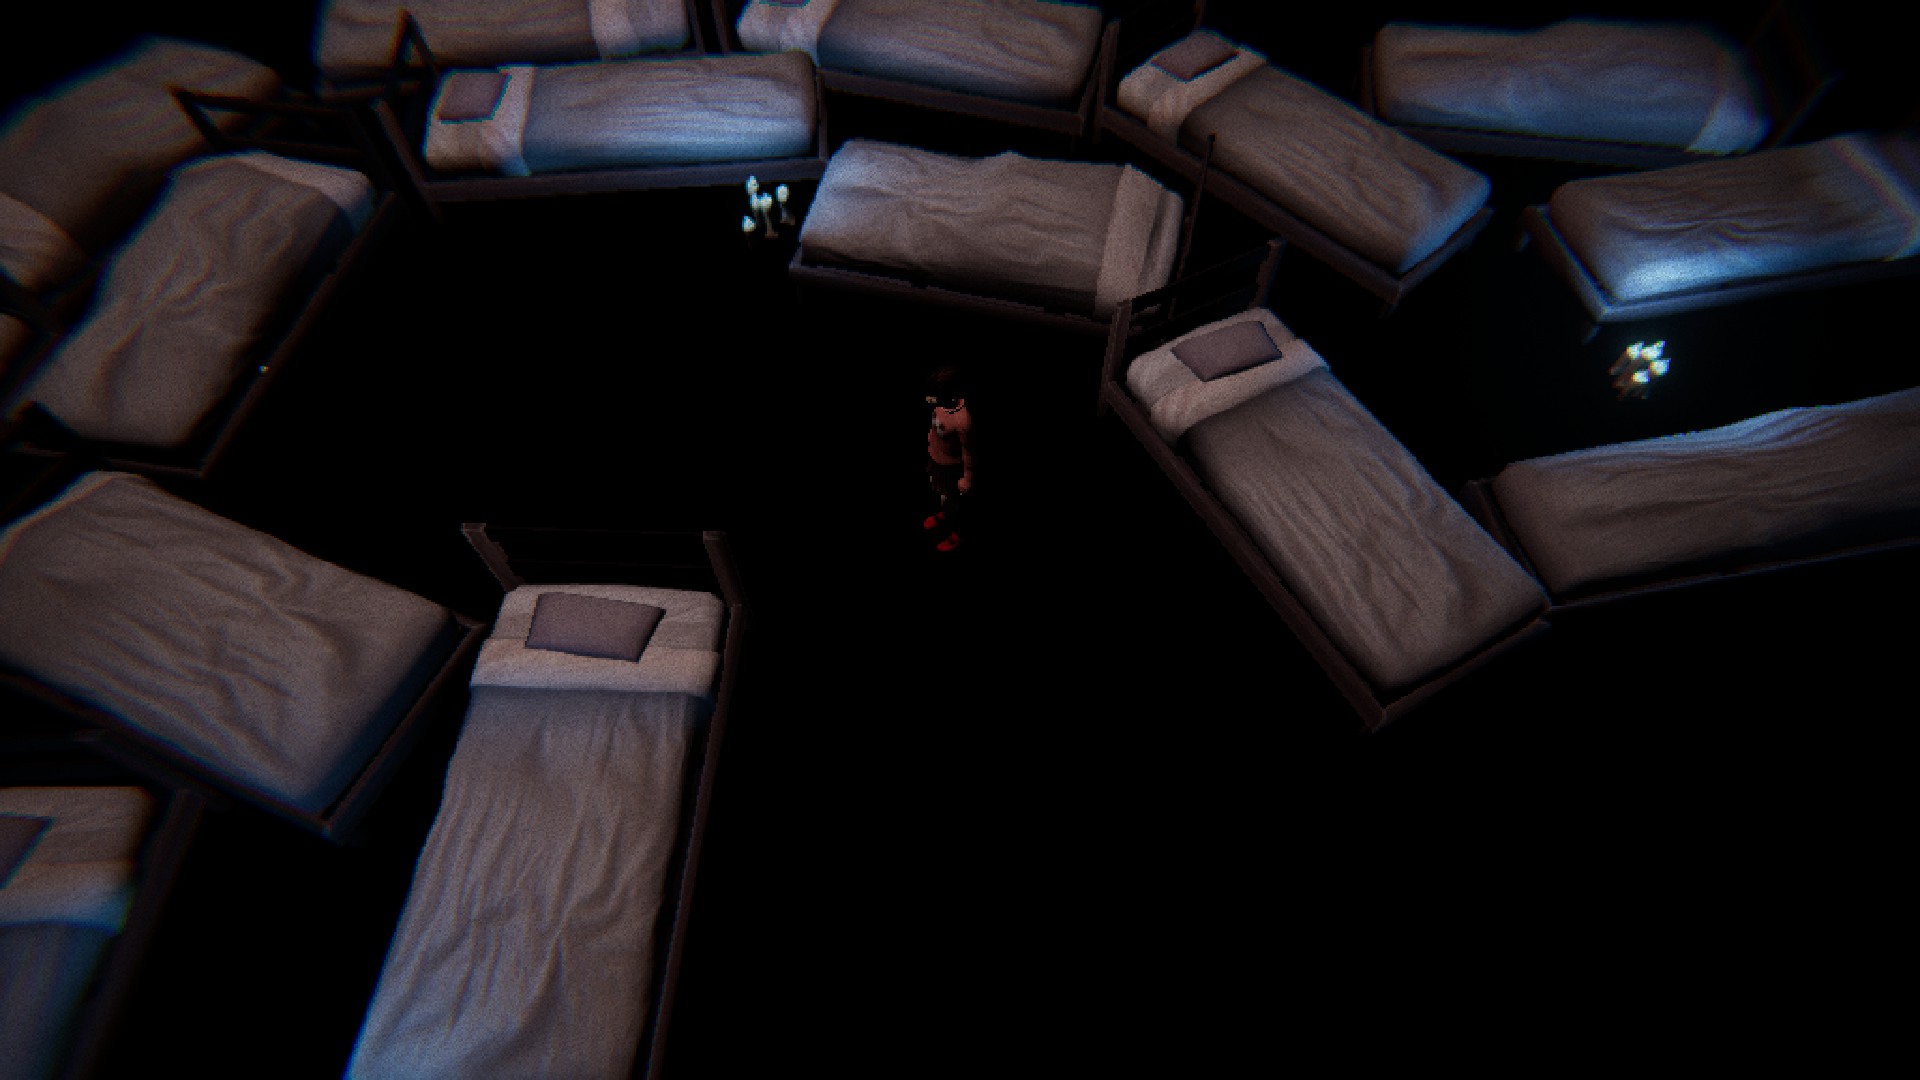
Description: Monoko (transformed)
Location: Bedroom. Play hibernate-and-seek with Monoko until she transforms. Lure her into the first bed that will float high enough for you to bypass. There will be a three-way fork. Take the middle path, which should accept yous to a dead cease. Search 1 of the beds here.
Pages 29 & 30
Page 29
Description: Sewer/Block World sketches (bachelor as of version two.0)
Location: Complete the Sewer and Block Globe areas.
Page 30
Clarification: Block World/Snow World sketches (available as of version 2.0)
Location: Complete the Cake Earth and Snow Globe areas.
Pages 31 & 32
Folio 31
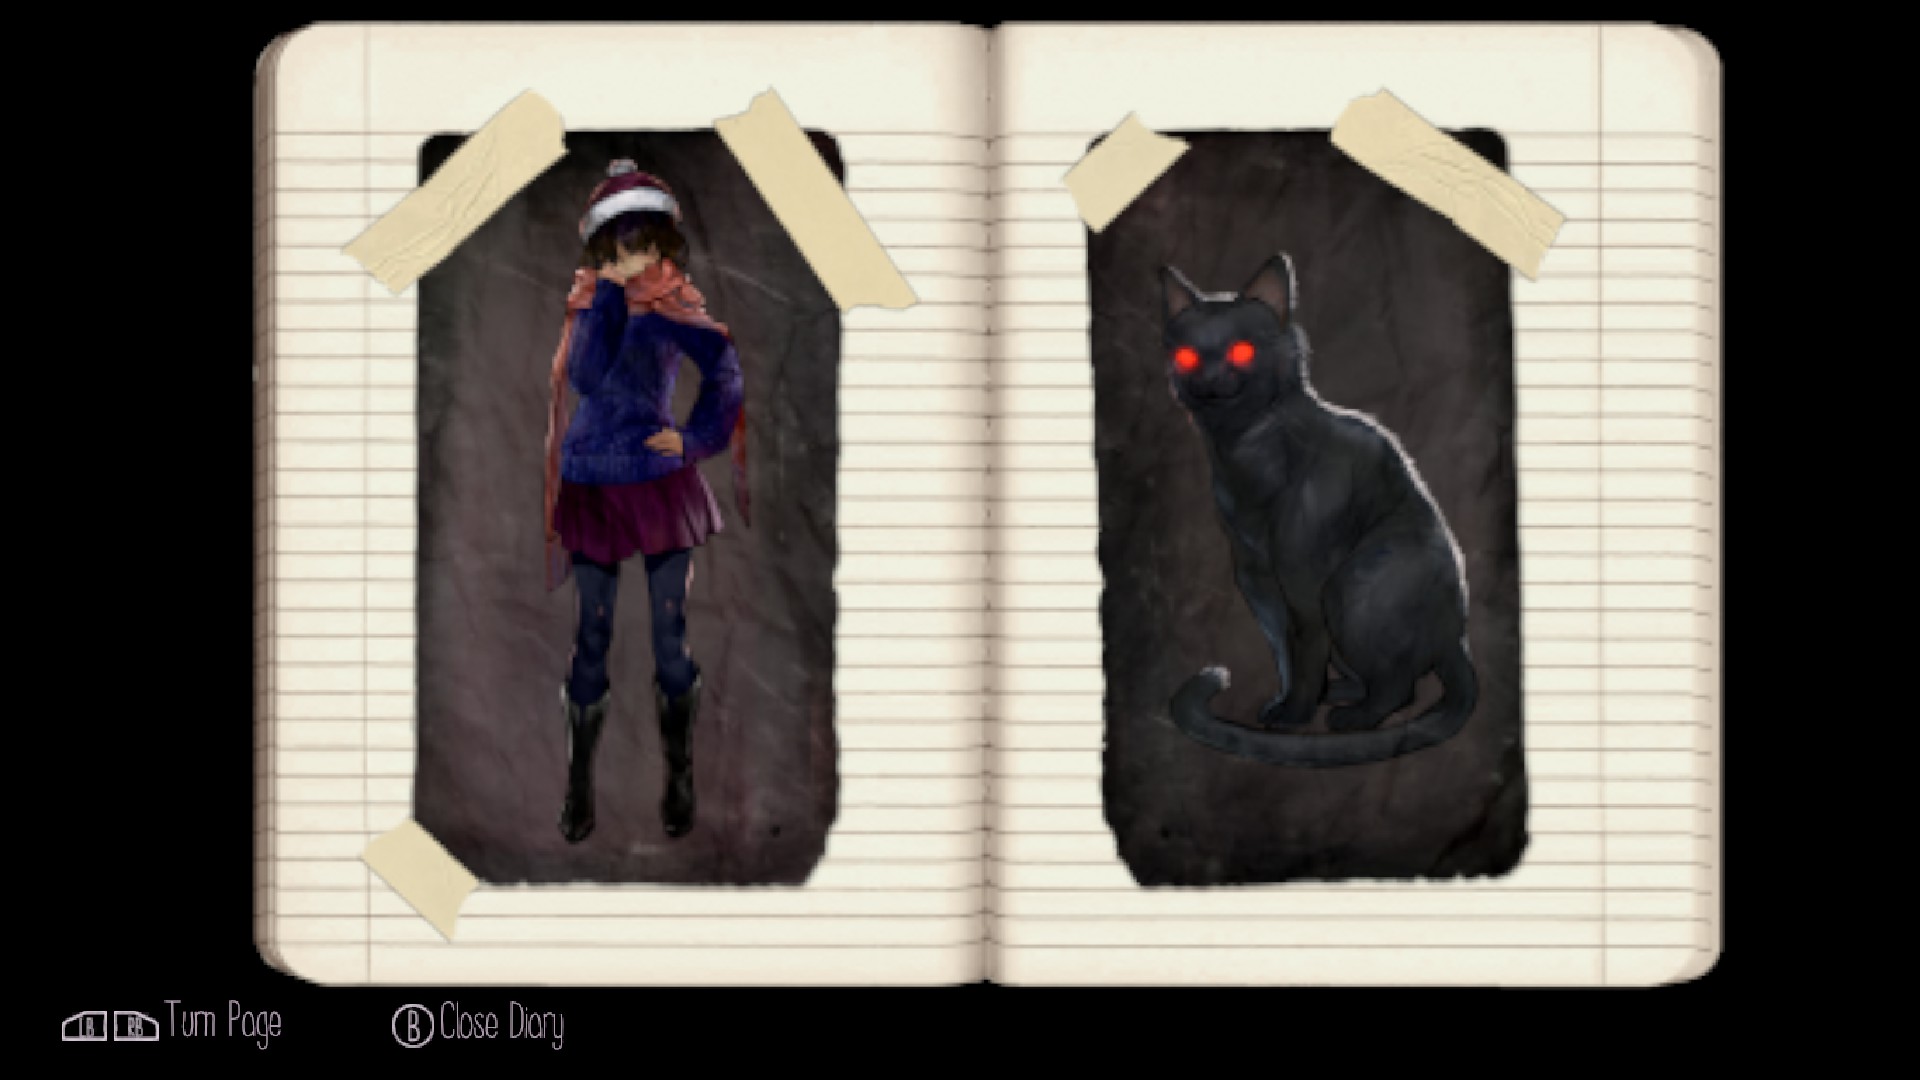
Description: Mafurako (bachelor as of version 2.0)
Location: Block Earth. Wait next to the go out door for a fast-moving platform that circles the whole world. Bound onto this platform and wait until it takes you to a subconscious surface area.
Folio 32
Description: The Black Cat (available as of version ii.0)
Location: Sewer. This 1 is a bit of a tricky find. Become to the southern section of the Sewer, where you volition find a large pool next to a faceless ghost (Nopperabou Ghost) nearby. Search virtually the center of this puddle. You won't run into a white sparkle here.
Pages 33 & 34

Page 33
Description: Mouth Monster (available equally of version ii.0)
Location: Wilderness. To access this Concept Art, you demand the Hamsa, Scarf and Hat, and Umbrella Effects. Close to the picnic expanse, use the Hamsa to open a new area. This will lead you to a looping maze (anyone remember The Legend of Zelda for NES?) In the maze, motility down, left, down, right. This will take you to a swimming with murky water and a lone island. The Umbrella'south double-jump is ineffective hither. Yous demand to equip the Scarf and Lid, and so use the Umbrella's rain ability (which volition now be a snow ability). The h2o will freeze over, giving y'all admission to this Concept Art.
Folio 34
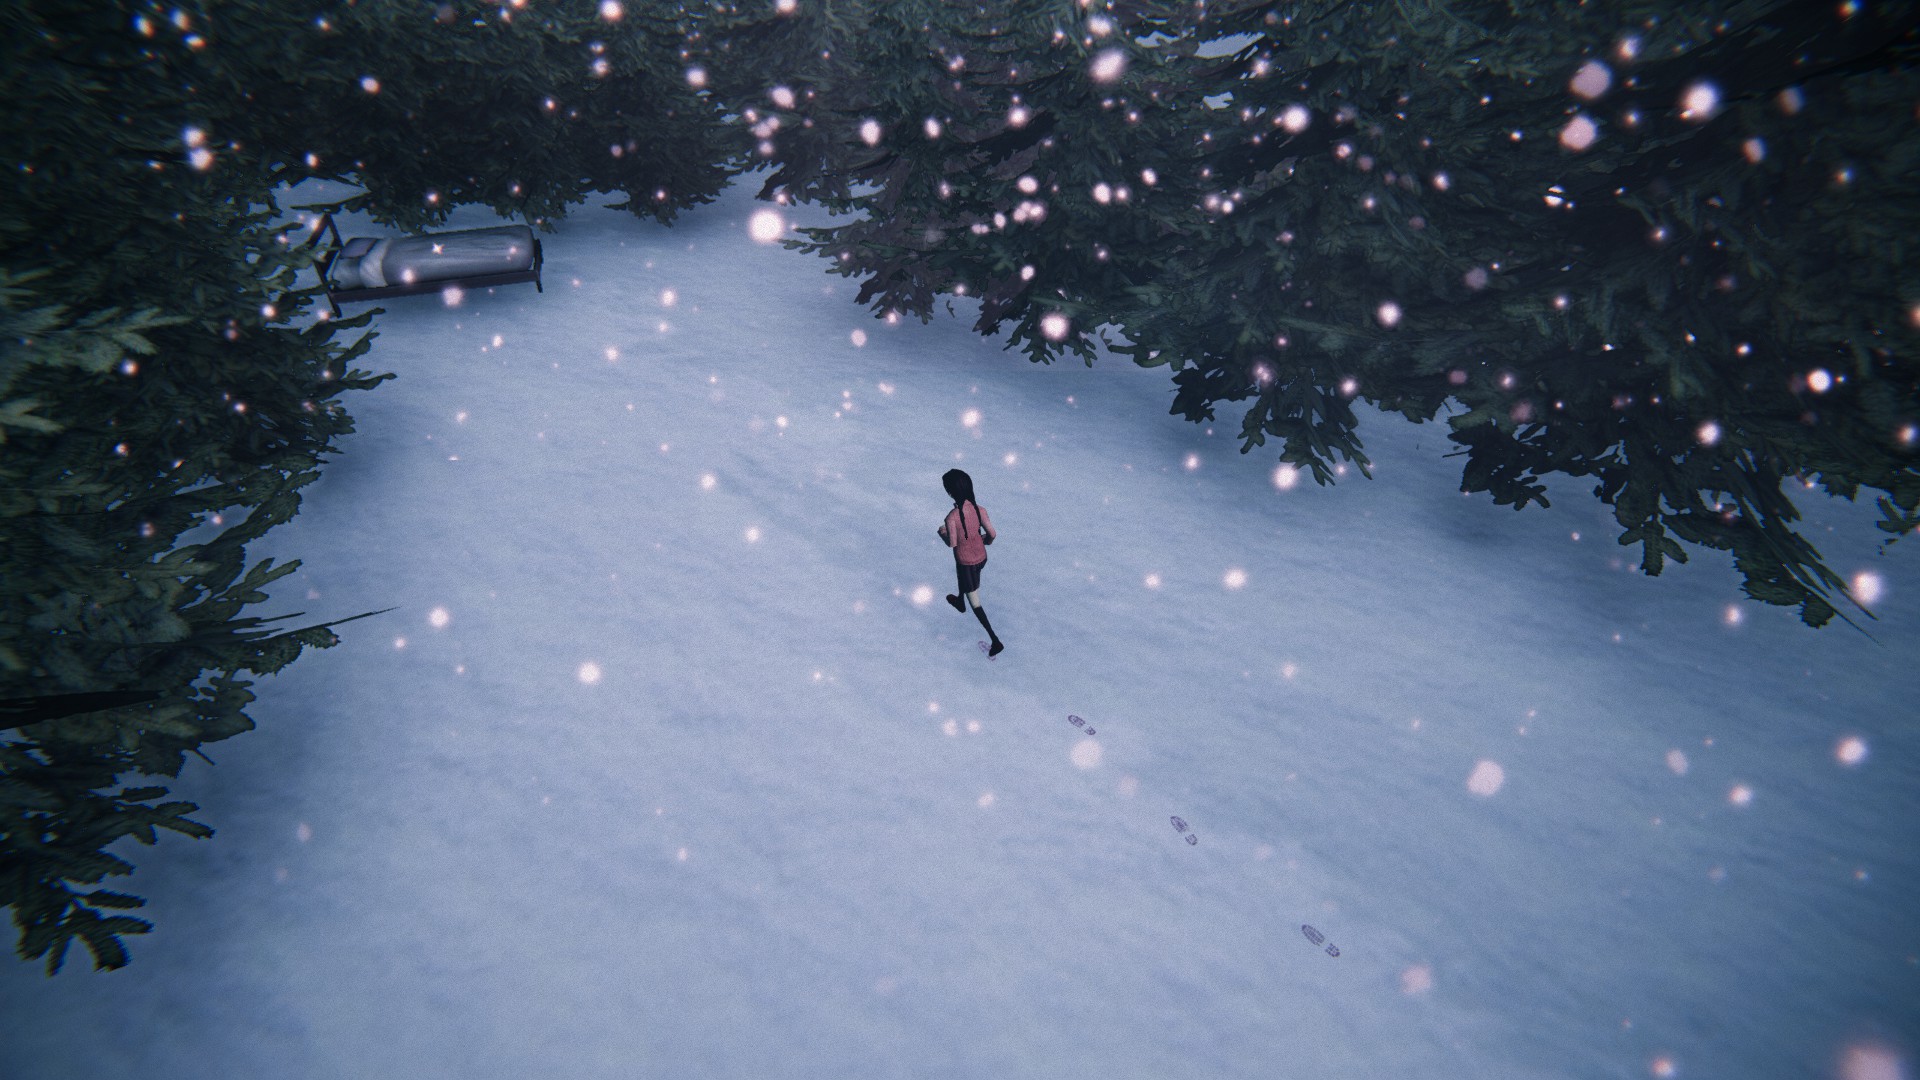
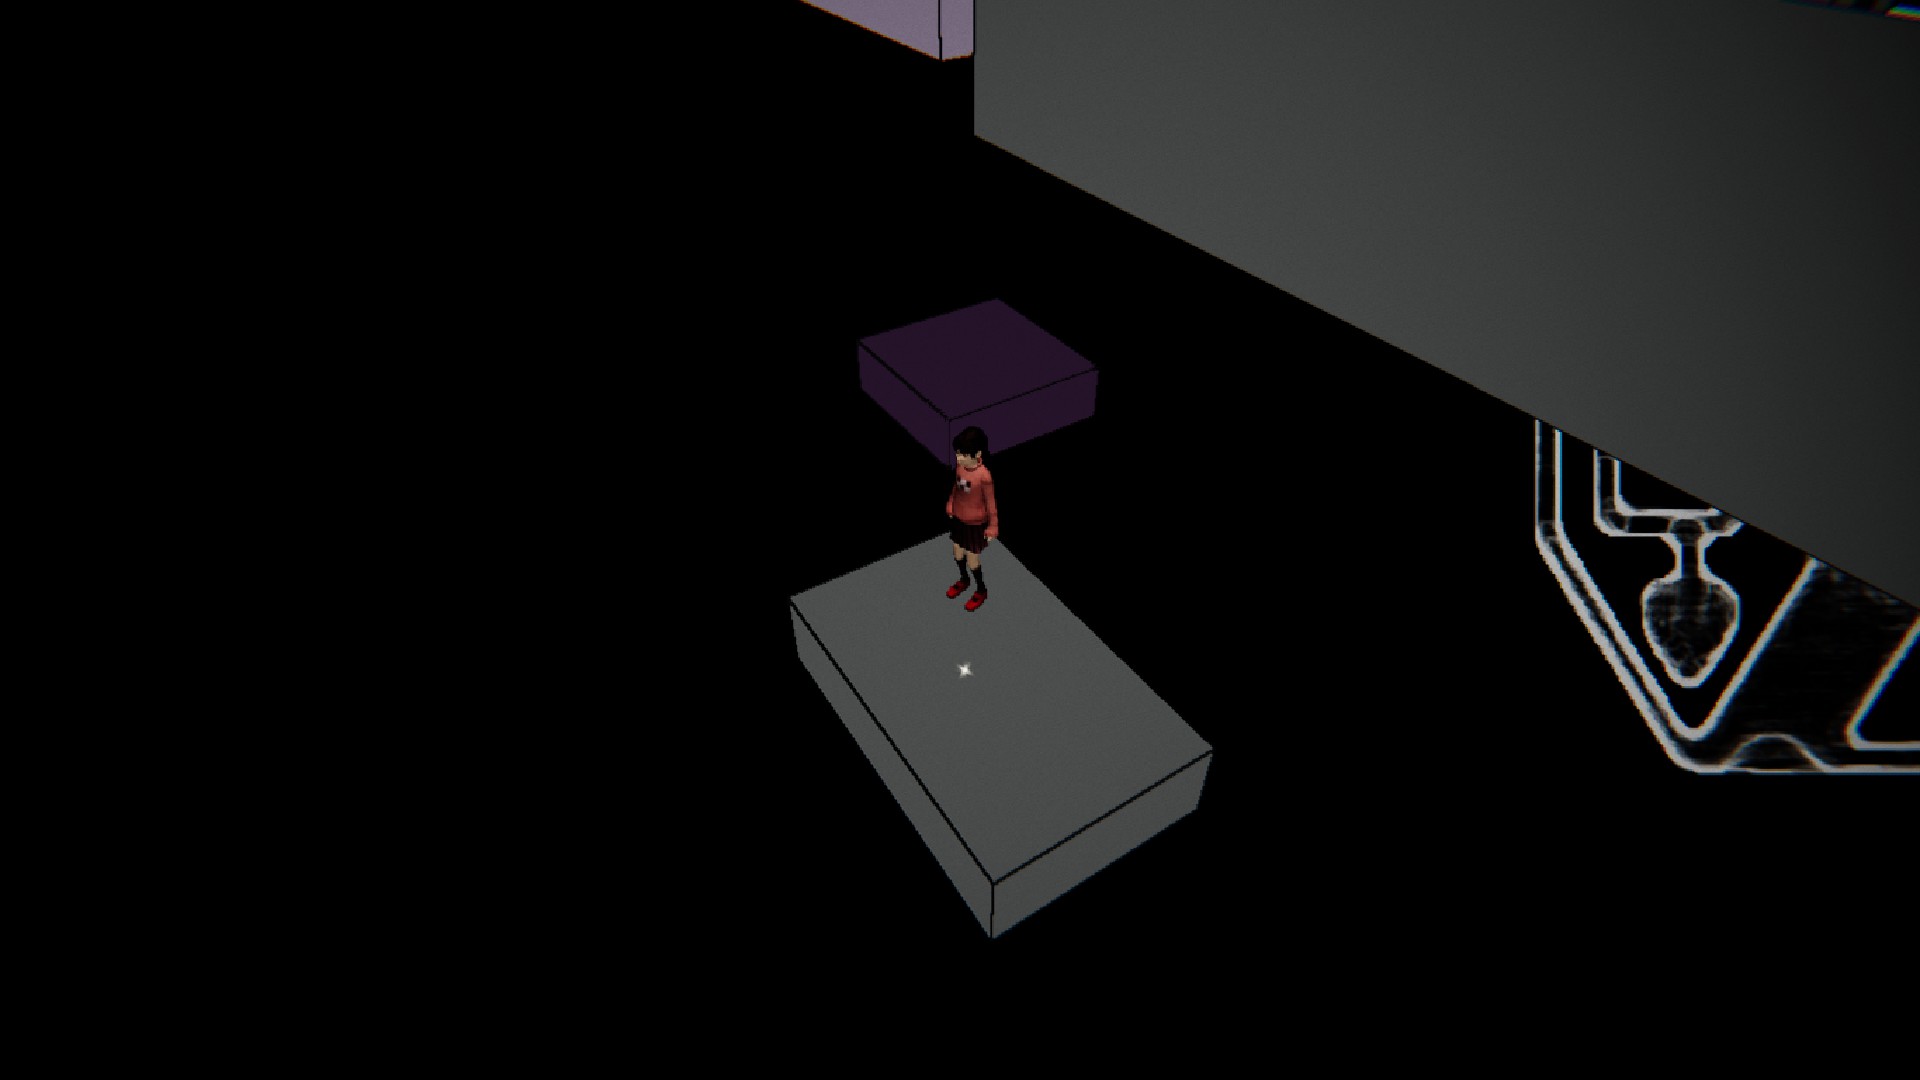
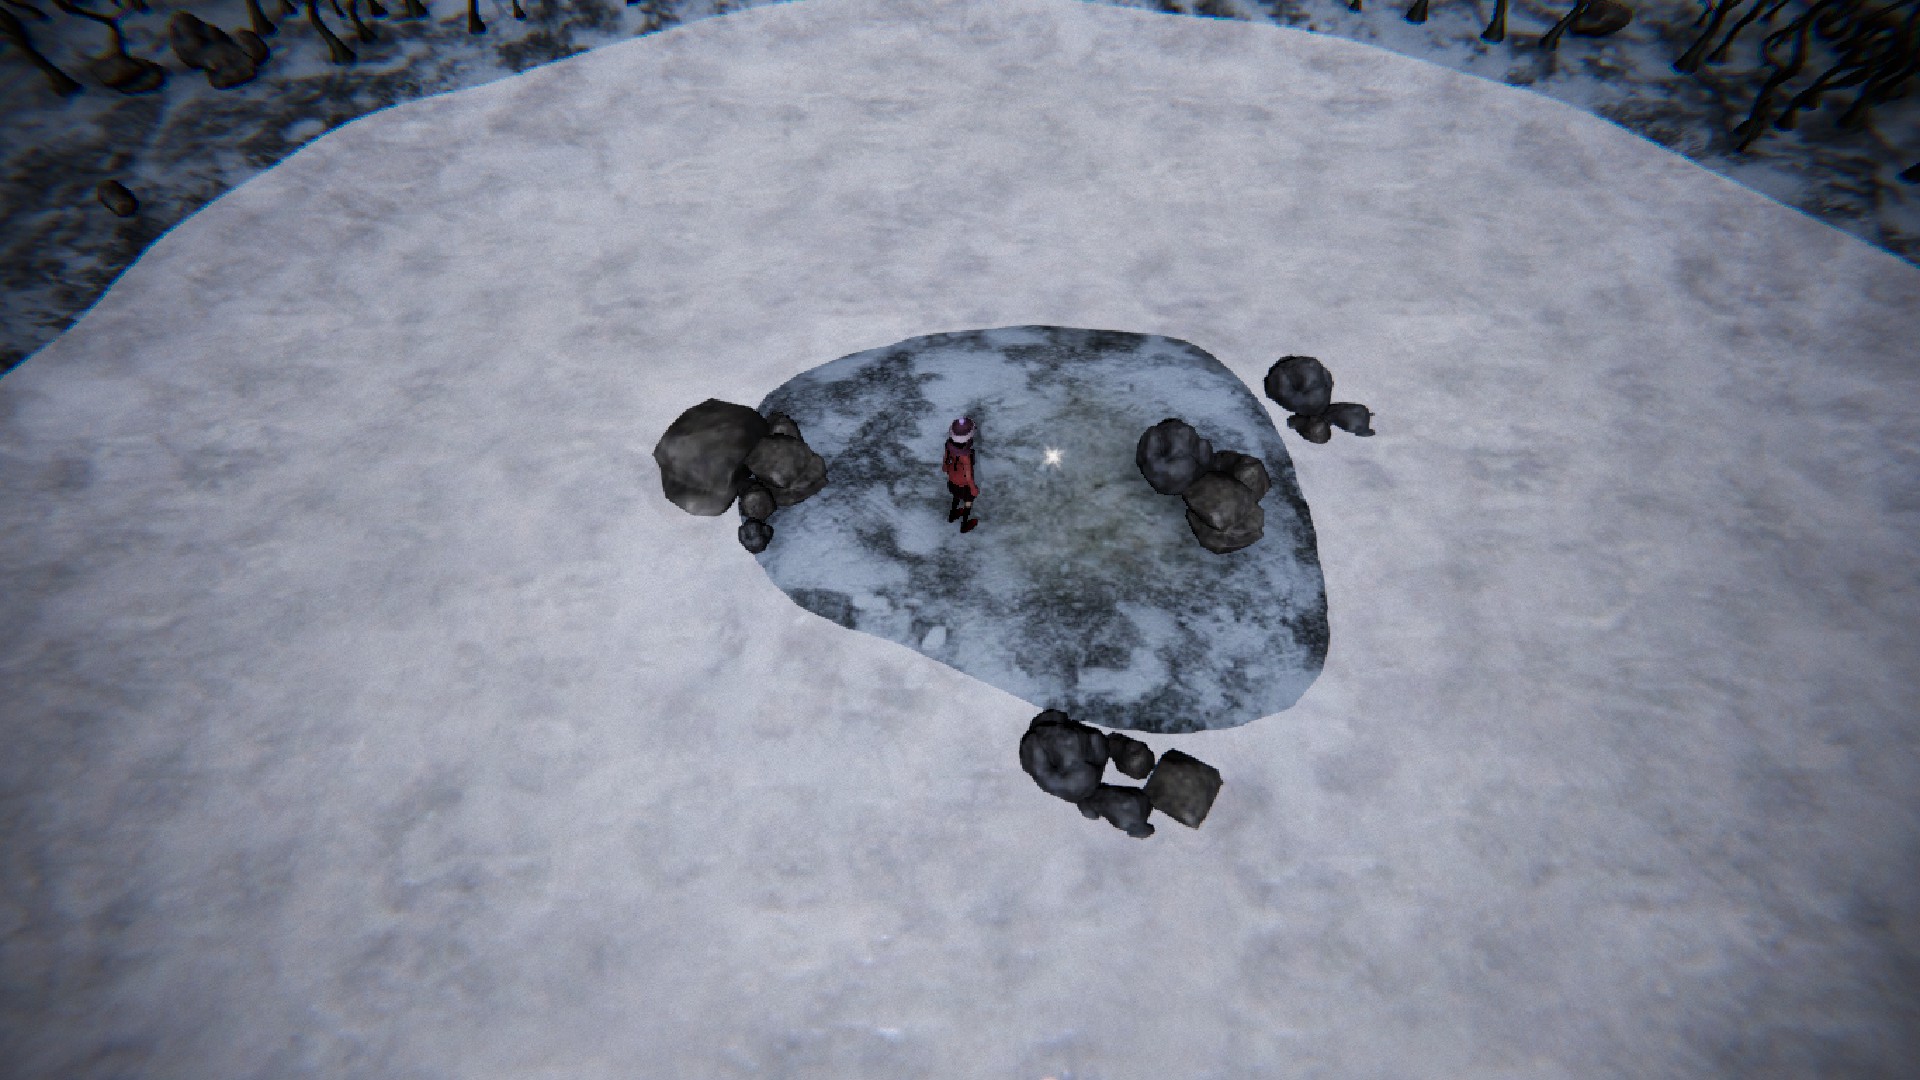
Description: Snowman Madotsuki (available every bit of version 2.0)
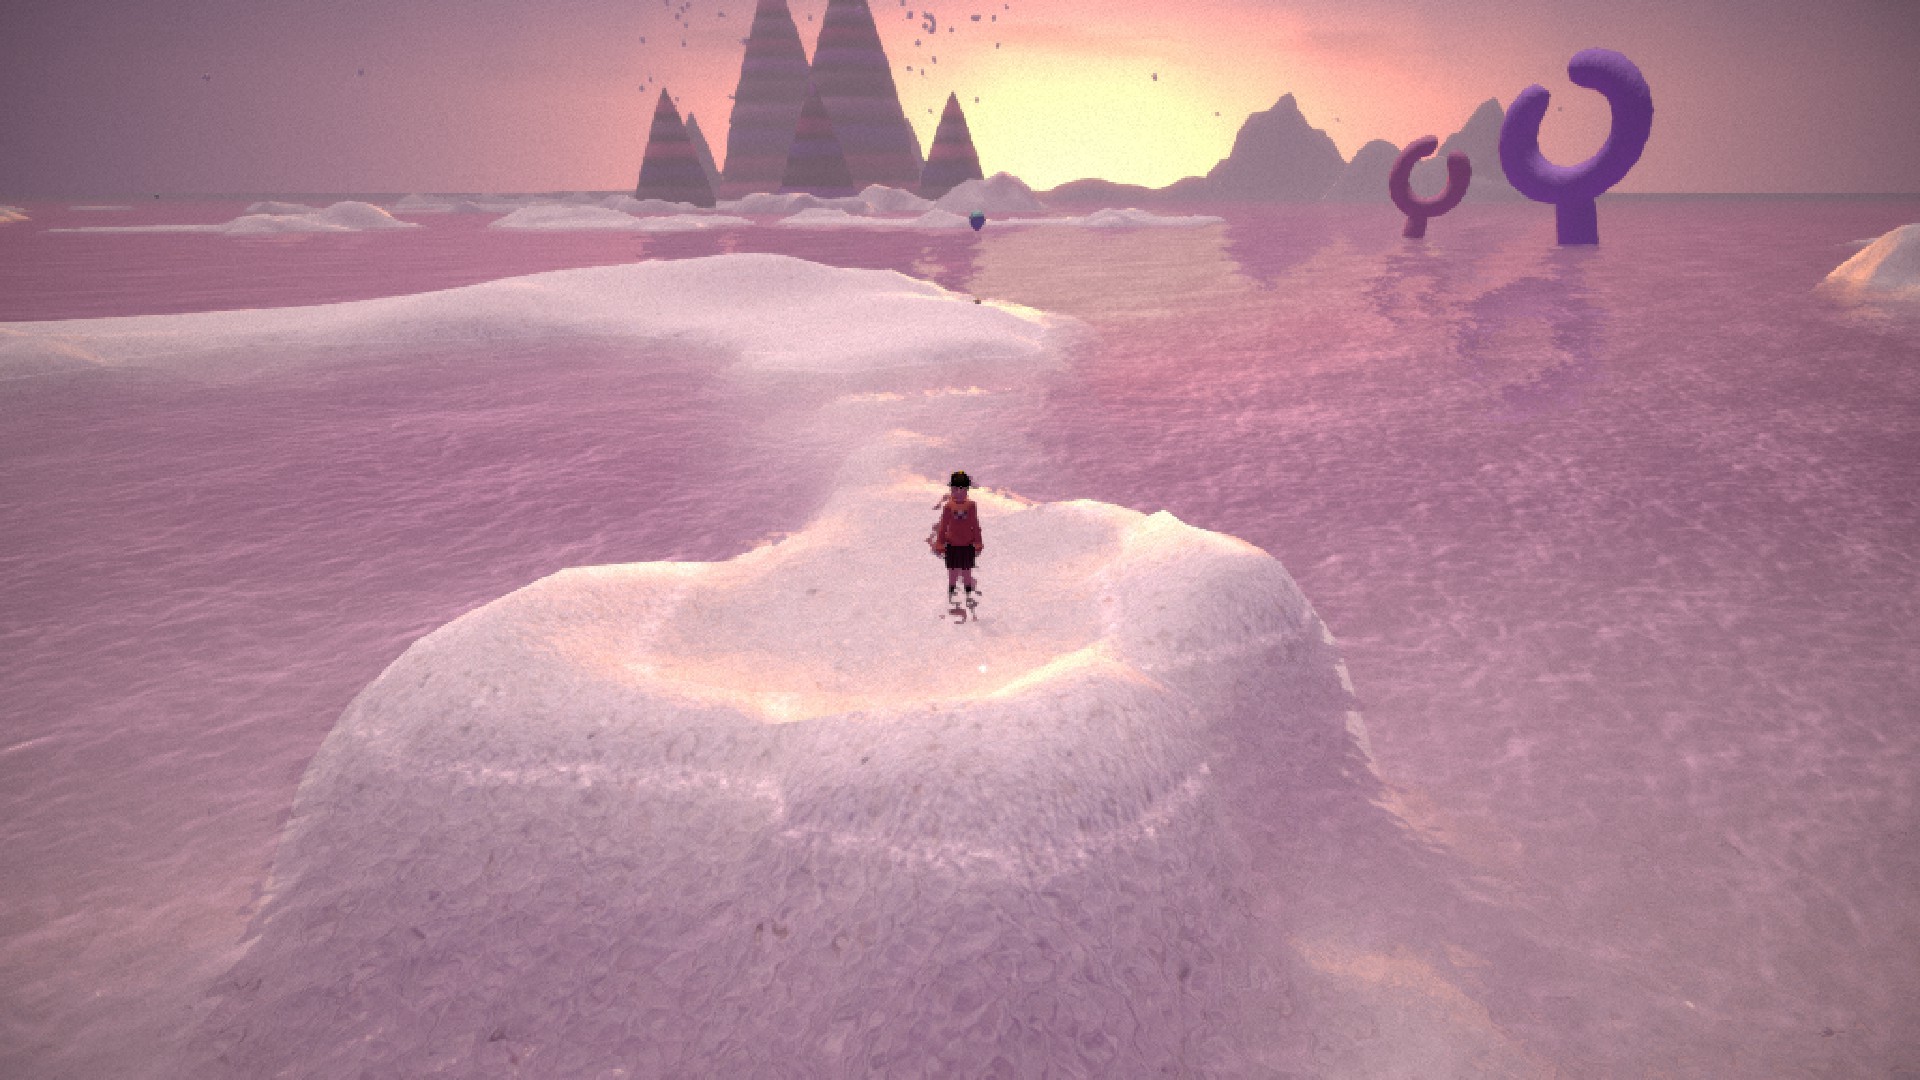
Location: Snow Earth. This world is difficult to navigate since it loops infinitely like a archetype Yume Nikki world. As soon every bit y'all enter this world from the Block World, take these paths: east, north, northeast. You will know you lot're at the correct place when y'all find an igloo further to the right. From the igloo, go north until you lot run into more trees. From at that place, move farther to the due east. Eventually, y'all will see a bed obscured by the trees towards the northward. The Concept Art will exist sitting on top of the bed.
Thank you to user carlinhos875 for these easy instructions.
Pages 35 & 36
Page 35
Description: Mall sketches
Location: Complete the mall and mannequin hallway areas.
Page 36
Description: More than mall sketches
Location: Same equally above.
Pages 37 & 38
Page 37
Clarification: e-Man and o-Man
Location: Mall. Talk to the o-Man to get the Flute result. Then, speak to the east-Homo, who will play a melody for you. Play the aforementioned tune with the Flute and he volition react (you may also hear what sounds similar a shutter door opening). Speak to him again and he will requite you the collectible. This interaction is a bit glitchy, then it might take a few tries.
Version ii.0 changed the method slightly. Talk to the o-Human being to get the Flute effect. Talk to him a 2nd time to go the Concept Fine art.
Page 38

Description: Tokuto-kun
Location: Mall. On the tertiary floor with the escalators, become to the left side of the map. Check behind the planter.
Pages 39 & xl
Page 39
Clarification: Madotsuki with eyes open
Location: Mall. Enter the room that leads to the rooftop. Before you enter the elevator, apply the Hamsa effect.
Page 40
Description: Female Mannequin
Location: Mall. Consummate the mannequin hallway areas until you find a room full of cardboard boxes. Somewhere to the left of the room, at that place will be a collectible hiding amongst the boxes.
Pages 41 & 42

Page 41
Clarification: School sketches
Location: Consummate the schoolhouse areas.
Page 42
Description: More schoolhouse sketches
Location: Same as above.
Pages 43 & 44
Folio 43
Description: Fleebie/Follony
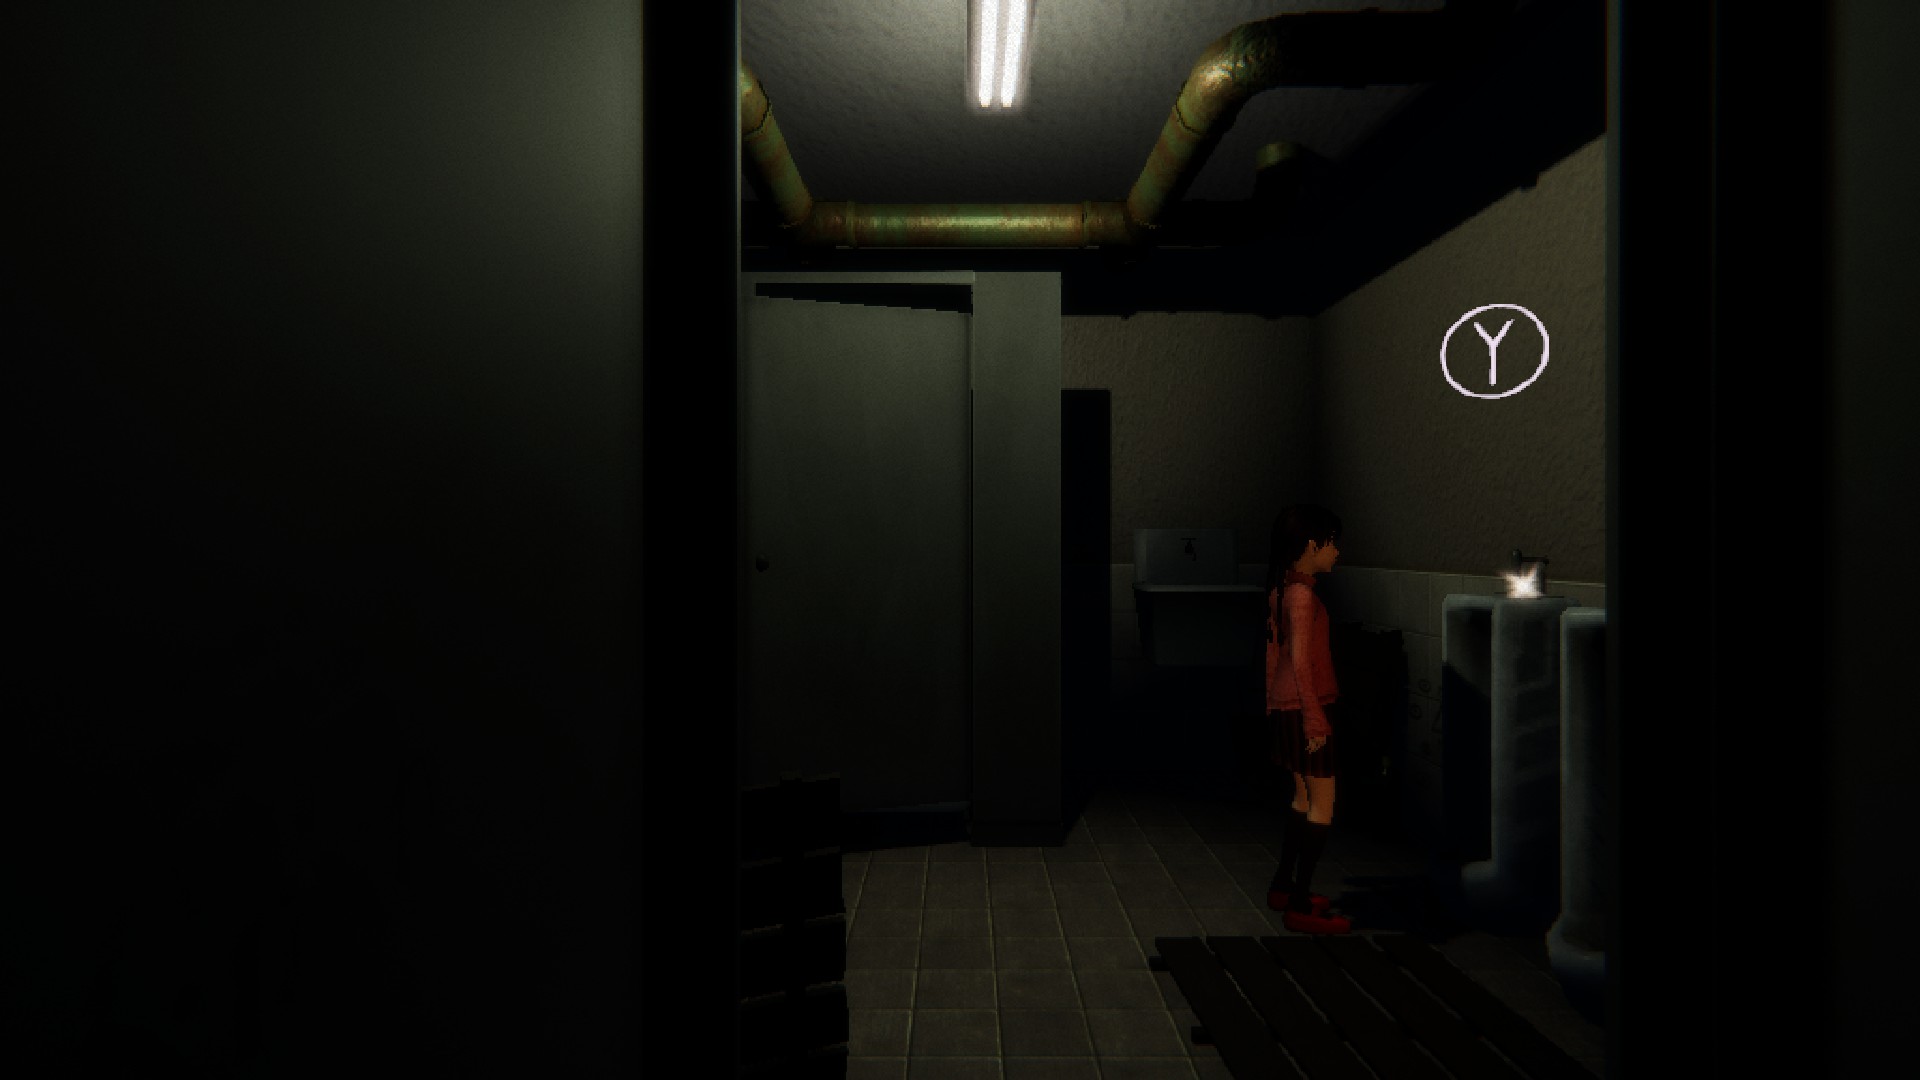
Location: School, second floor. Check inside the restroom.
Folio 44

Description: Walking Eye
Location: School, 3rd floor. After you trade the Brush for the Triangle with the Walking Center NPC, speak to him again and he will give you the collectible.
Pages 45 & 46
Page 45
Clarification: Monoe
Location: School, 3rd floor. Cheque one of the classrooms for a white sparkle.
Page 46
Description: Madotsuki with umbrella
Location: Ruined Schoolhouse, 2nd floor. Enter the classroom with multiple platforms and observe the same platform that had the Lantern effect. Glide to the right using the Umbrella outcome, where y'all will find a lone island. You will find a white sparkle and Closet Madotsuki. Annotation: For those having problem reaching the second flooring due to a previously open up door that is now locked, you must pull the lever on the 2nd floor to eliminate the metal bars to the right. You lot should now be able to reach the 2d floor by jumping off the window and gliding with the Umbrella.
Pages 47 & 48
Page 47
Description: Madotsuki with eyes airtight
Location: Consummate the School/Ruined Schoolhouse once. And so, complete the Ruined Schoolhouse again and render to the concluding area, where KyuuKyuu-Kun is. There will now be a white sparkle by the terminal staircase.
Page 48

Description: KyuuKyuu-kun
Location: Ruined School. In the room with the zipper door, use the Hamsa effect.
Pages 49 & 50
Folio 49
Clarification: Shadow Man
Location: Terminal Surface area. When you first get to the stormy rooftop area, move to the left. Y'all should run into a white sparkle on height of one of the platforms. If you can't reach this platform, employ the shorter platform to help reach information technology.
Page 50
Description: Seccom Masada-sensei
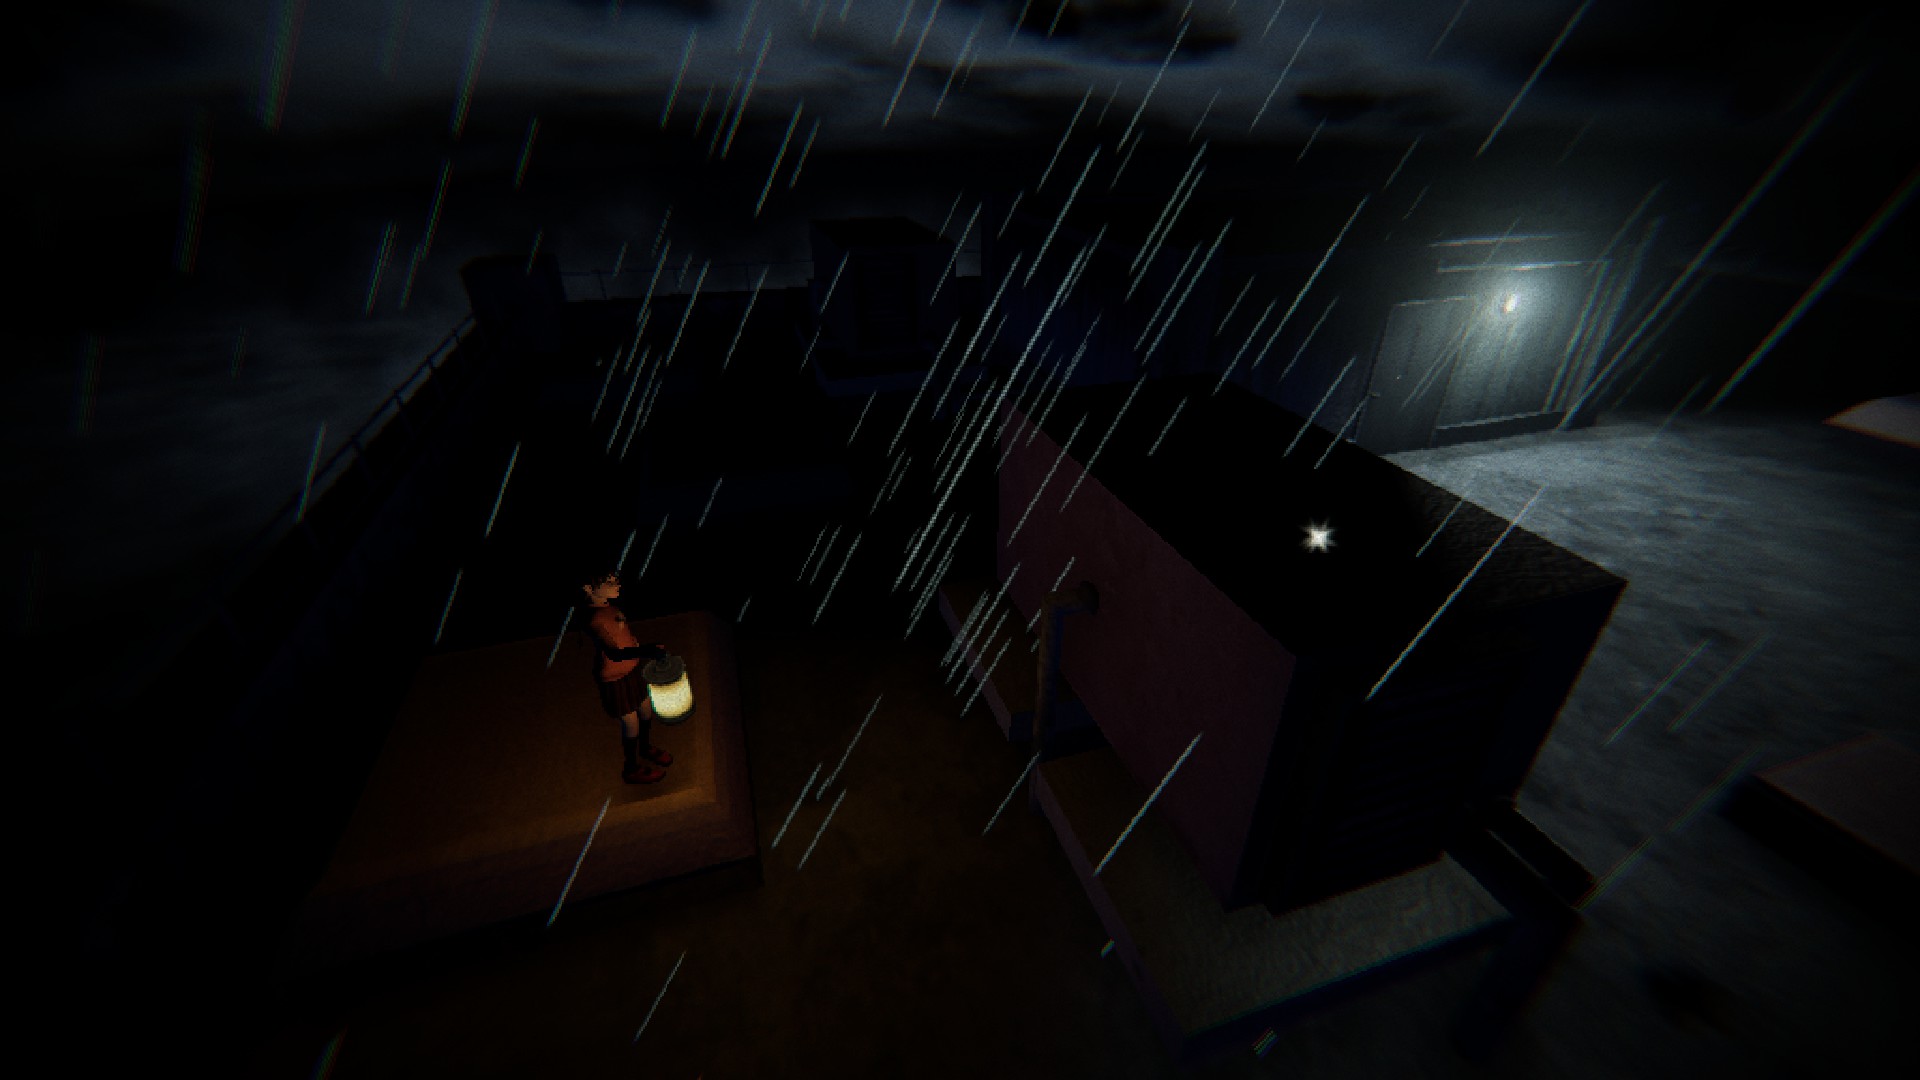
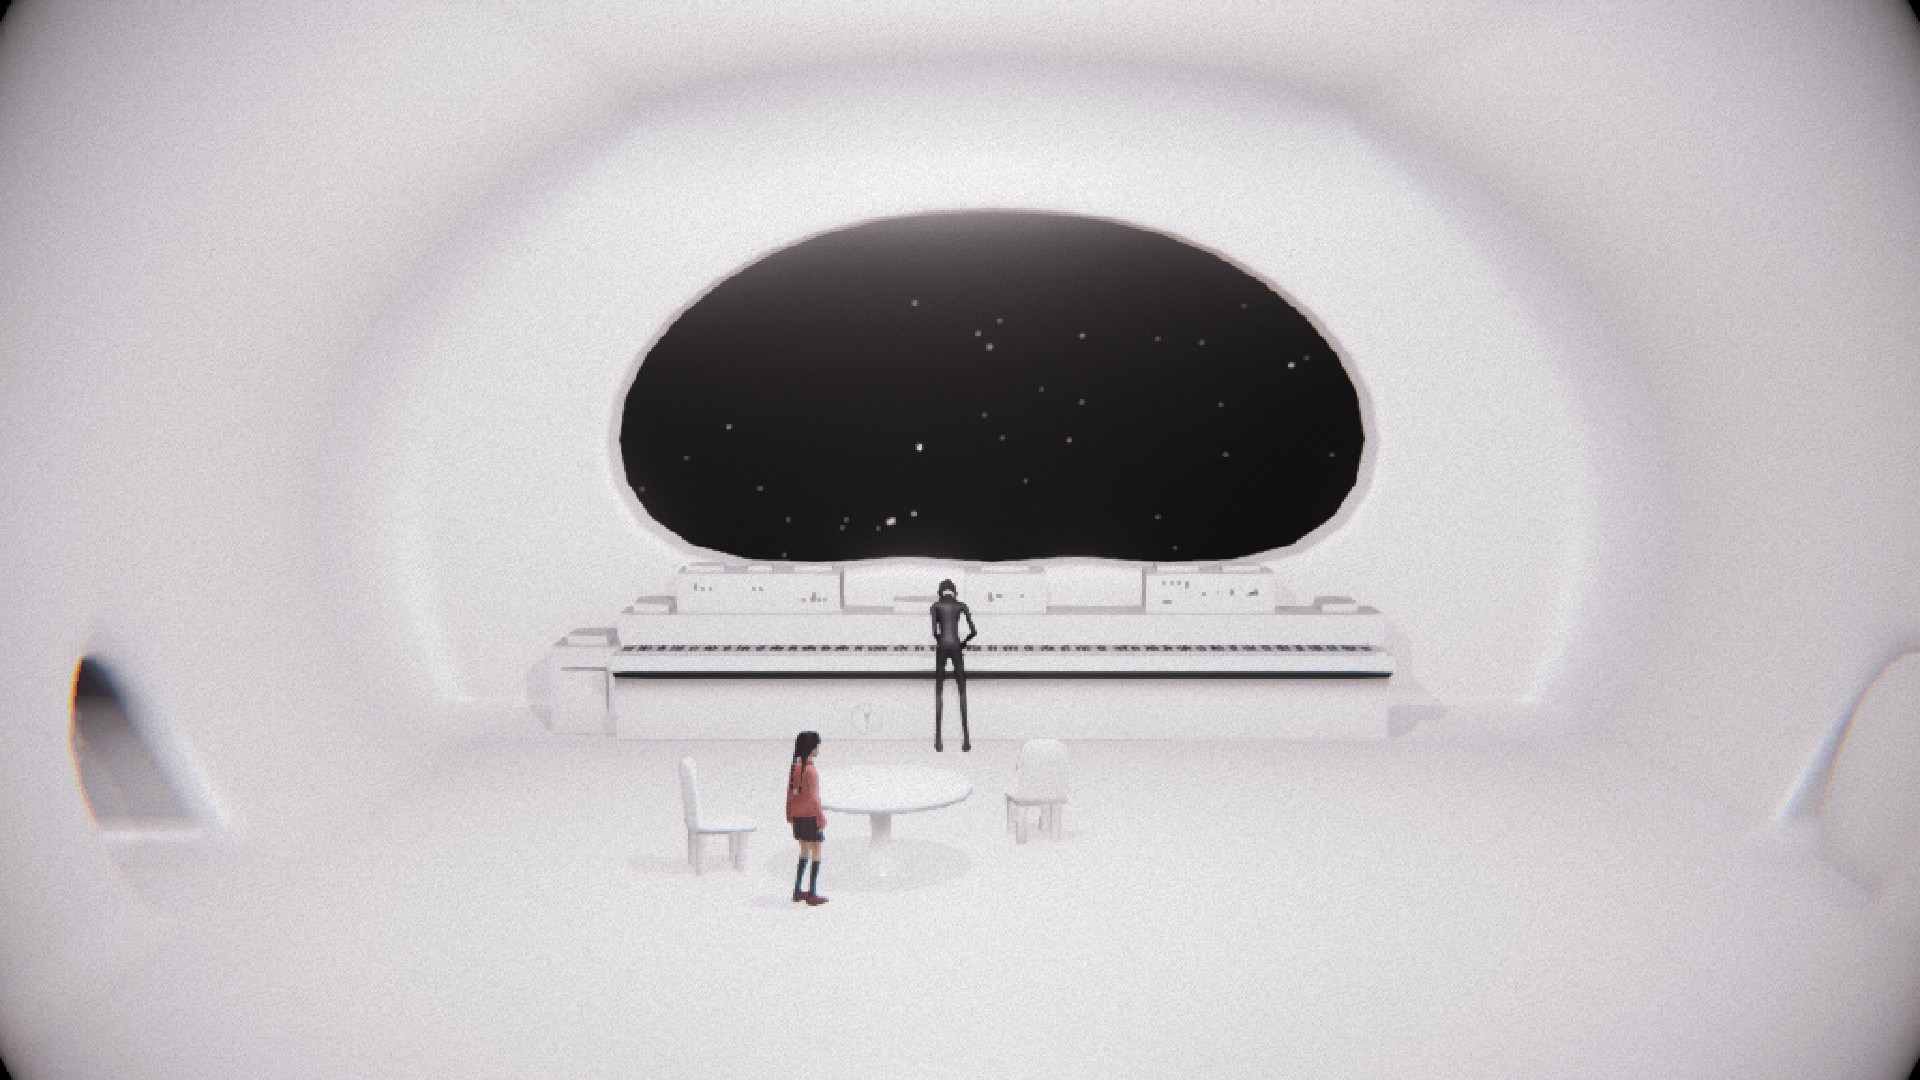
Location: Spaceship. To enter this area, you must fulfill the requirements to unlock the secret ending. You lot must have already found all five vi hidden Jellyfish in each world. In the Concluding Area, kickoff floor, cheque one of the rooms for a red symbol on the wall (resembles three female symbols). Interact with it and go to the stormy rooftop. Go to the left from the archway and you lot will notice this symbol on the ground. Collaborate with it and you lot volition be transported into Masada-sensei'south spaceship. Cheque the table for the final Concept Art. This particular volition as well register as a collectible called ???.
![]()
![]()
sullivanscondlefory.blogspot.com
Source: https://steamcommunity.com/sharedfiles/filedetails/?l=schinese&id=1313567179&tscn=1529851320
Post a Comment for "Yume Nikki Dream Diary Hat and Scarf Concept Art"